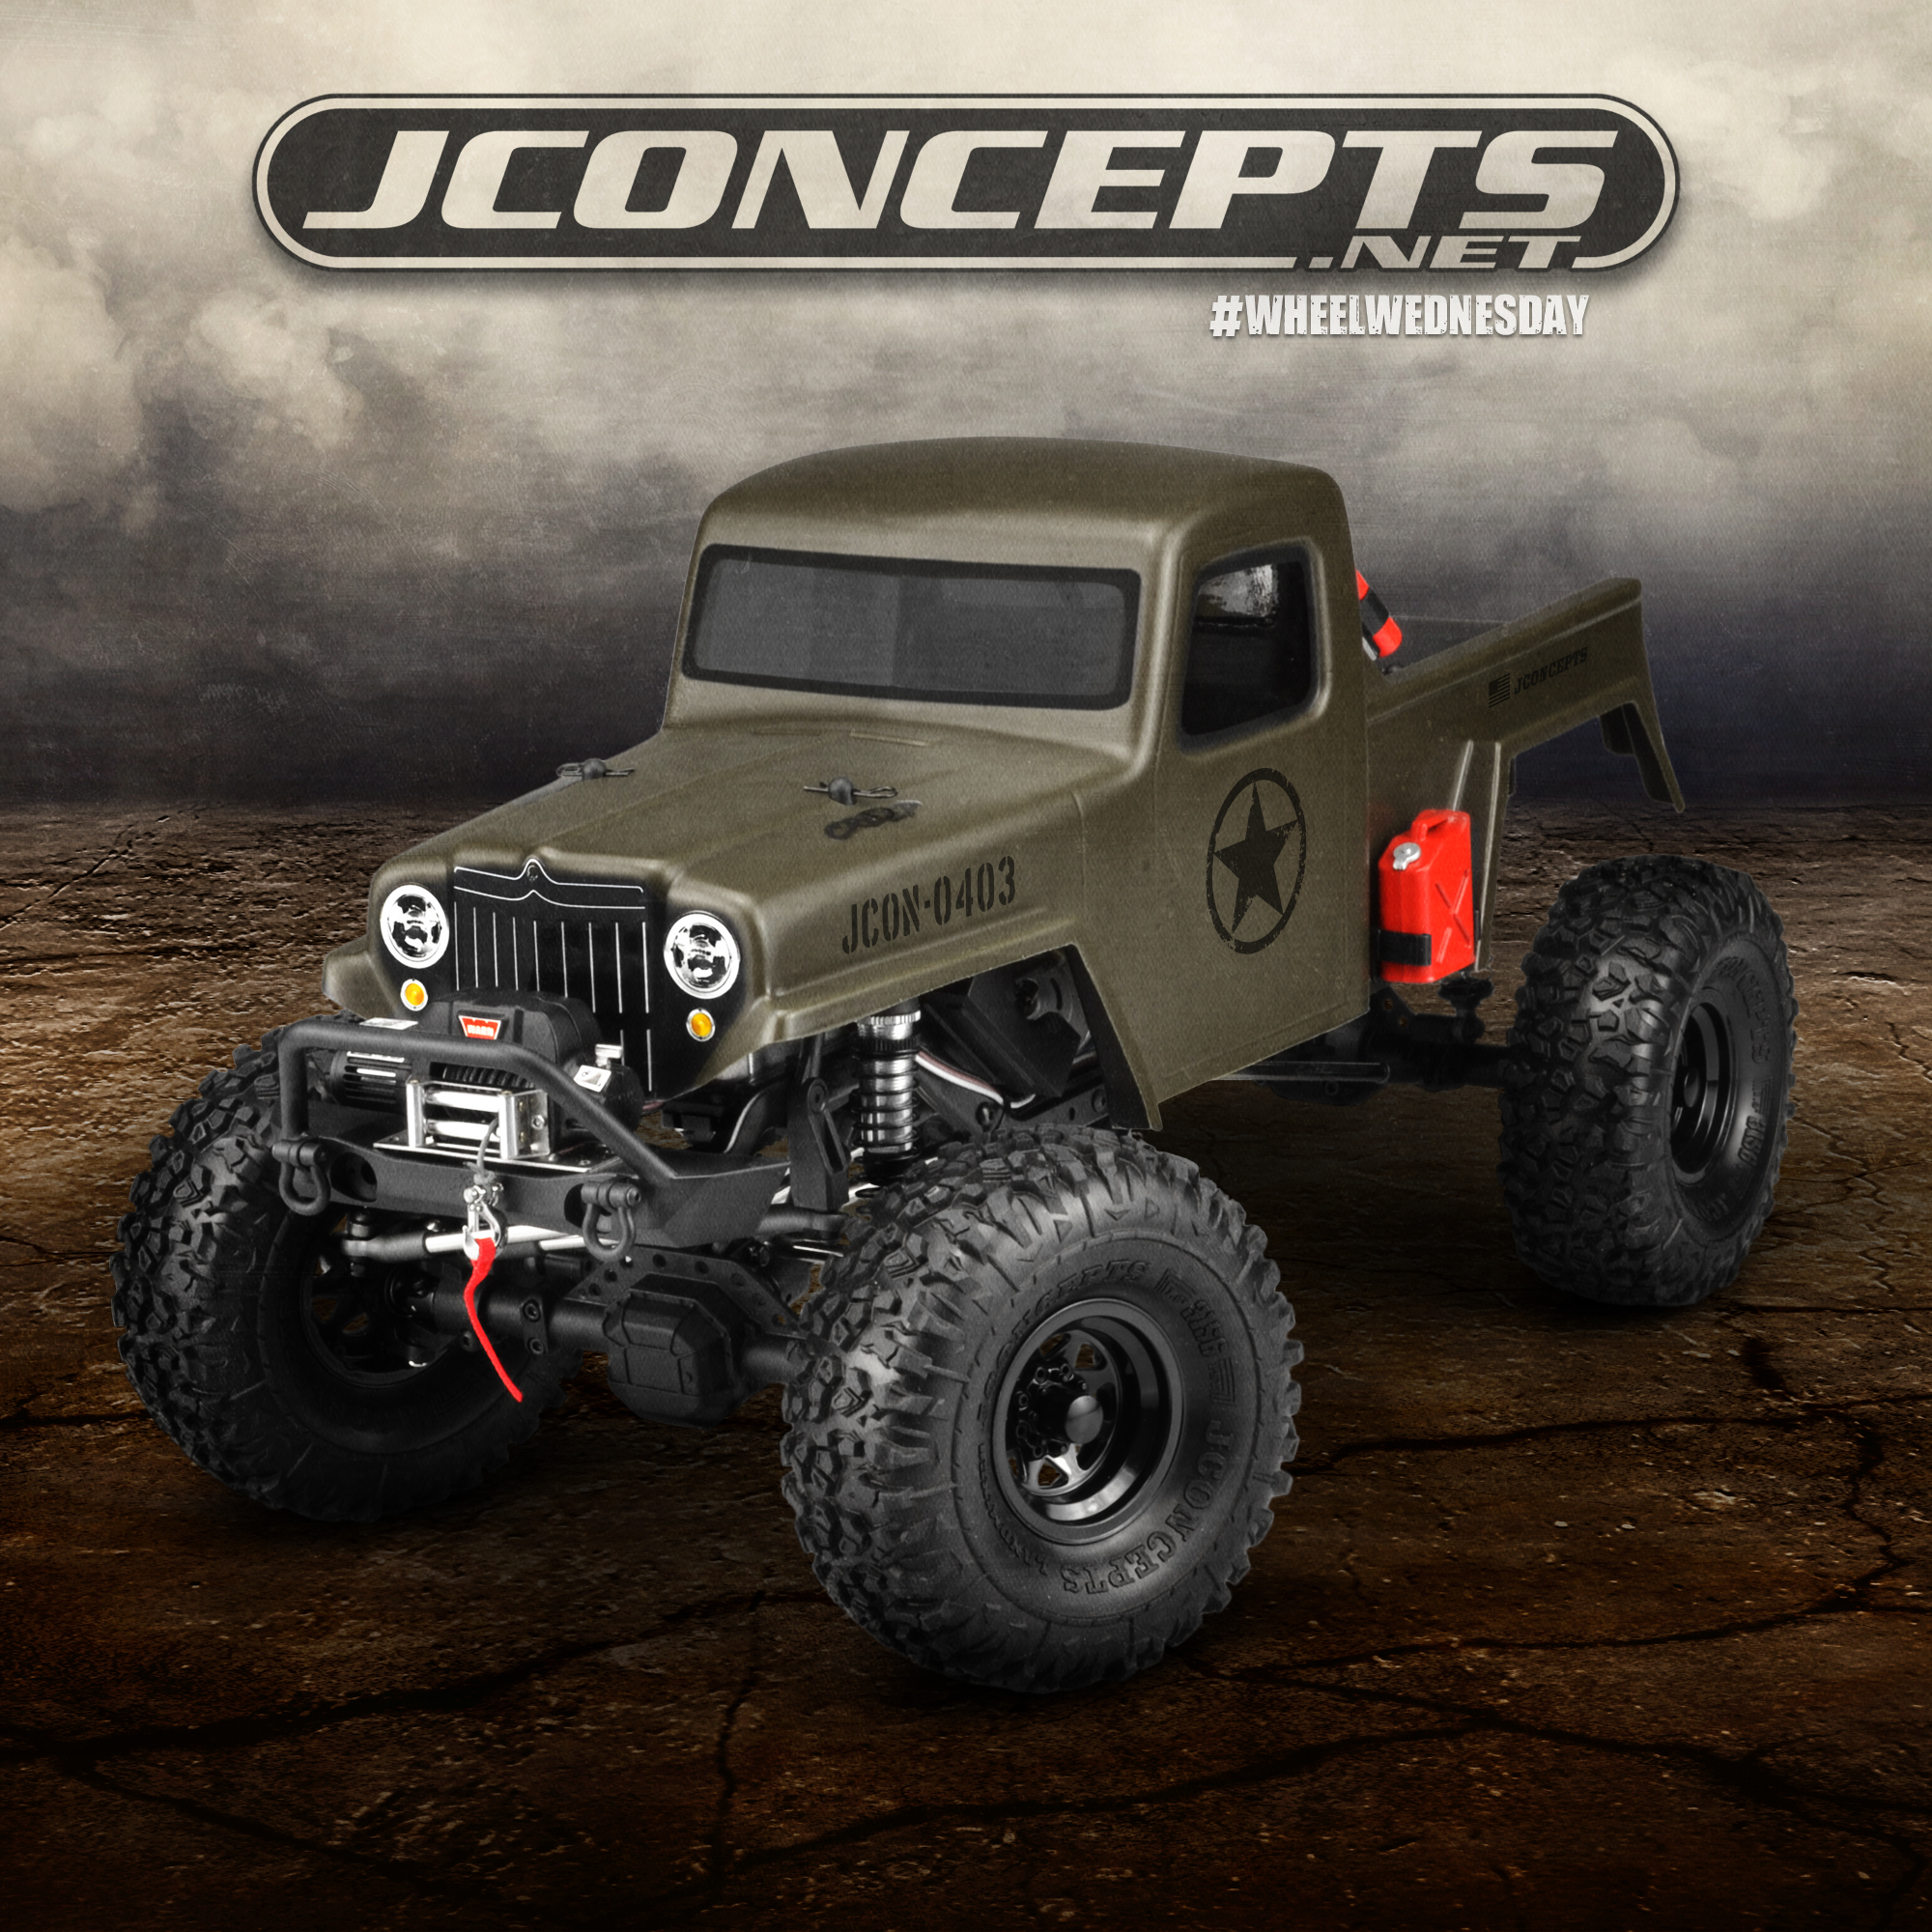
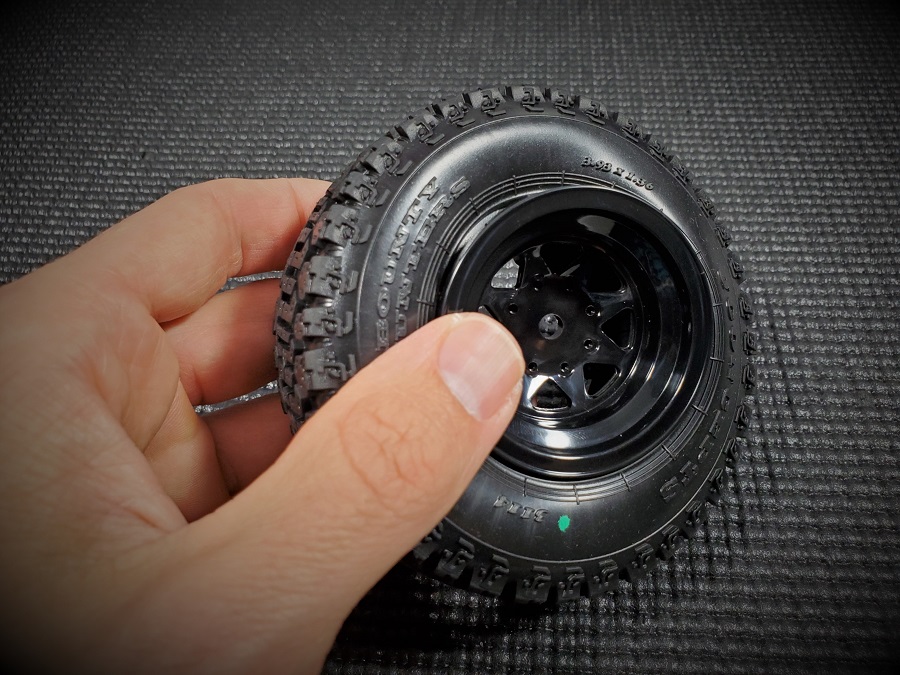
In this edition of the Product Spotlight we’ll talk about our Colt 1.9″ Beadlock Wheels and walk through the process of mounting them up to some tires.
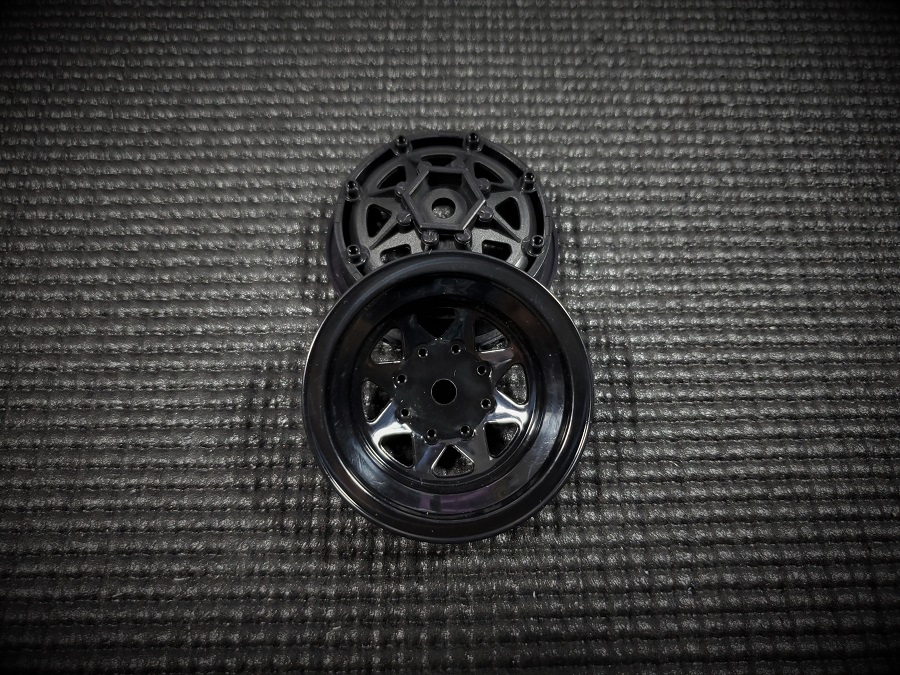
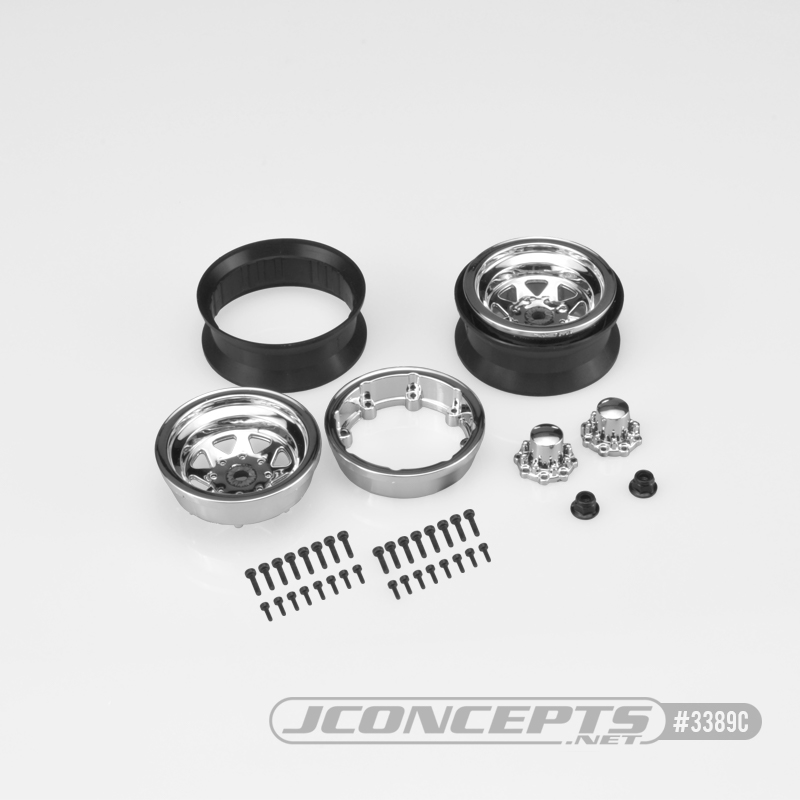
The Colt wheels use a 8 spoke ‘Wagon’ design that is perfect for vintage vehicle builds that want that raw muscle look of the 70’s and 80’s. They are also compatible with 1.9” tires that are popular with many scale and trail rigs on the market today.
These also use an industry standard 12mm hex design and are available in two different color options, chrome and black.
In this story we will discuss the black version but our chrome wheels use the same design and mount tires in the exact same way. What’s nice about these wheels is that you don’t need any glue to mount tires to them. That gives you the ability to easily swap out tires when doing some testing or when you have too many scale miles on your tires. Now let’s go through the tire mounting process.
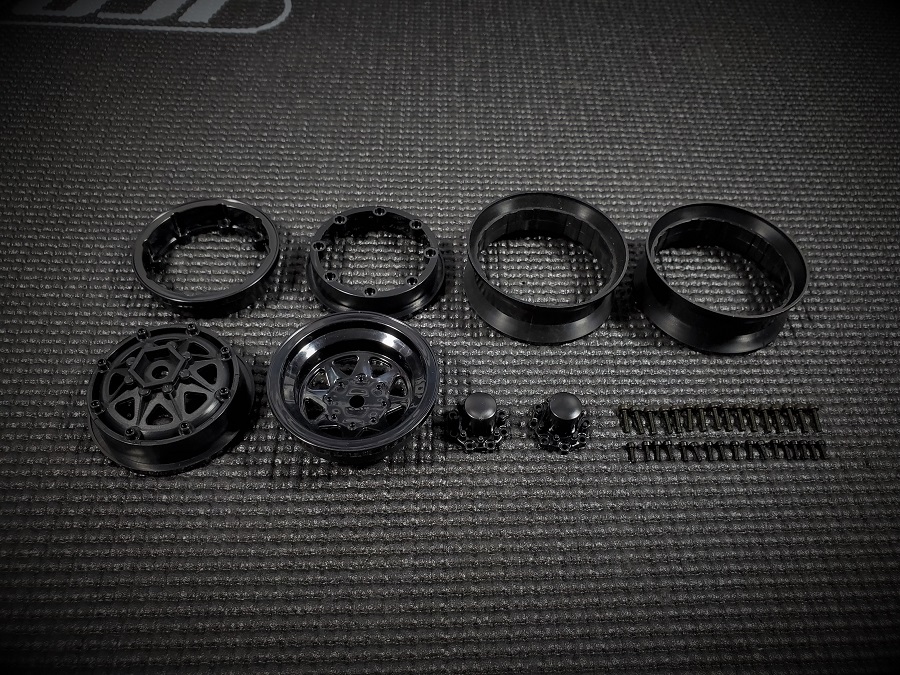
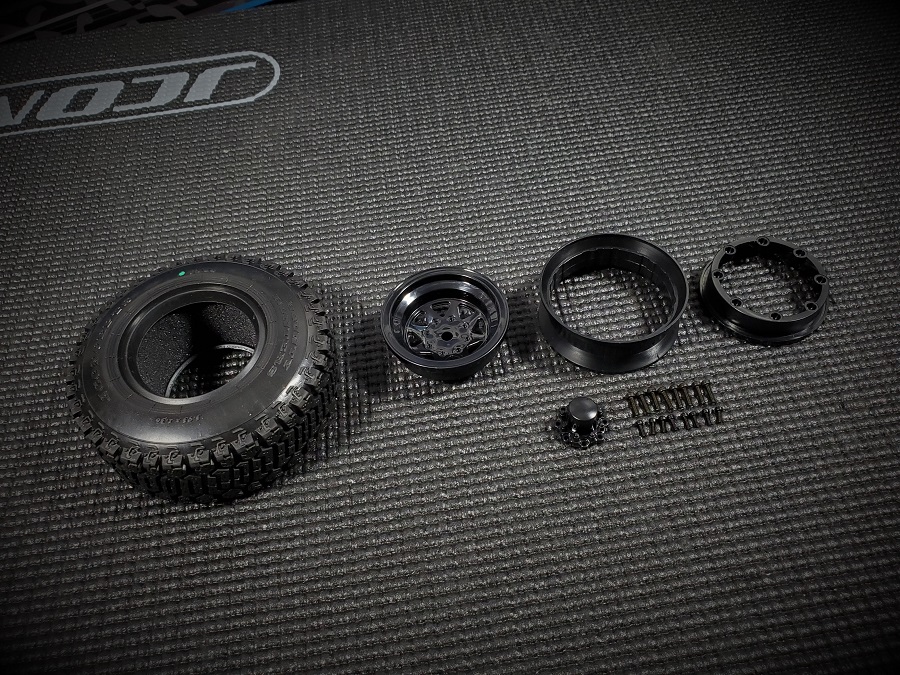
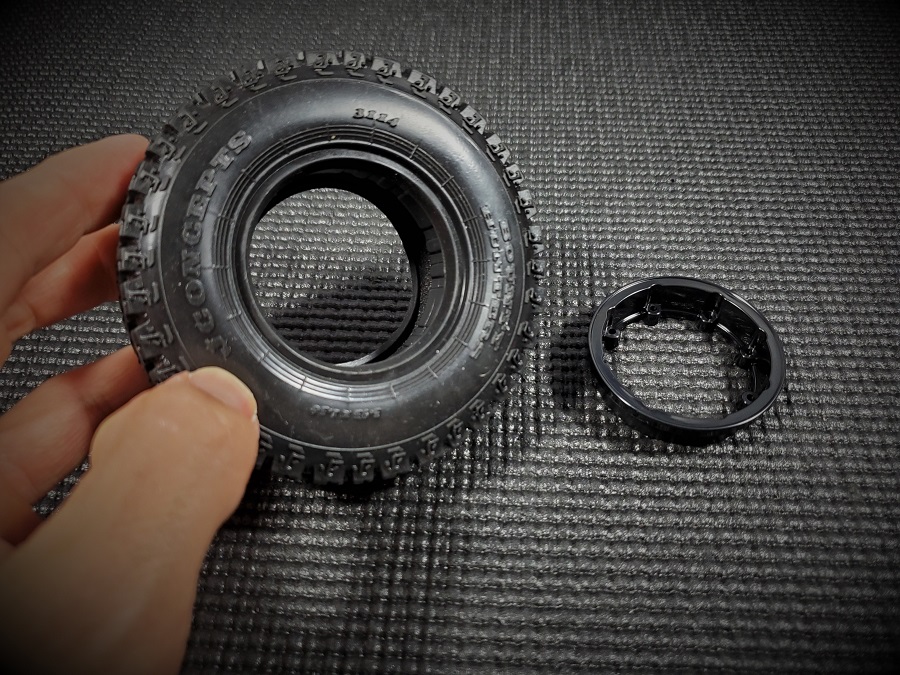
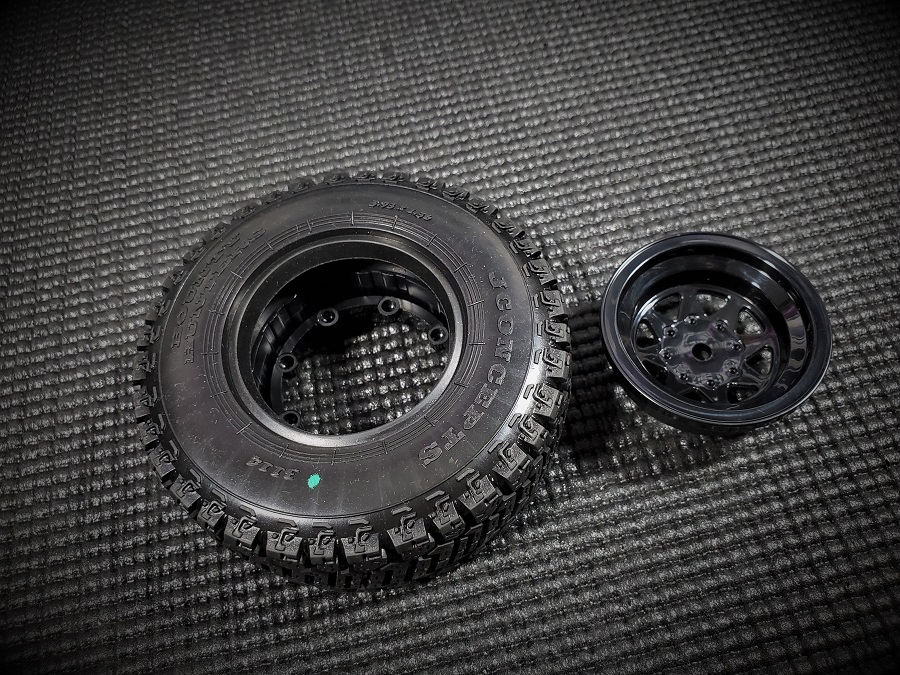
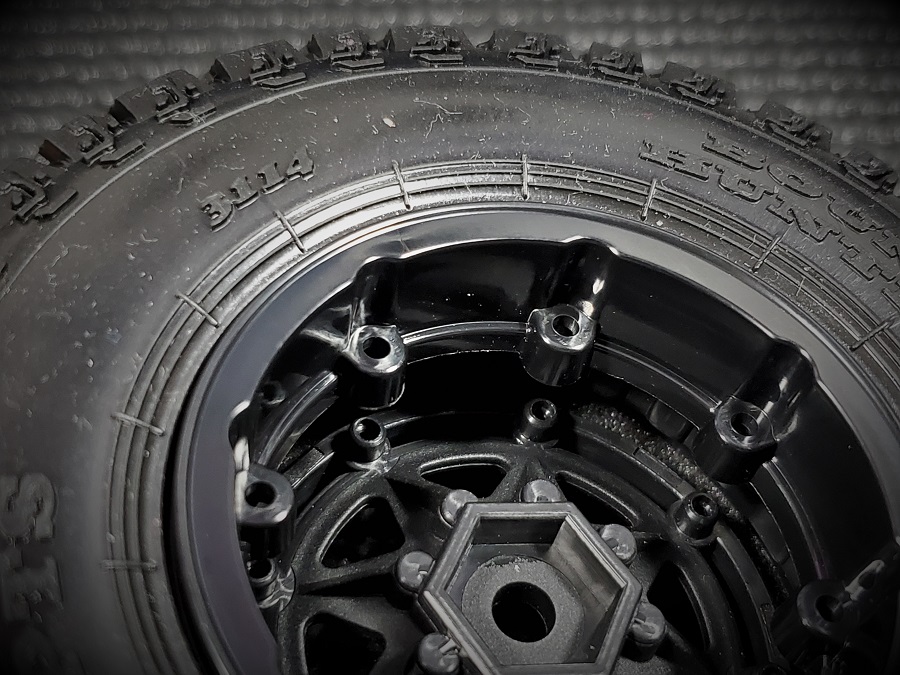
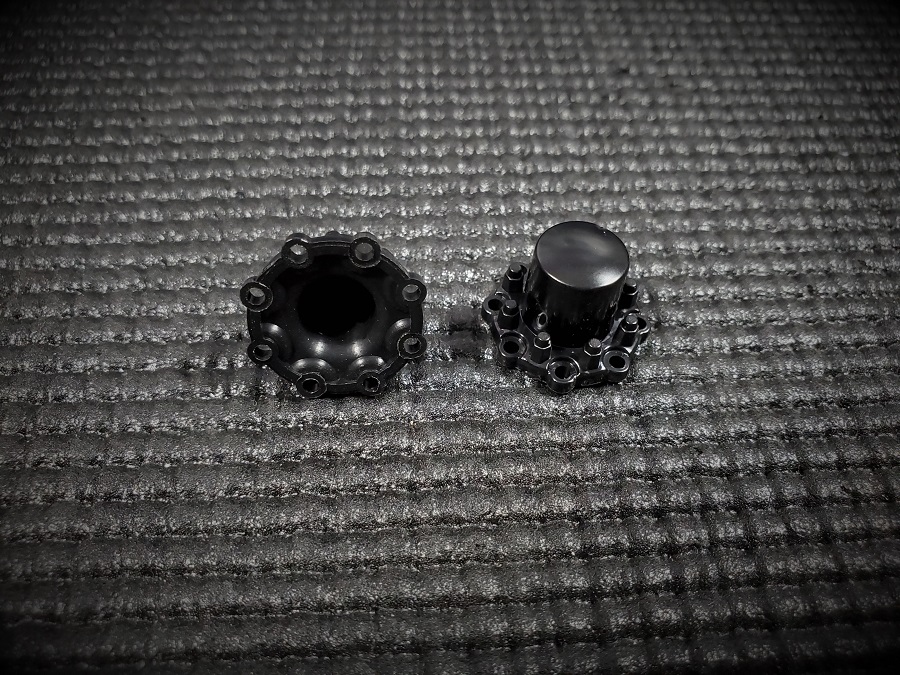
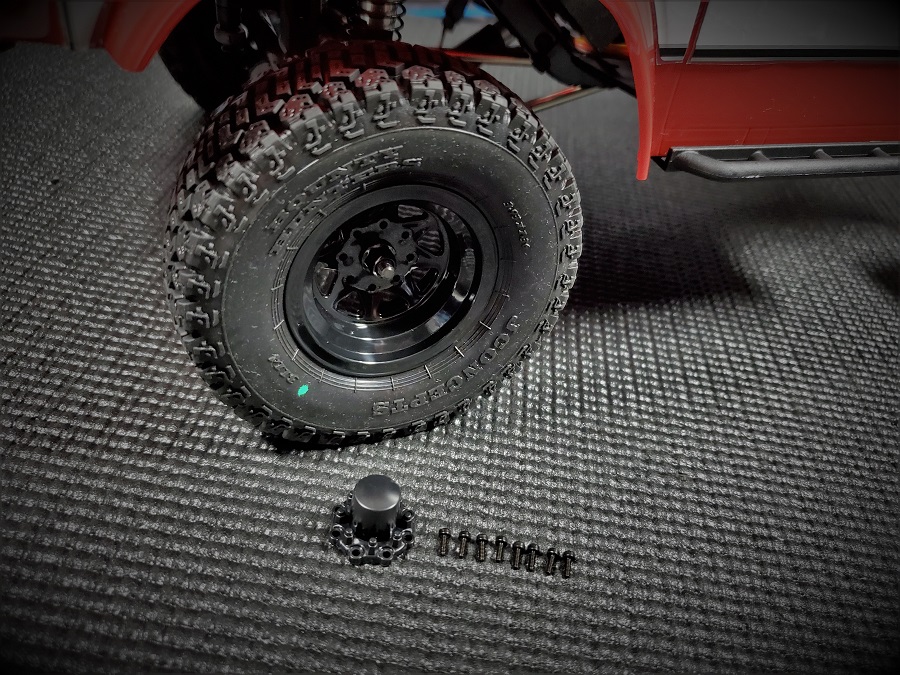
As you can see the Colt wheels are ‘disassembled’ and you need to assemble them from the inside out.
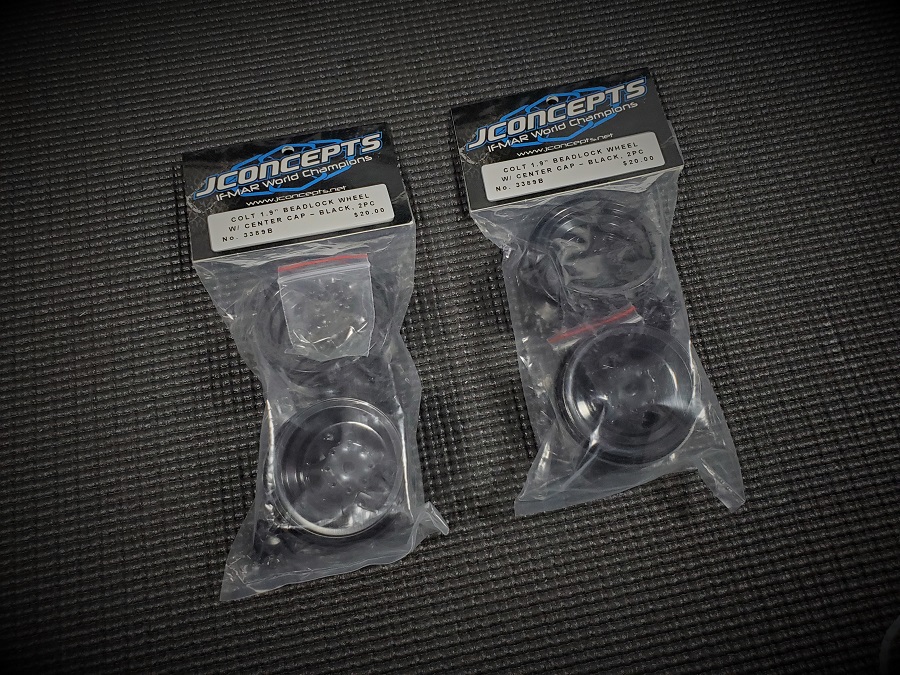
All the needed metric hardware is included and each package allows you to assemble a set of wheels. So if you want a new set of rims on all four corners of your truck you need to pick up two packages of these wheels.
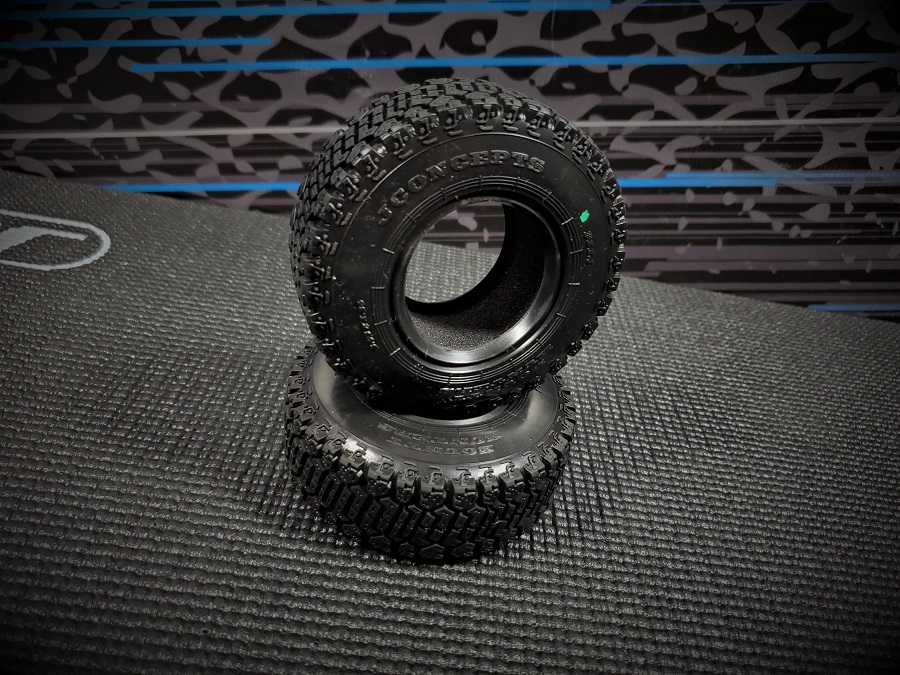
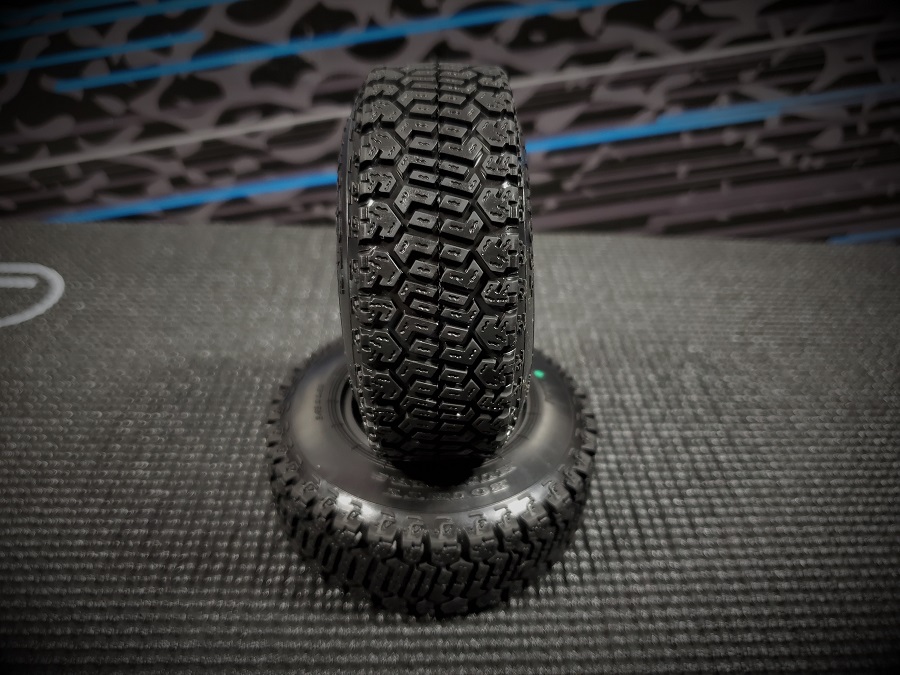
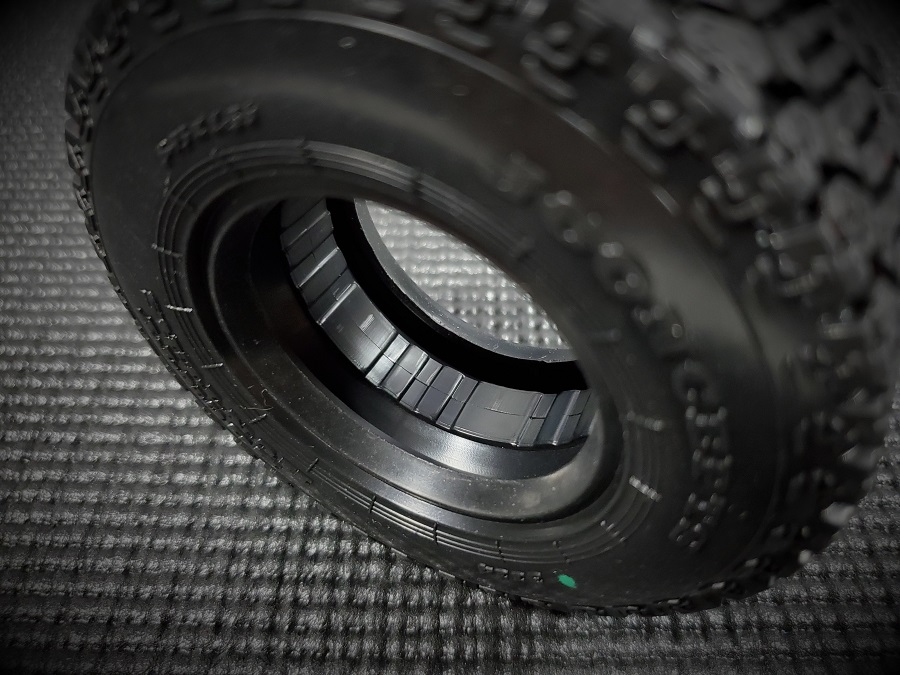
The tires I’ll use in this demonstration are the Bounty Hunters 3.93″ O.D. Scale Country Tires.
This fresh tread pattern features a dual angular and mirrored center lug combination along with a tight group tread that is comprised of squiggle cuts and carved out sections. Combined together this allows the Bounty Hunters to conform to hard surfaces better and offers less rolling resistance.
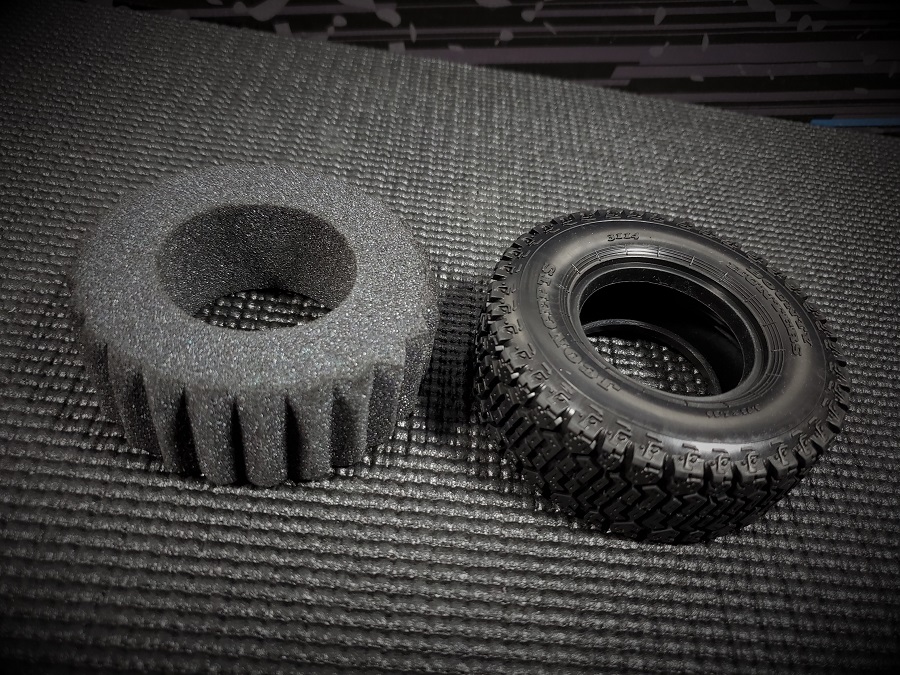
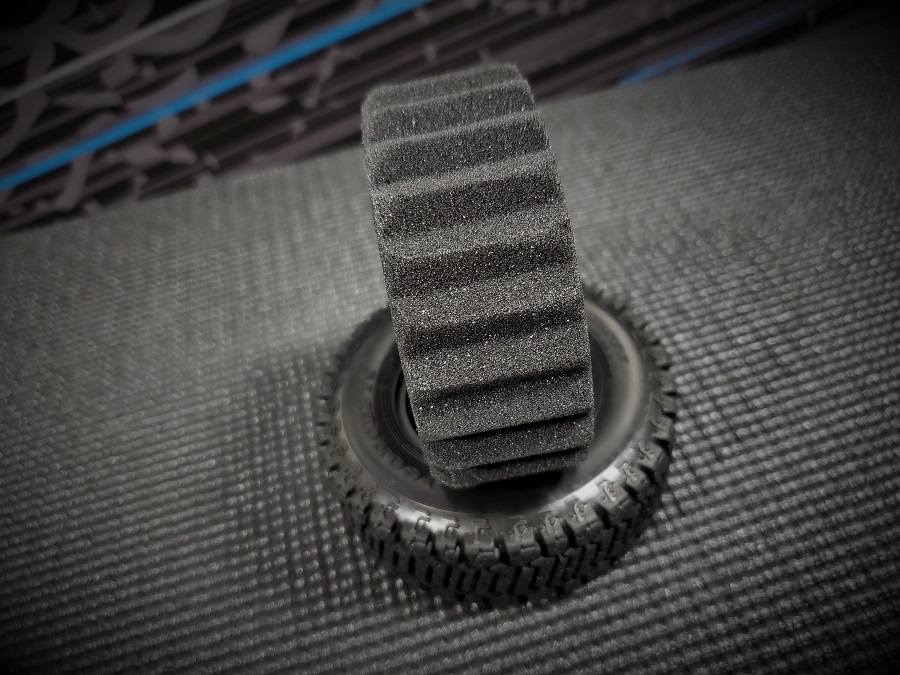
Sculptured side-lugs, incised grooves, radial sidewall ribs and vertical hatching all work together to give this tire a realistic look while still performing at a high level. Ample ground clearance is achieved thanks to the 3.93″ overall height. These are currently available in our Super Soft Green compound and are sold in sets of 2 which also includes medium, spiked open cell inserts.
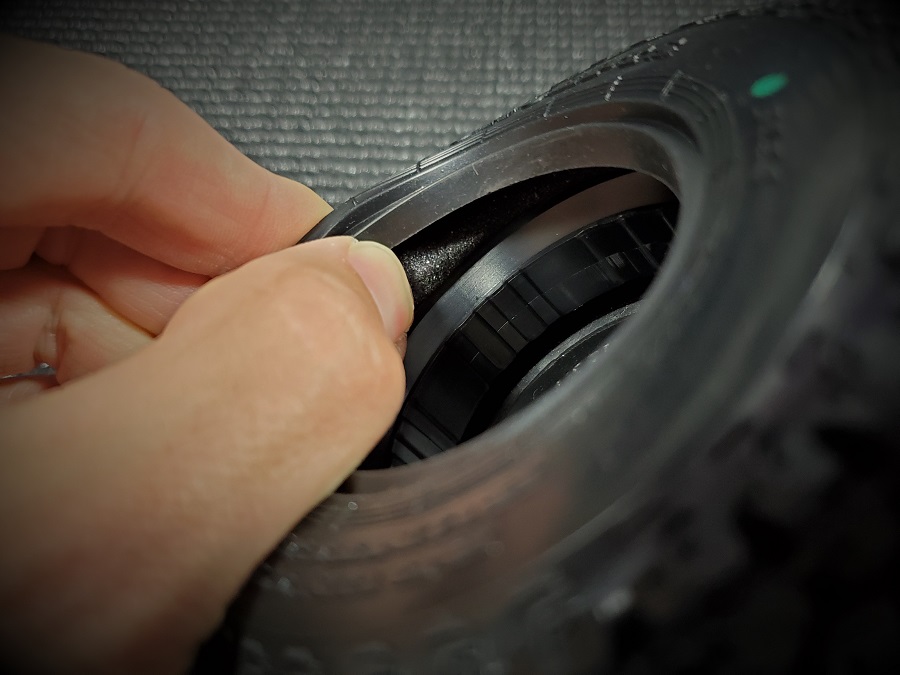
Once you have everything in place the first step is to place the inner pinch ring (the largest piece) into the center of the tire. The ring is the same on both sides so you don’t need to worry about installing it backwards. Just work it back and forth till it feels like it rests in the center.
Then make sure you are looking at the backside of the tire and slip in the inner piece that doesn’t have the spokes.
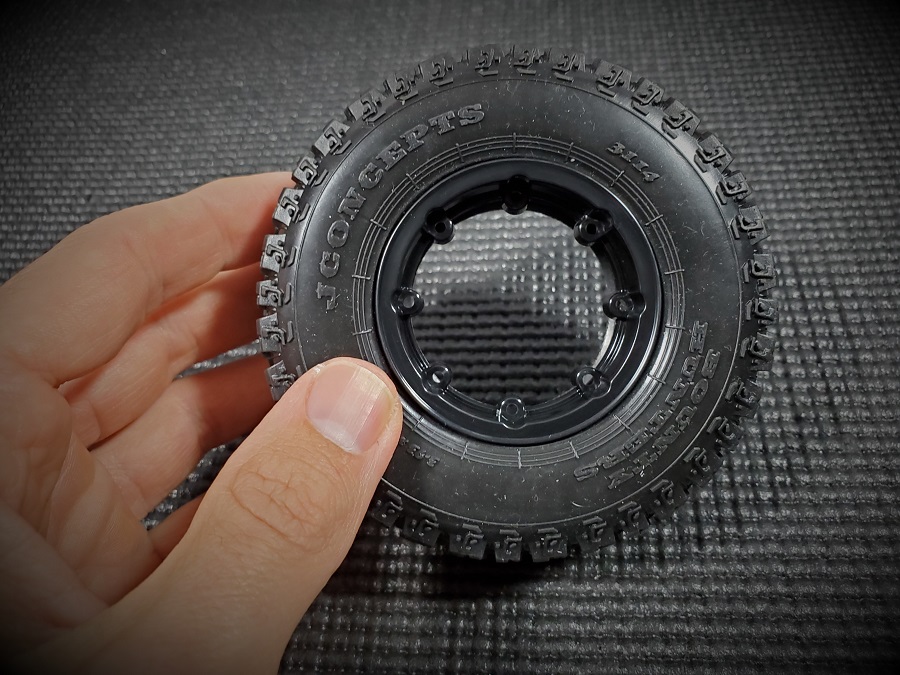
Now flip the tire over to the front side so you can install the outer ring that does have the spokes.
Make sure to line up the holes for both the outer and inner rings.
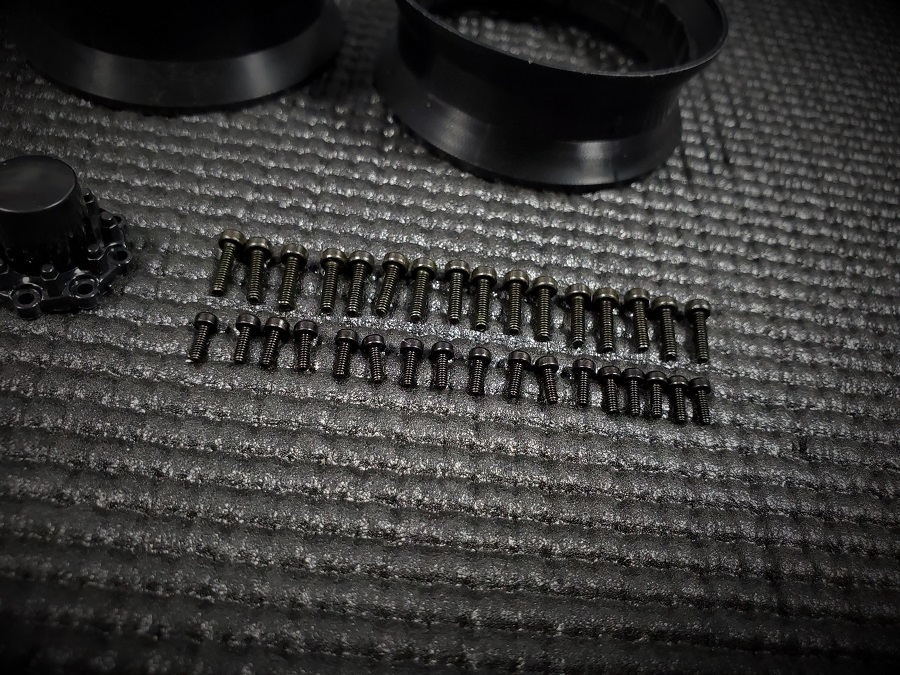
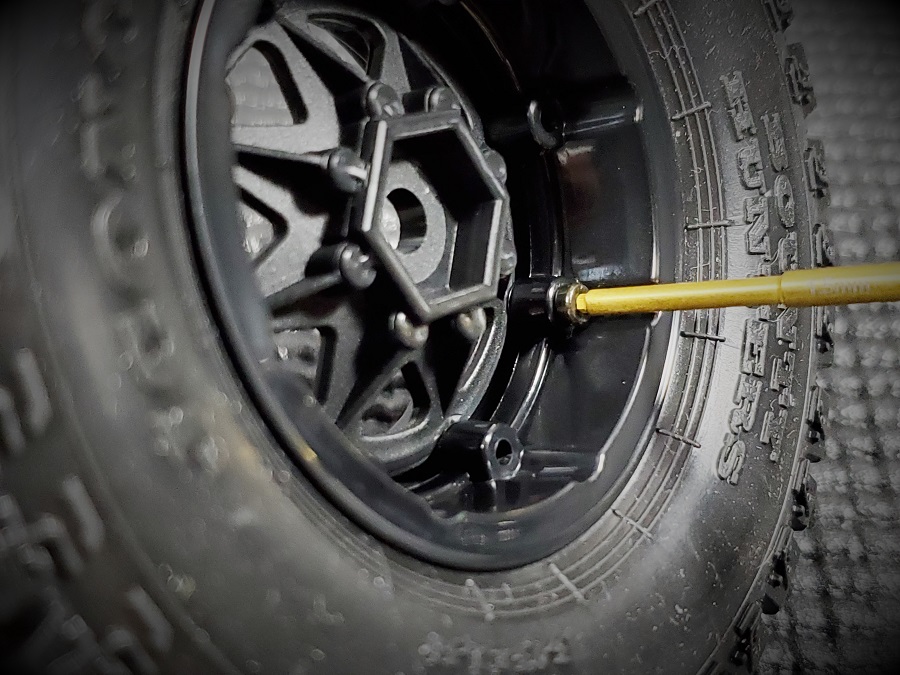
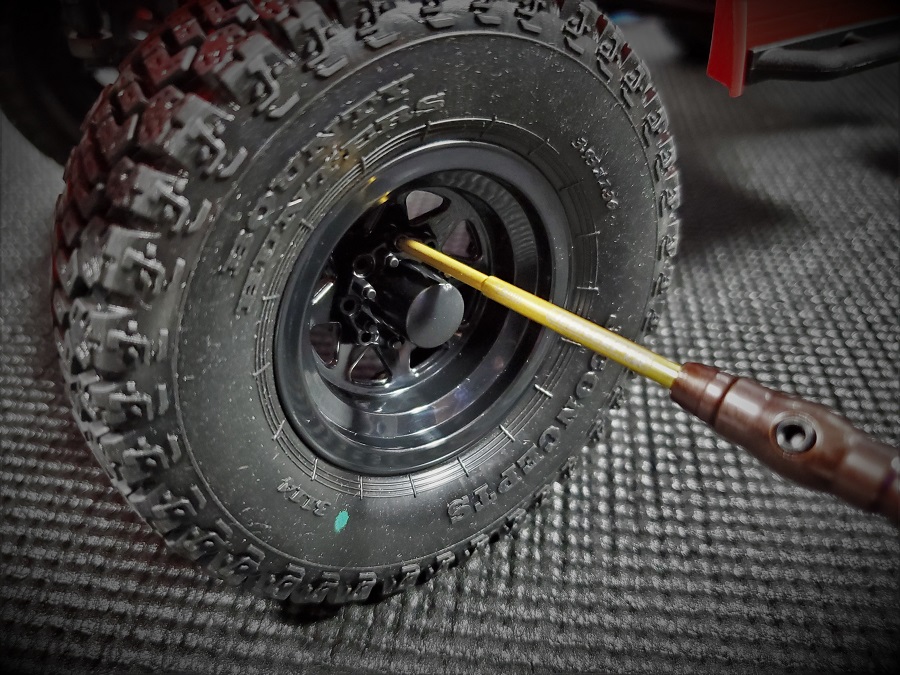
Keep them firmly in place and grab one of the included larger metric cap screws. With the holes still lined up install one of the screws with a 1.5mm driver on the backside of the Colt wheel. Then just like a full scale vehicle move to the opposite side of the wheel and install another screw. Keep repeating this pattern till all eight screws are installed into the wheel.
You want to make sure the screws are snug so the rings clamp onto the tire, but don’t over tighten them since the wheels are made of plastic and you can strip the holes out. Repeat this process till all the wheels and tires are assembled.
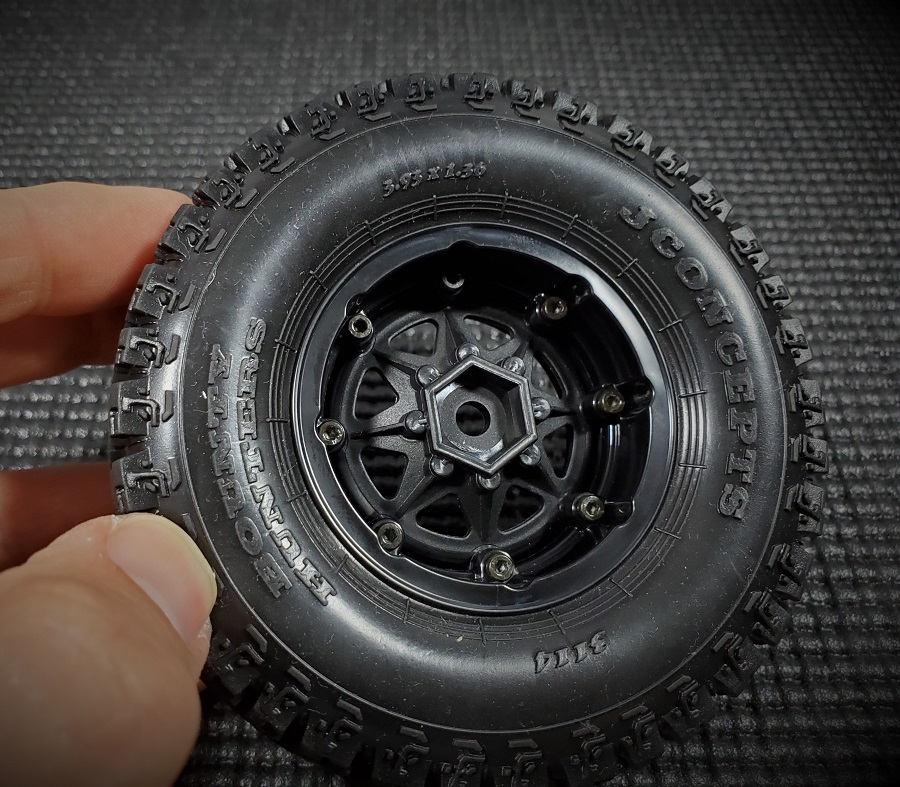
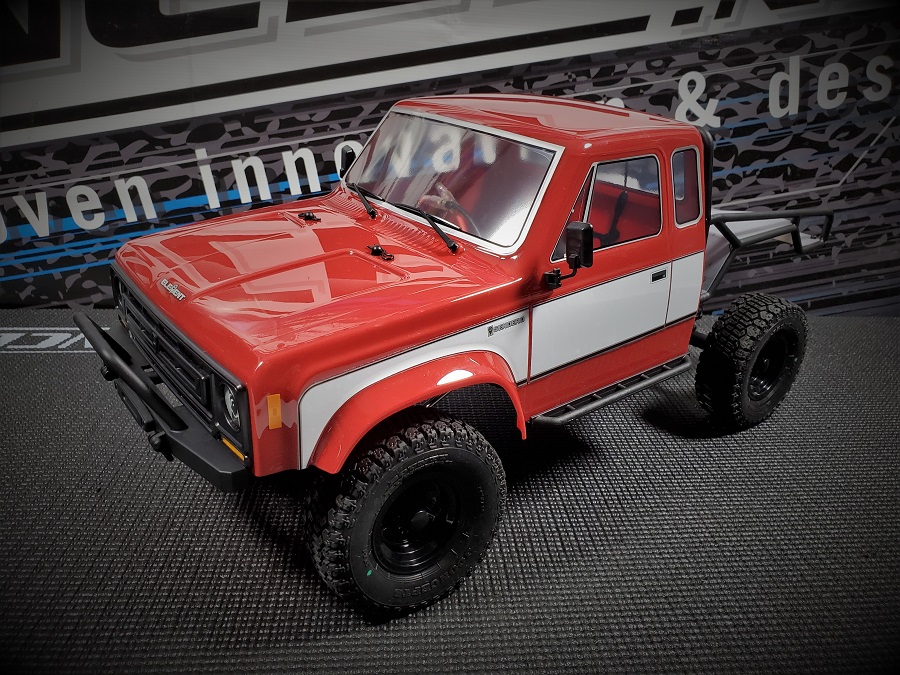
At this point they are ready to be mounted to a vehicle if you choose to. But if you want to keep the scale realism intact then you will want to install the included center cap too since that will hide the vehicle’s wheel nuts.
To do that remove the existing tires and wheels and then install the mounted Colt beadlocks.
Take the center cap and line up its holes with the holes in the outer ring. The smaller mounting screws for this cap are also included and you can also install them with a 1.5mm driver in the same pattern as I mentioned earlier.
Again don’t overtighten them and when you are done your scale rig is ready to hit the trails on some fresh rubber!
3114-02 – Bounty Hunters – 3.93″ O.D. – Scale Country – $32.00 MSRP
3389B – Colt 1.9″ Beadlock Wheel – $20.00 MSRP

