
In this Product Spotlight we take a closer look at the new JConcepts Finish Line Small Racing Bag. Before we talk about some of the features of this bag, and how to assemble it, let’s first talk about the long history of this unique product.
This bag debuted in 2007 and used one of our earlier logos with a simple gray background.
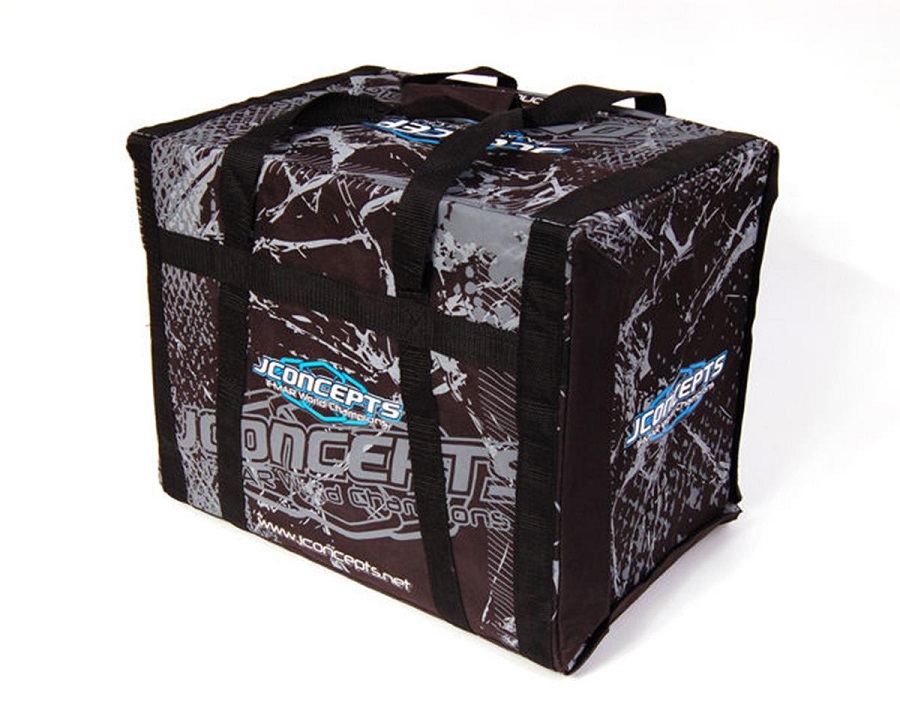
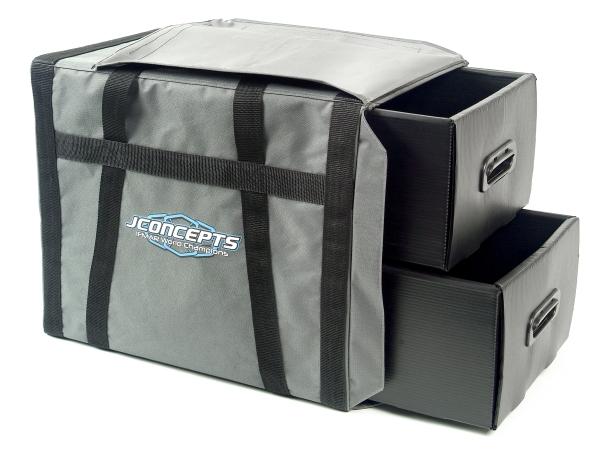
Then in 2009 the outer bag was updated with a newer graphics package.
Two years later the Small Racing Bag was released again with another update to the outer bag’s graphics design. So after many years of not offering this bag it’s back again by popular demand with a fresh new look!
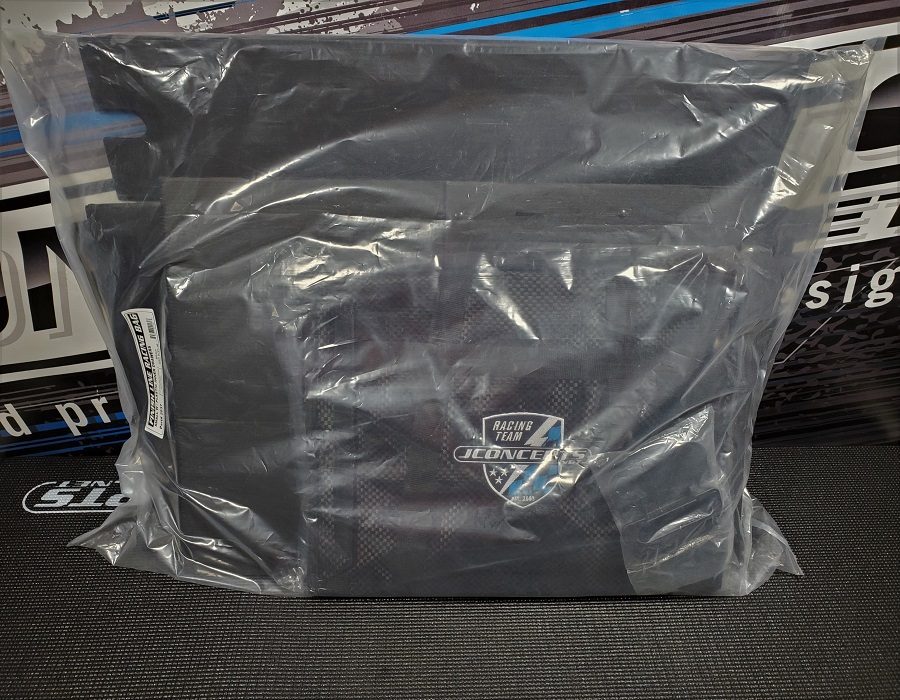
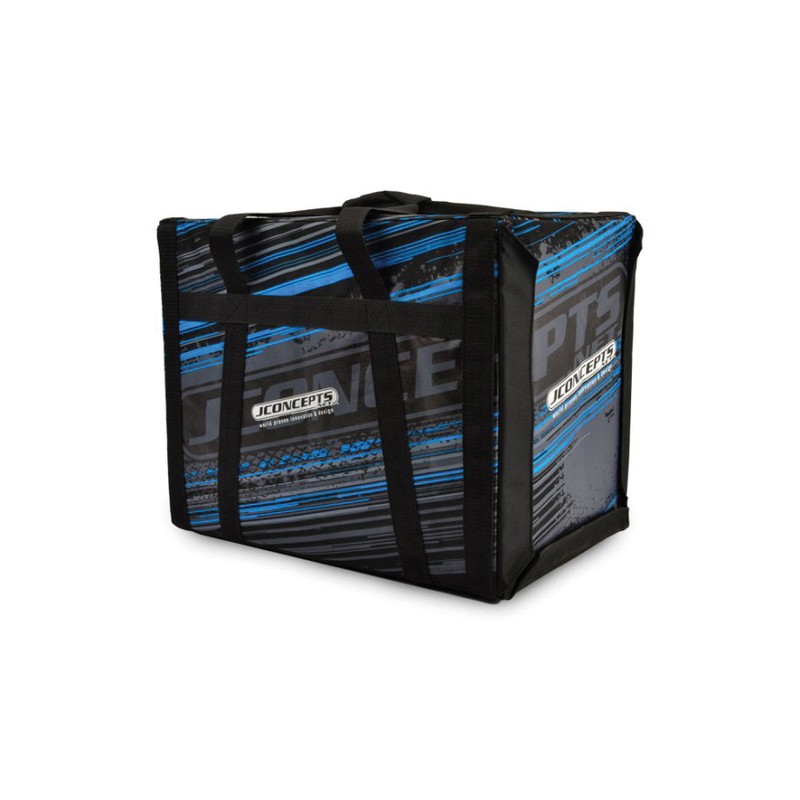
Again the outer covering has been updated to reflect our current Finish Line livery. Before we go over the features of this bag let’s first go over the assembly process.
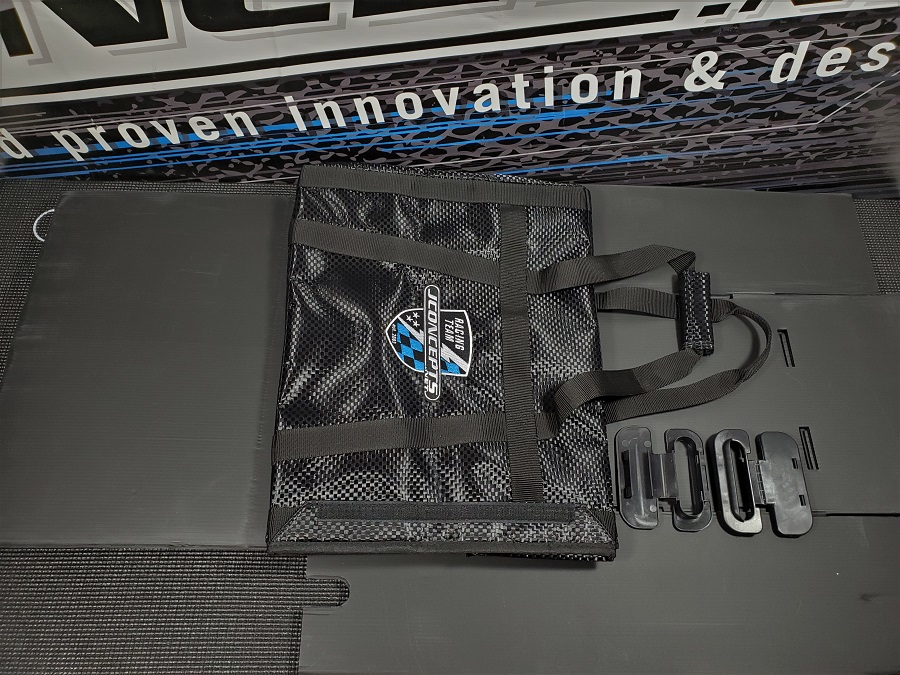
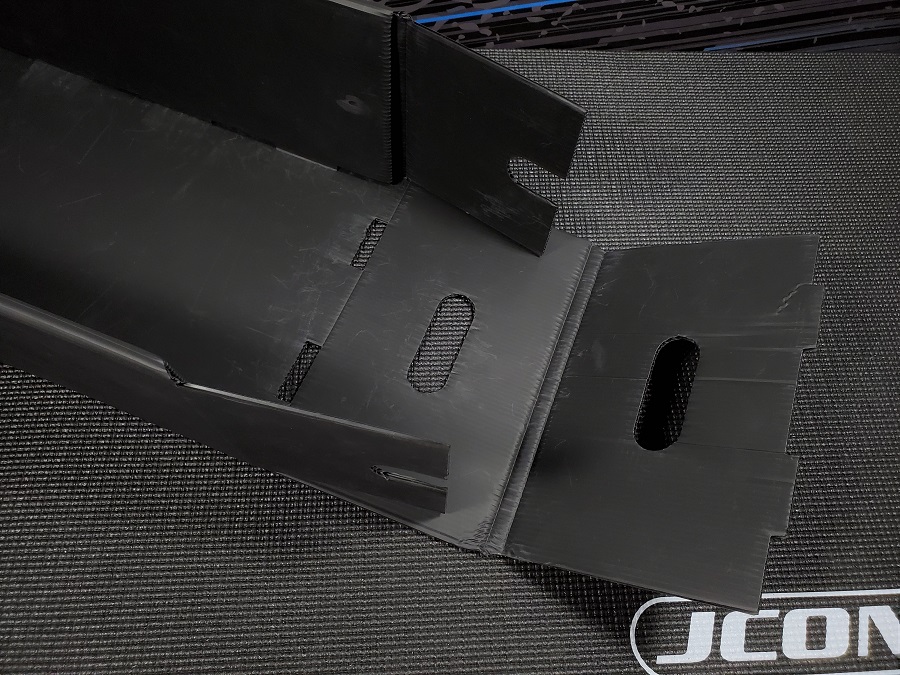
As you can see there are many components that make up this bag. It might seem daunting at first but once you get the hang of it you can assemble this bag very quickly.
So, first grab one of the larger sheets which is used to assemble a drawer. Two molded plastic handles are included and you use one per drawer. But. we’ll get to those later so for now go ahead and set the handles aside.
If you closely examine the black drawer materials you will see there are several areas with a faint crease to them. That is so you can easily fold them during the assembly process. I suggest you do this ahead of time so they don’t fight you when you need to bend them later on. So take your time and gently shape them the way they are intended to go. If you are not sure of the direction they need to go then keep reading on.
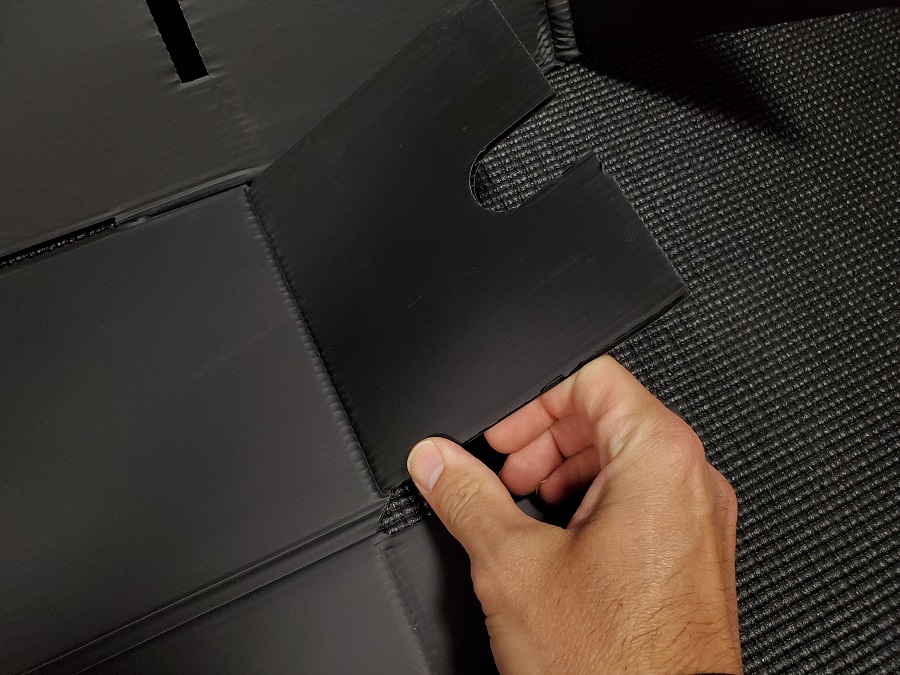
So, first with one of the large drawer pieces sitting lengthwise in front of you, bend the two flaps you see here on on top of the larger piece they are attached too.

Then you fold that piece on top of itself so the flaps are hidden on the inside.
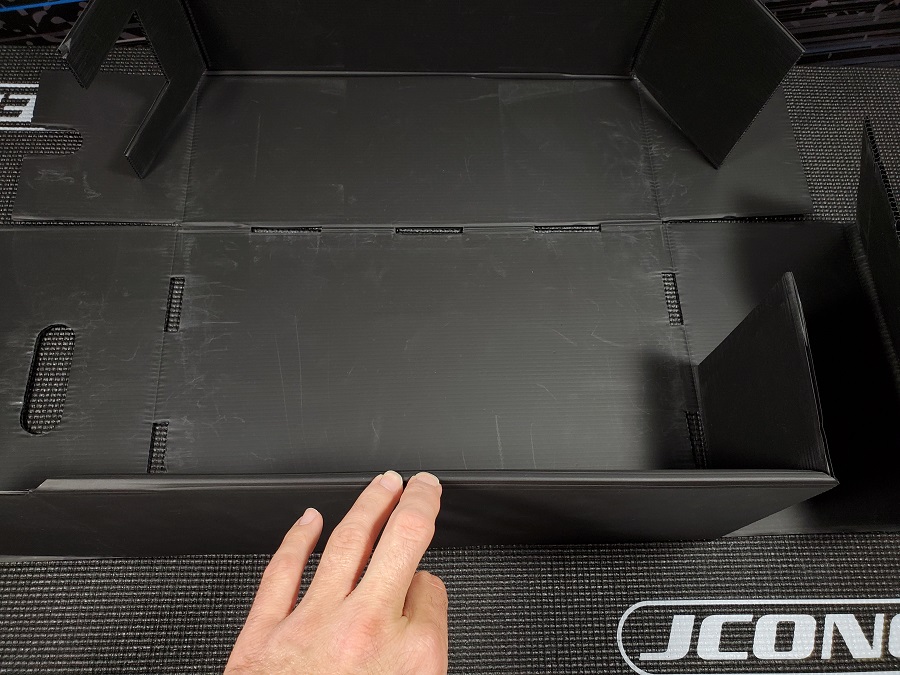
When that is done then you bend that piece upwards since it helps to form the side walls of the drawer. You can see that attached to each side of it is a flap. The side shown on the left is for the front of the drawer where the handle is installed so ignore that for now. But on the opposite side you can position that flap into place to form the rear of the drawer.


Now repeat these steps for the opposite side.
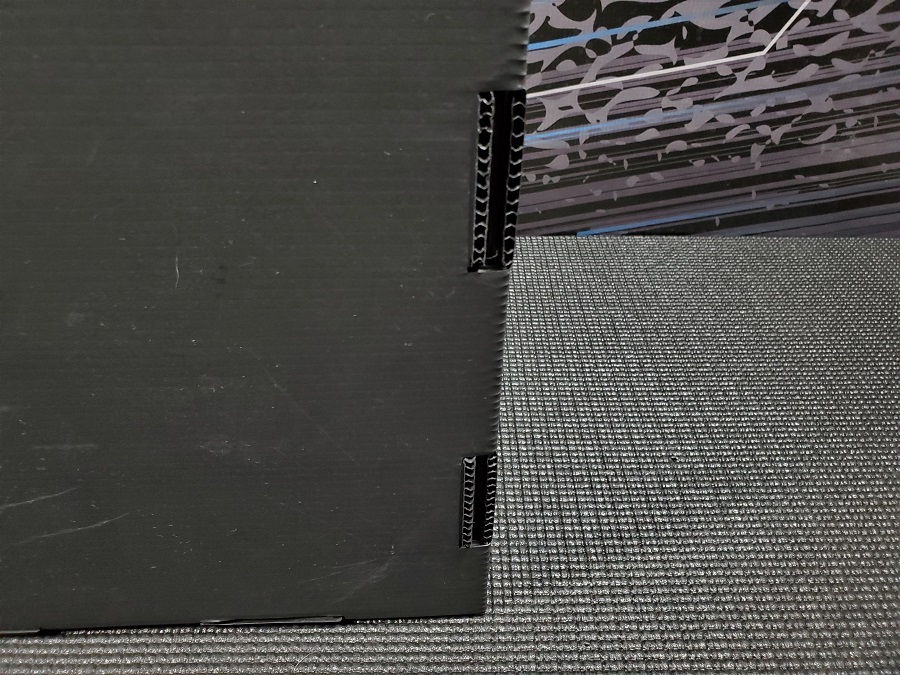
You can see there are three cutouts along the fold of these side walls.
The flaps have three ‘teeth’ that tuck inside those cutouts to keep the walls upright.

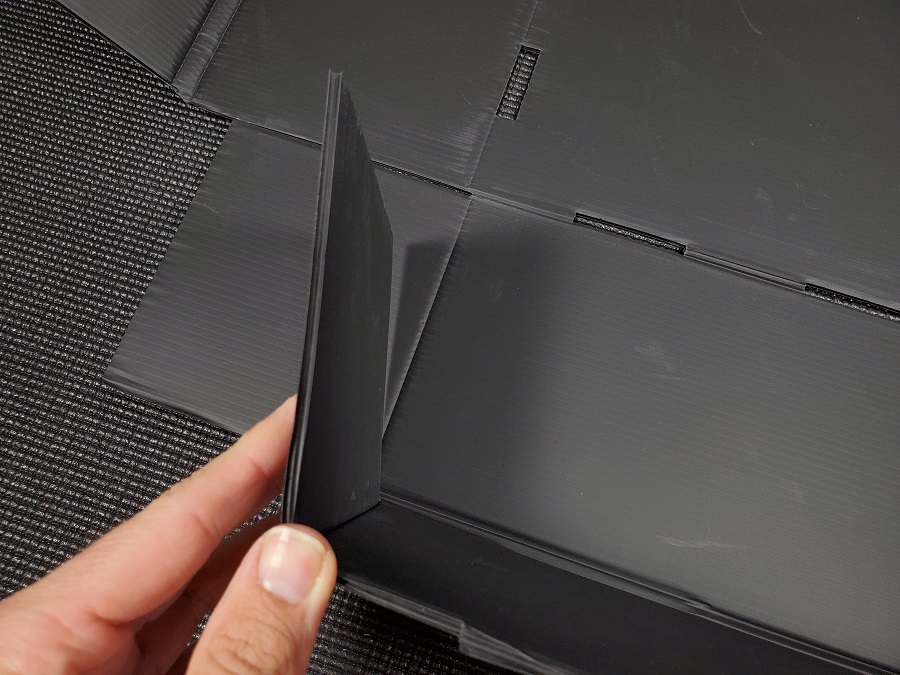
Once the sidewalls and rear flaps are in place, take the larger flap that is attached to the large piece in the middle (the center of the drawer) and fold that up and over the smaller flaps.
Again there are two cutouts that the ‘teeth’ can be tucked into so everything stays in place.
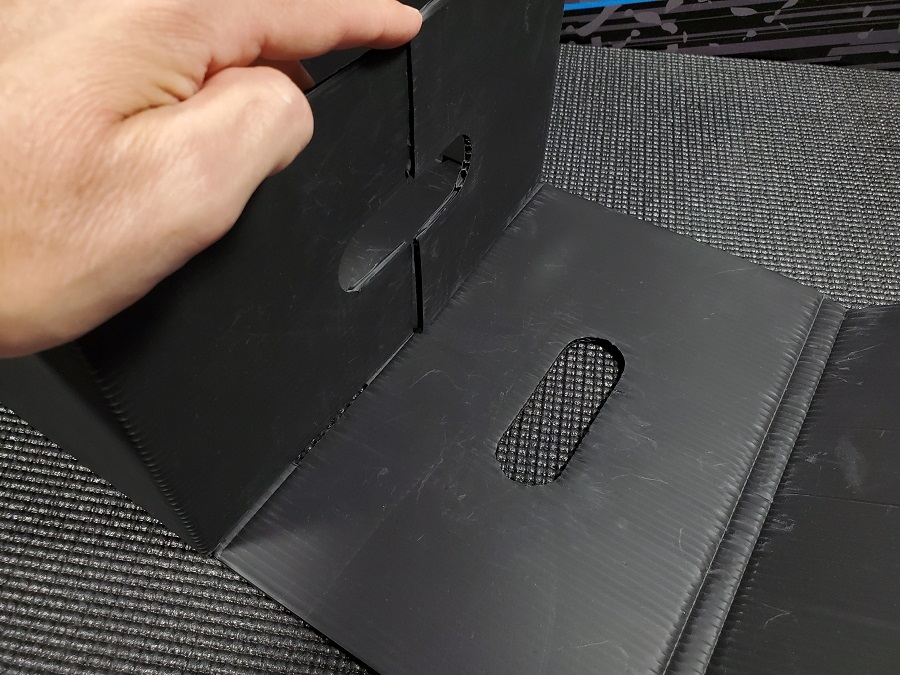
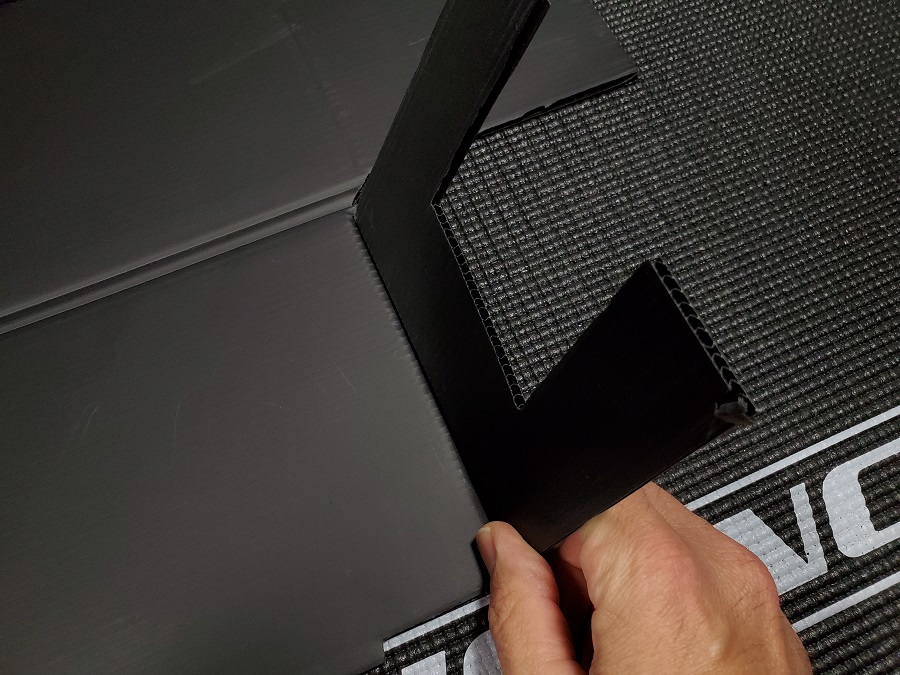
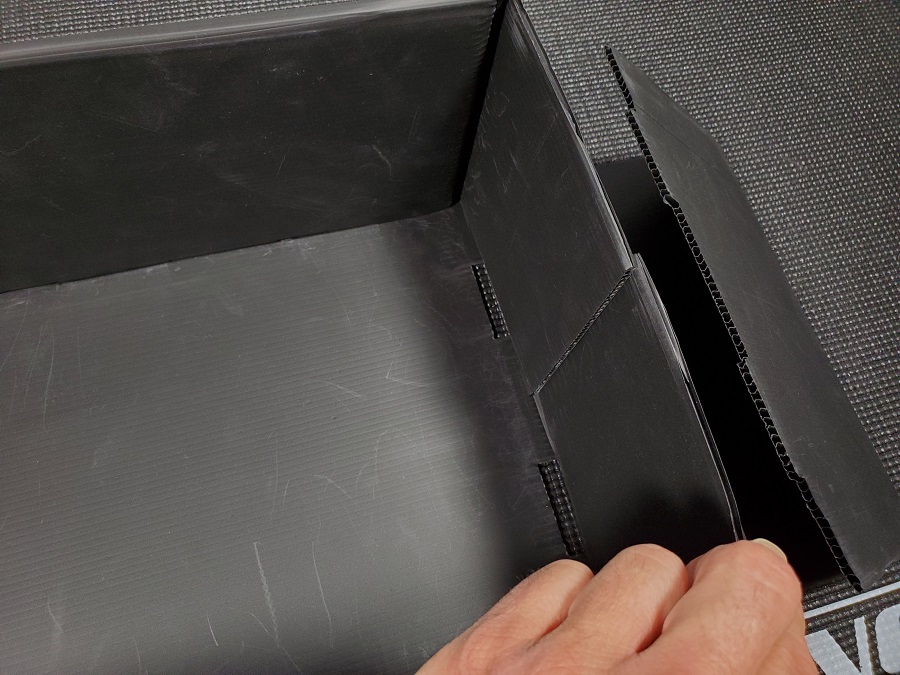
Now flip it around to the front and move the smaller flaps inward.
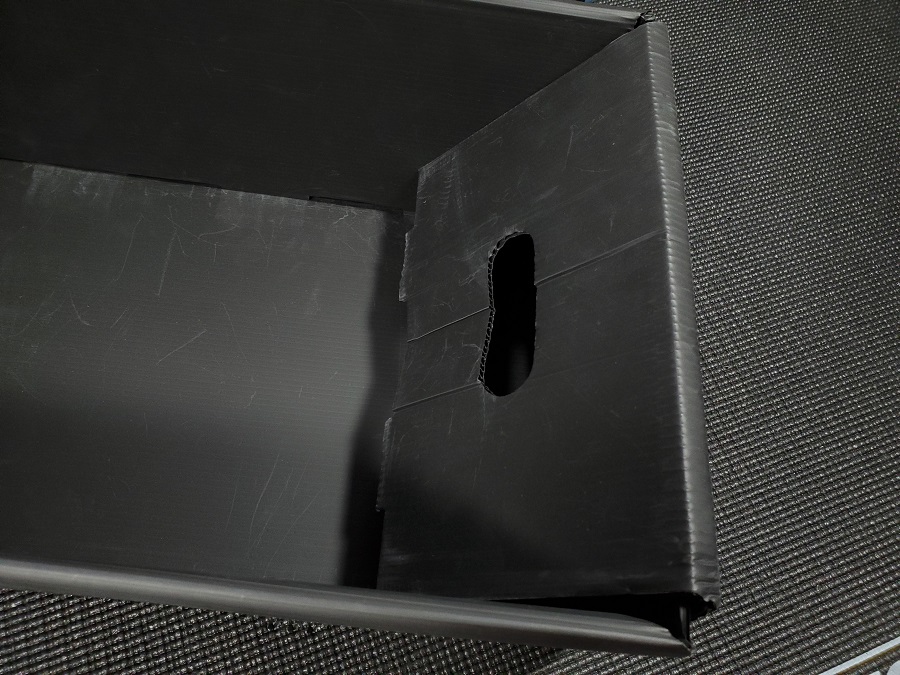
Then tuck remaining pieces over and again use the ‘teeth’ to hold it in place. There will be an oval shaped cutout that is left clear where the handle is installed.

Now, grab that handle and stick it through the hole as shown here. To complete its installation you need to ‘snap’ the two sides together. You can start on the front or rear side of the handle, but in this story I’ll work my way from the front to the back.
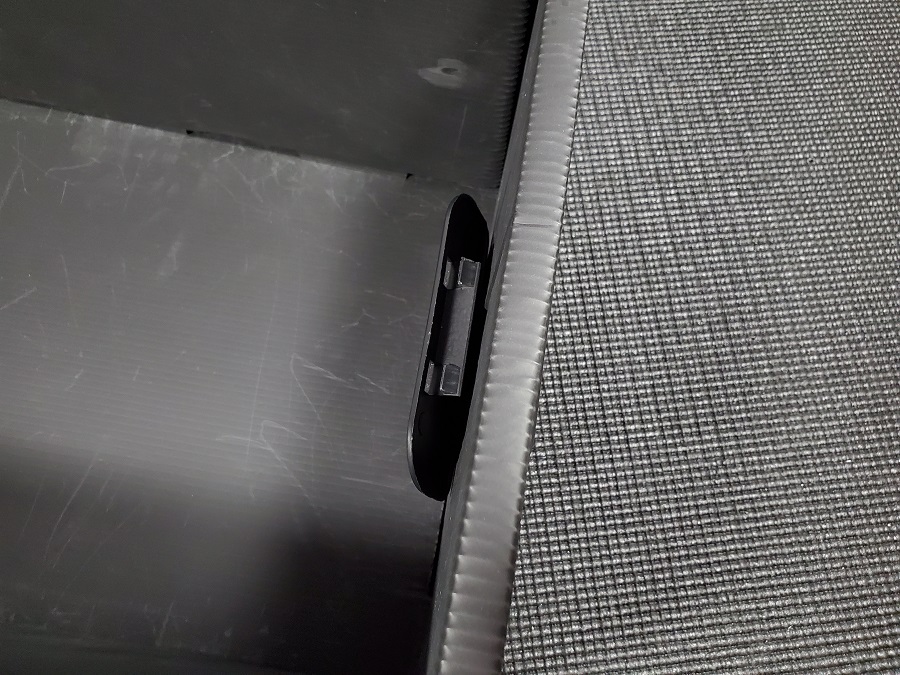
So push the front side of the handle in so it is seated flush with the front of the drawer.
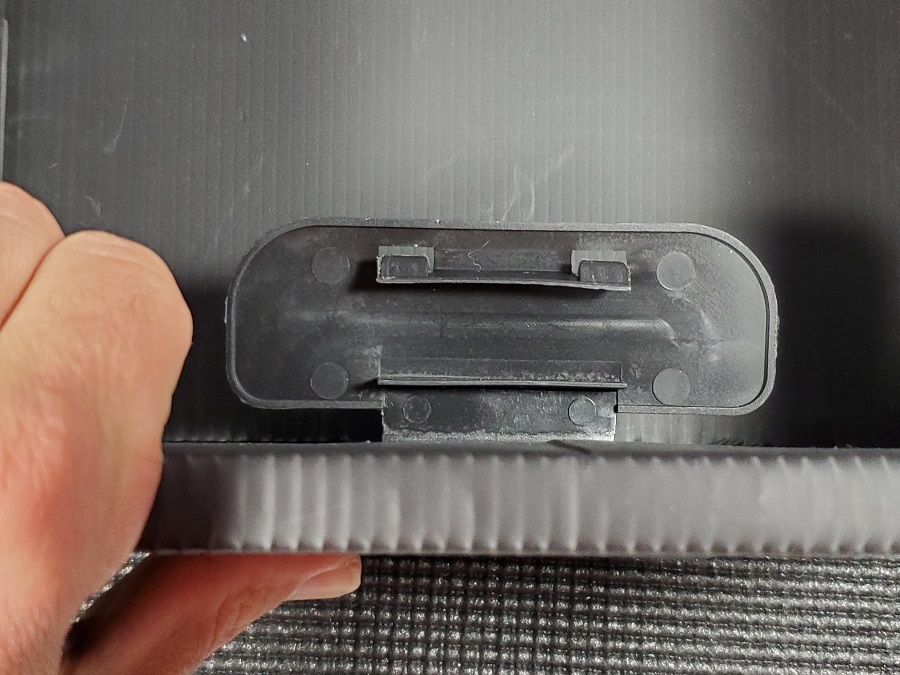
Make sure you have the handle orientated the correct way. Here is another angle of it looking directly down with the front part already in place.
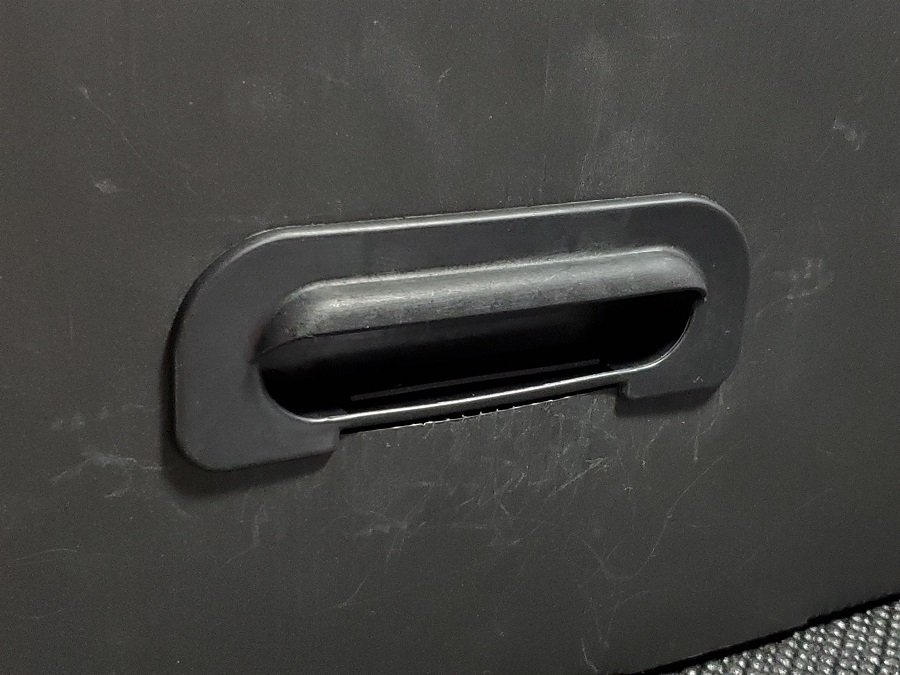
Once it is snapped together this helps to keep the front of the drawer assembled too along with the ‘teeth’.
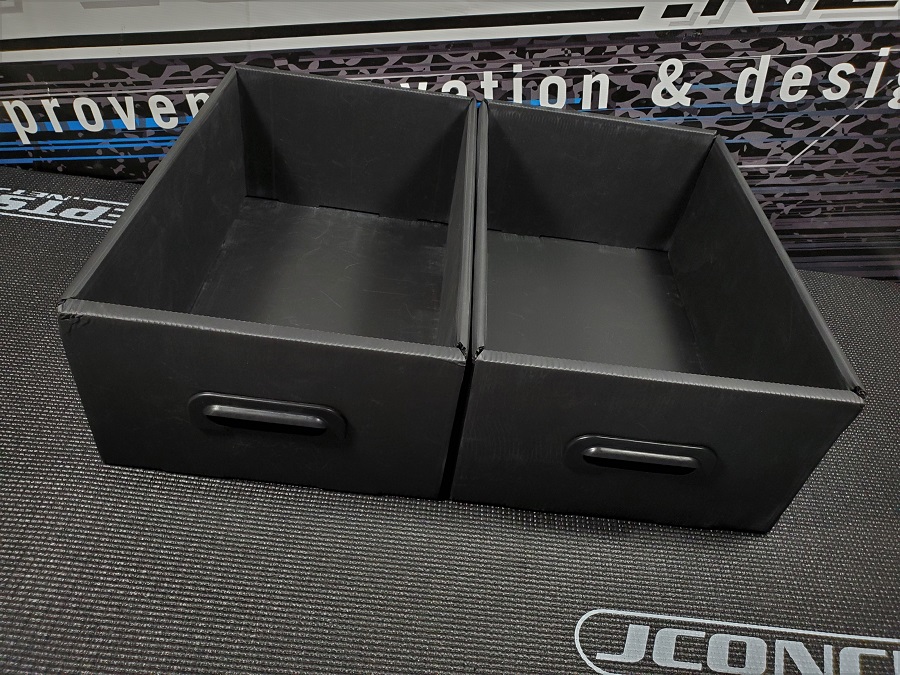
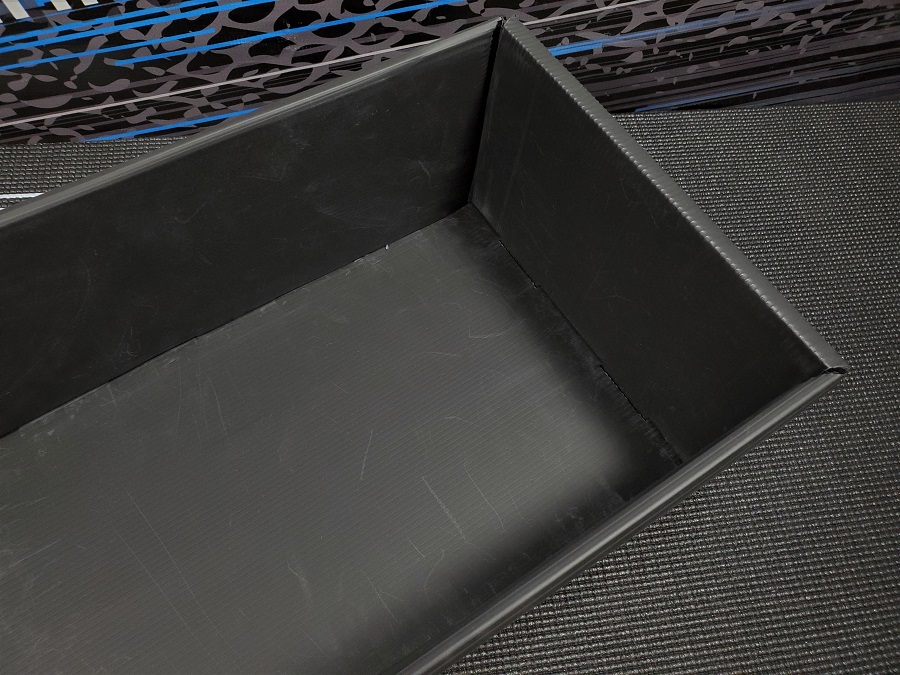
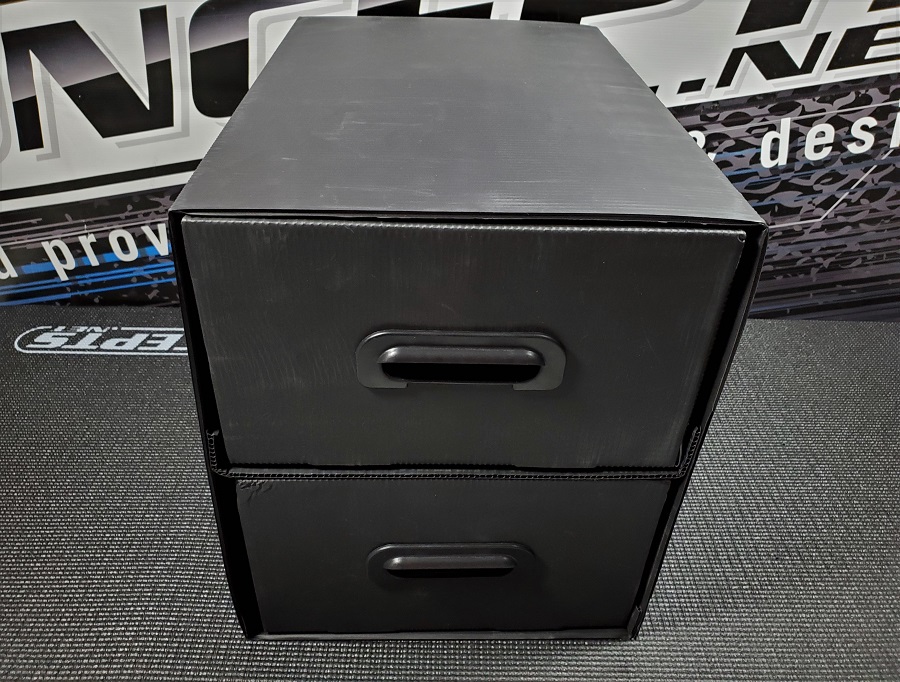
Now repeat these steps until you have two assembled drawers.
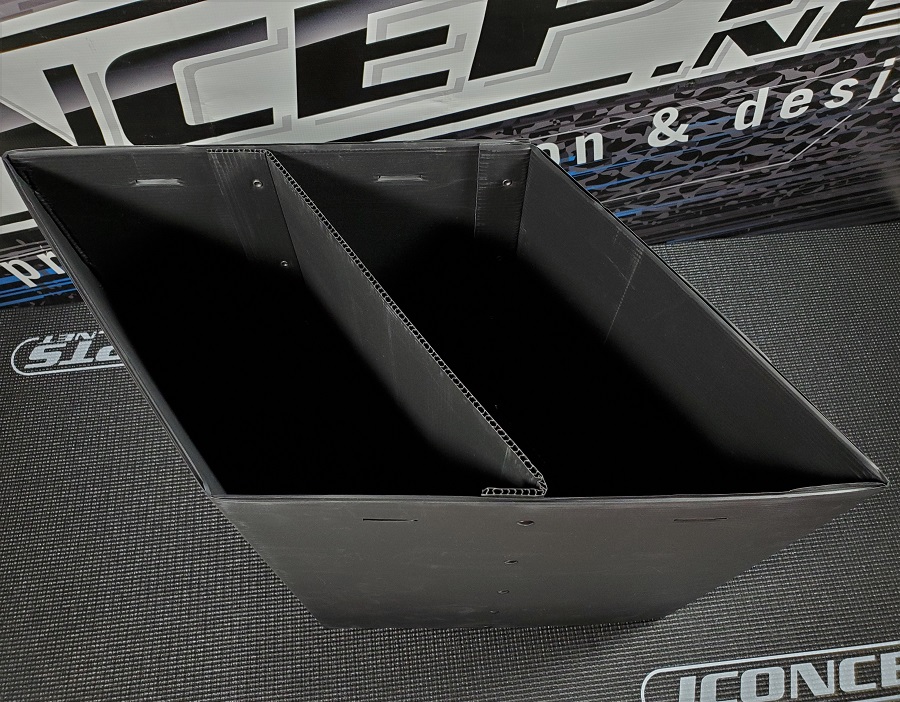
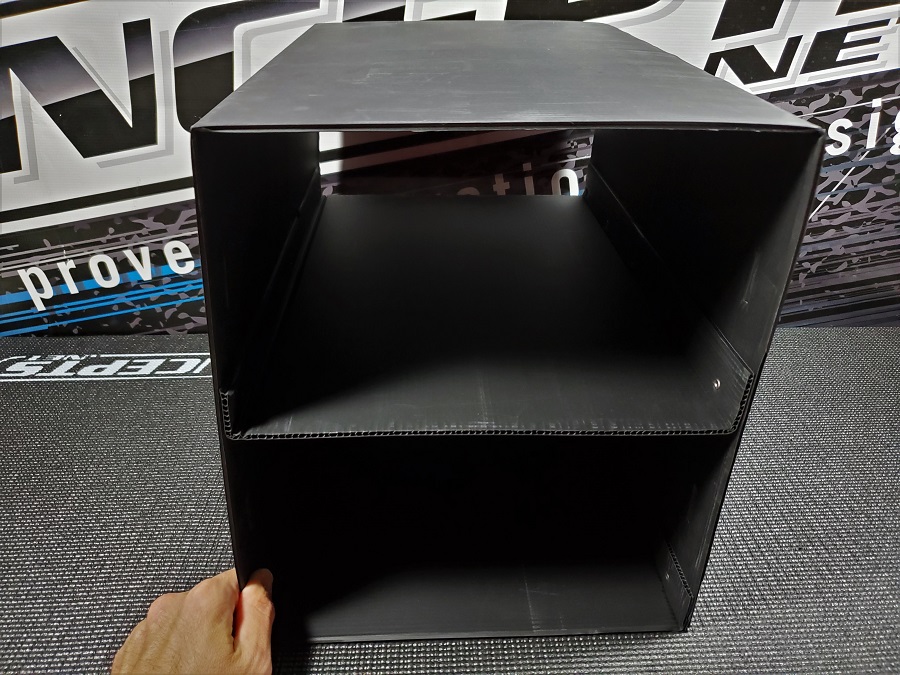
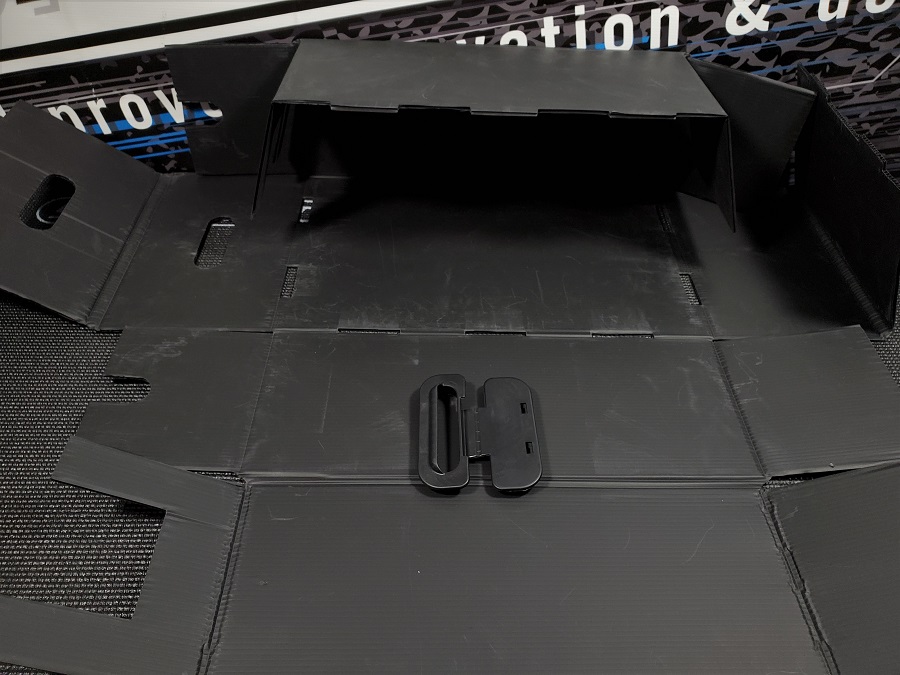
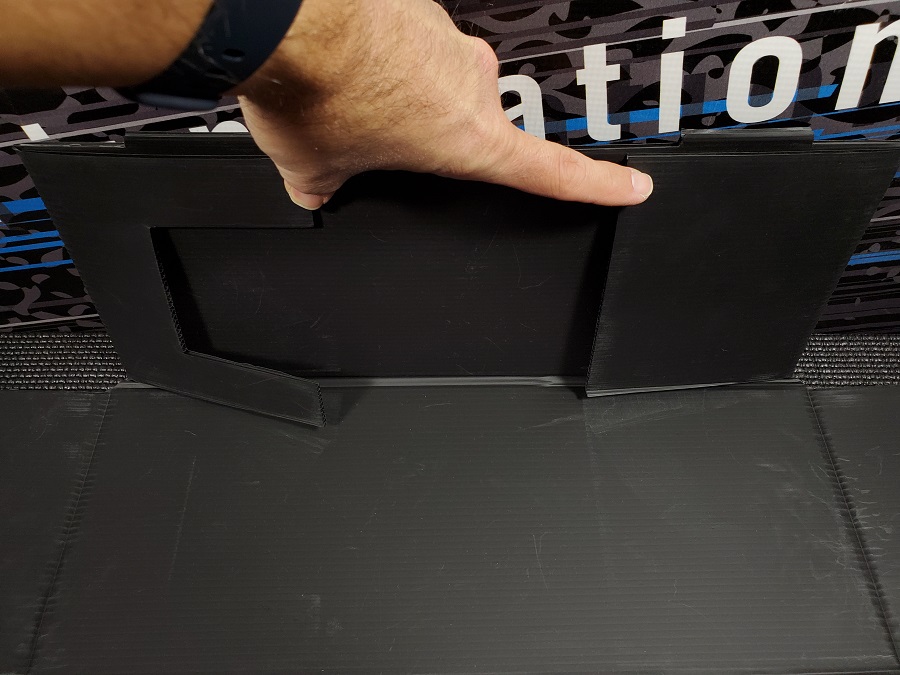
Now grab the other large piece which is the ‘backbone’ to this Finish Line Small Racing Bag. It is already assembled and reinforced with rivets, so all you need to do is to unfold it.
Also note the orientation of the inner divider. It needs to point upward like I have it shown here.
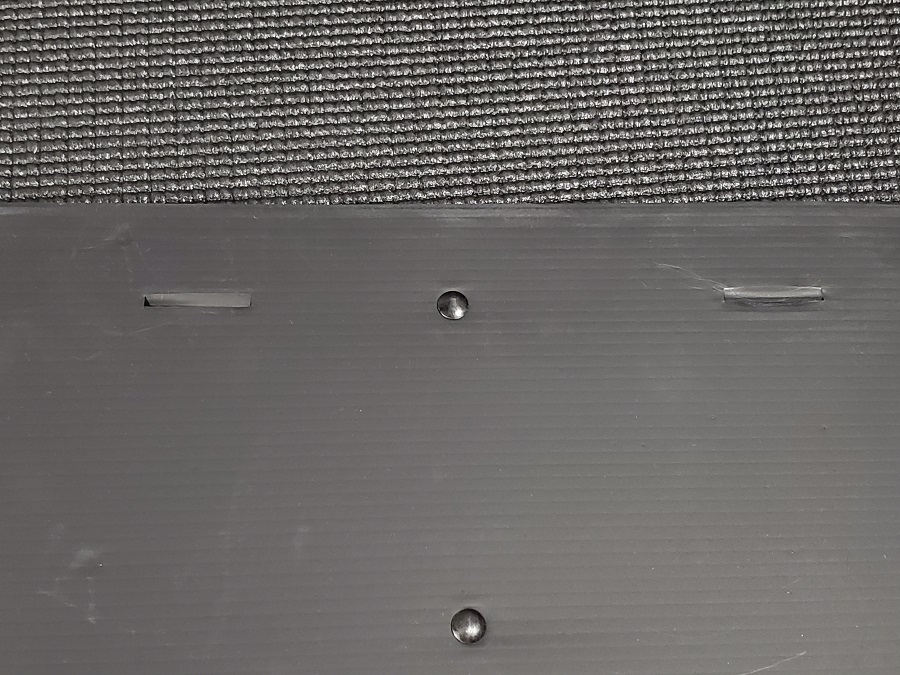
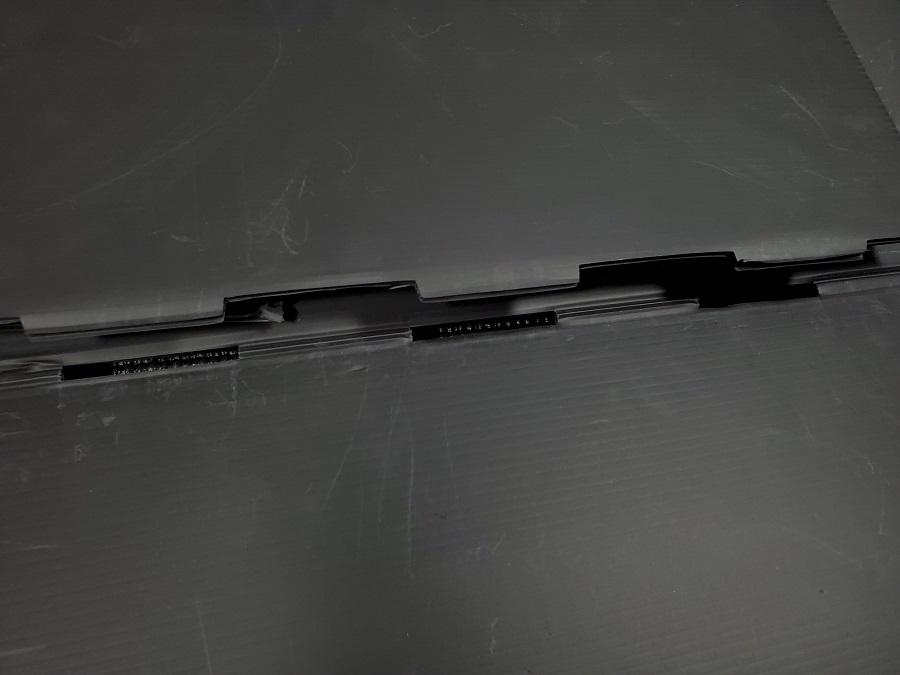
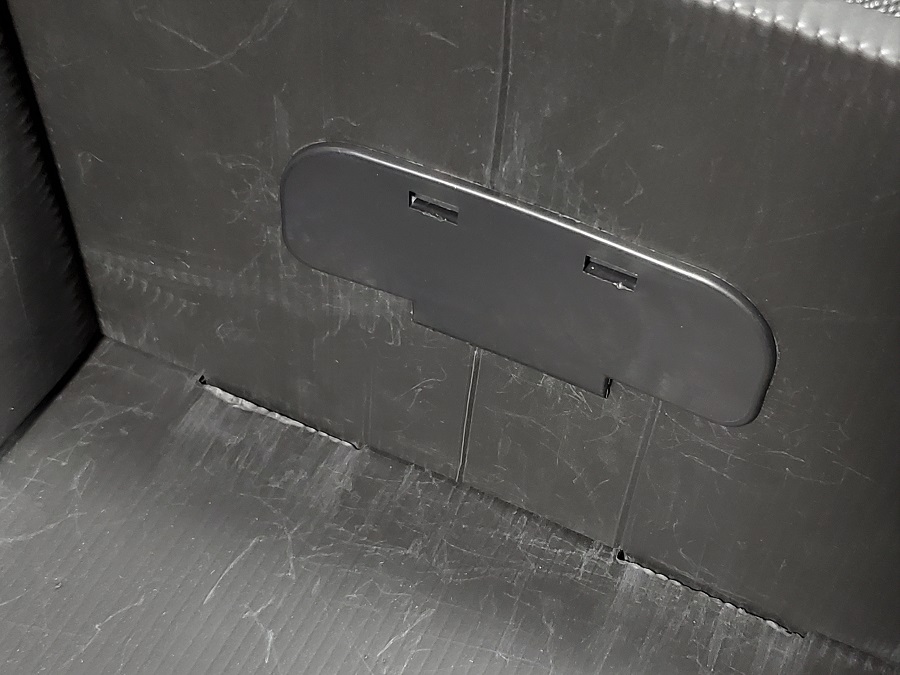
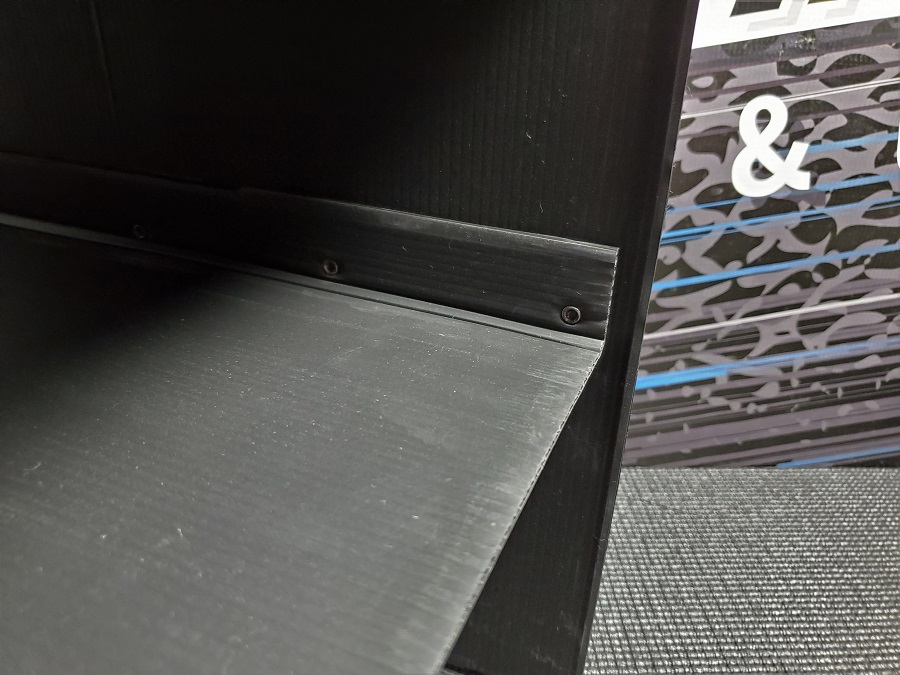
Do notice that one side of this ‘backbone’ has four small slits. This is considered the backside of the drawer system.
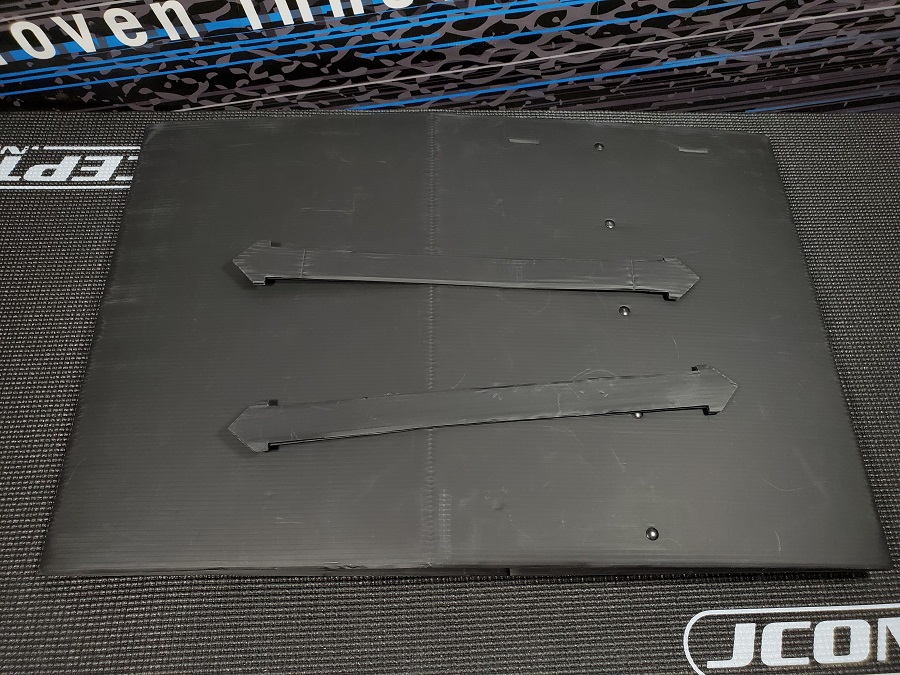
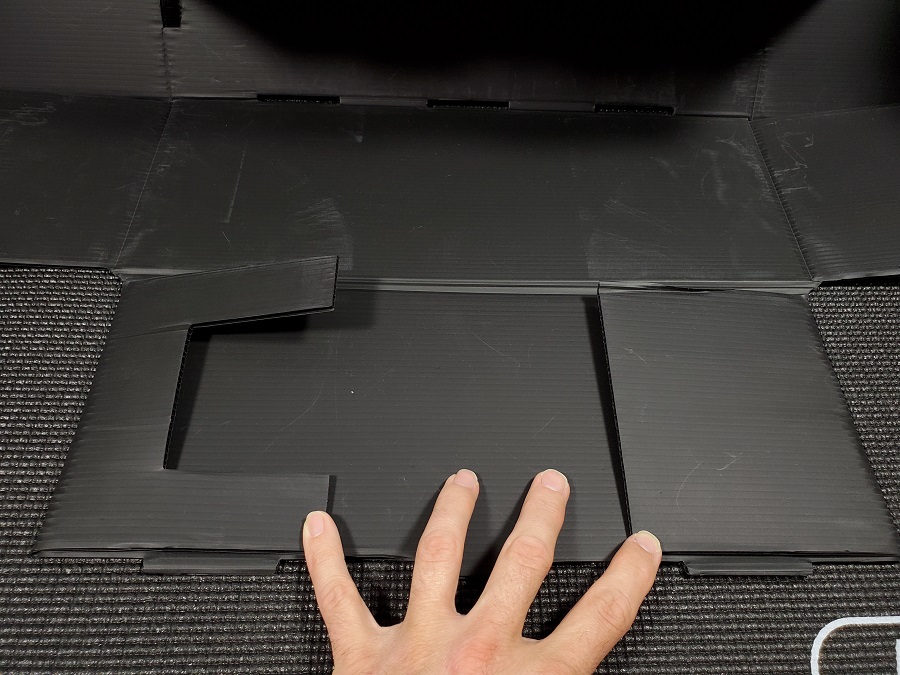
Those slits are used for the two included smaller pieces with arrow heads on each side of them. Those pieces act like bumpers to help keep the drawers from pushing out the backside when they are installed.
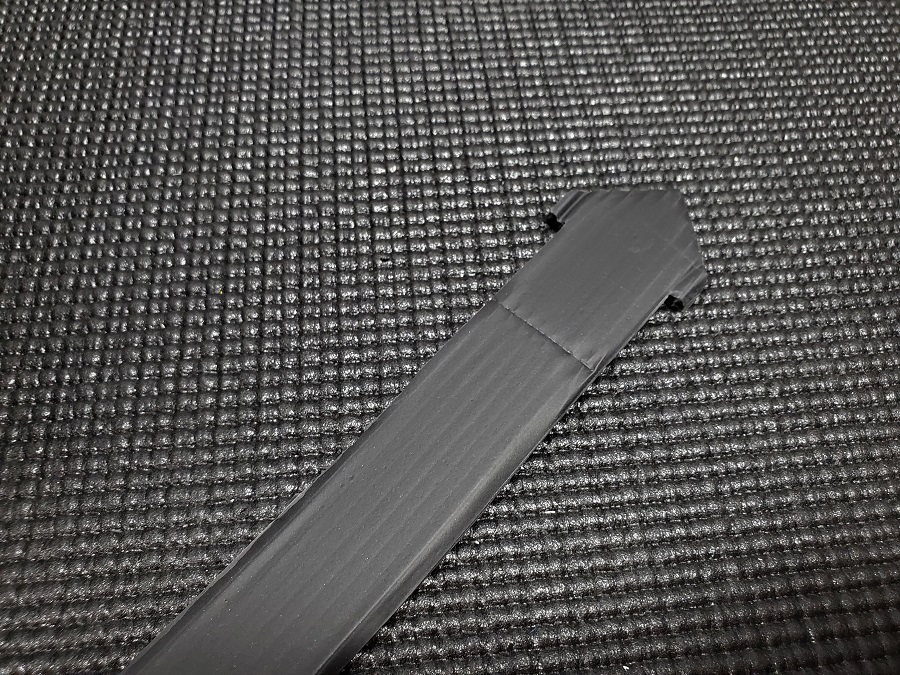
They also have a crease to them since they are designed to fold towards the front of the bag after they are installed.
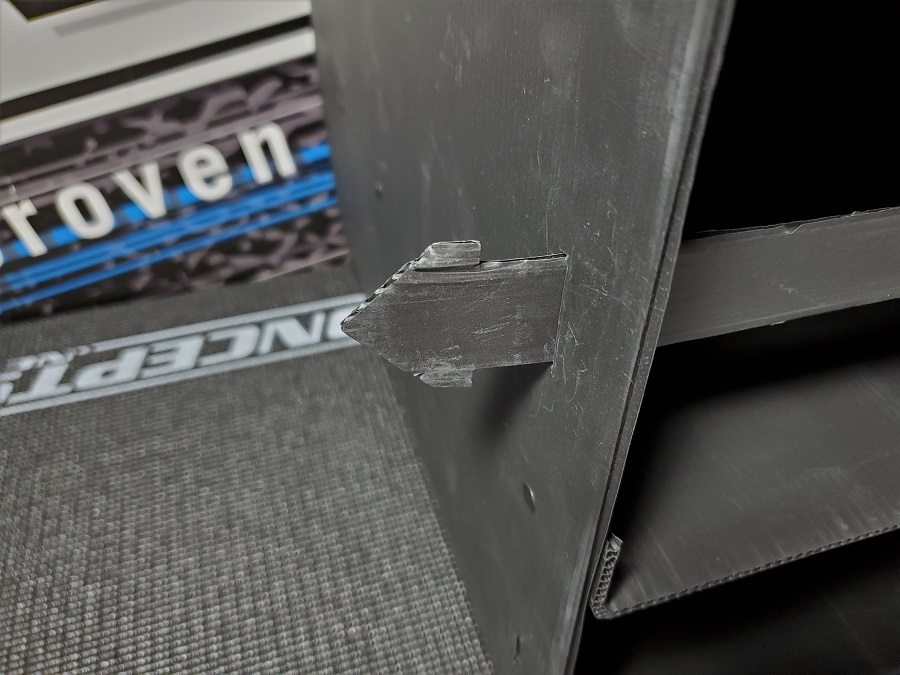
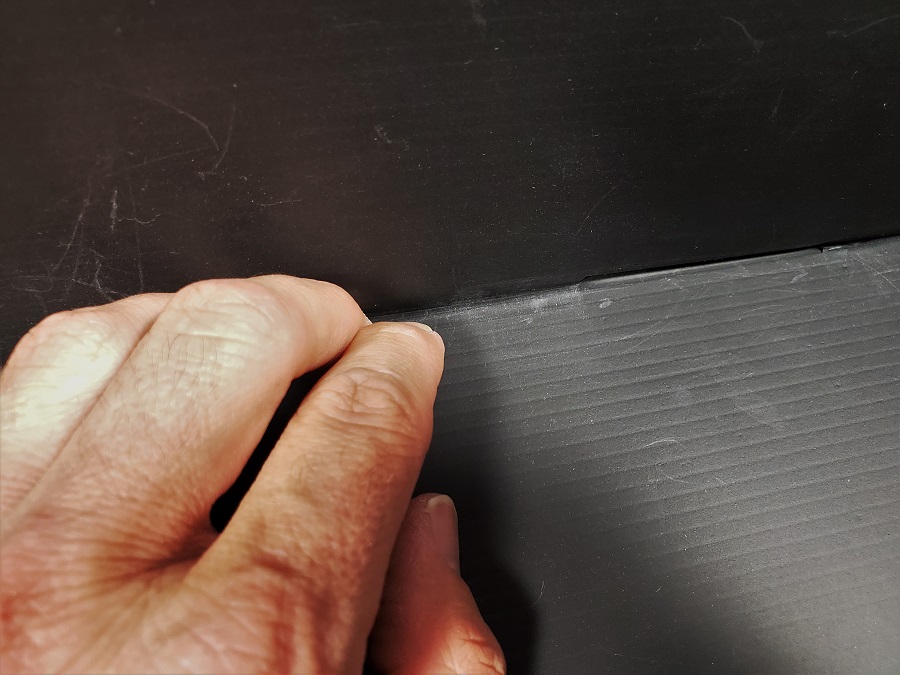
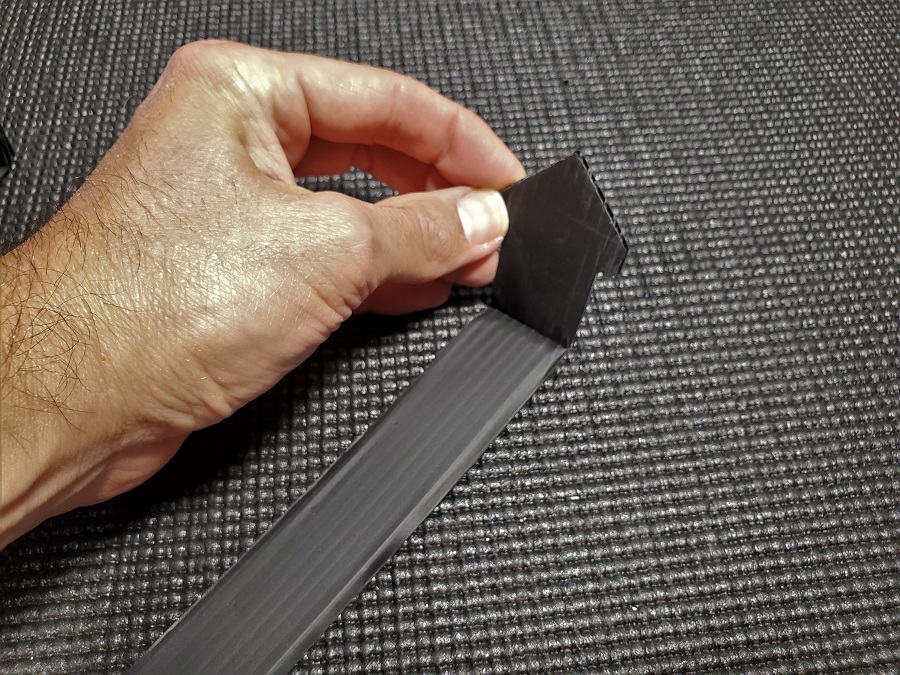
To install them simply work the arrows through the slits from the inside the inner backbone. Then gently fold them forward and if they don’t stay folded don’t worry since they will want to fold that direction when you install the outer covering later on.
Once this is done install the drawers so the bag retains it shape. This also helps to make it easier to slip on the outer covering.
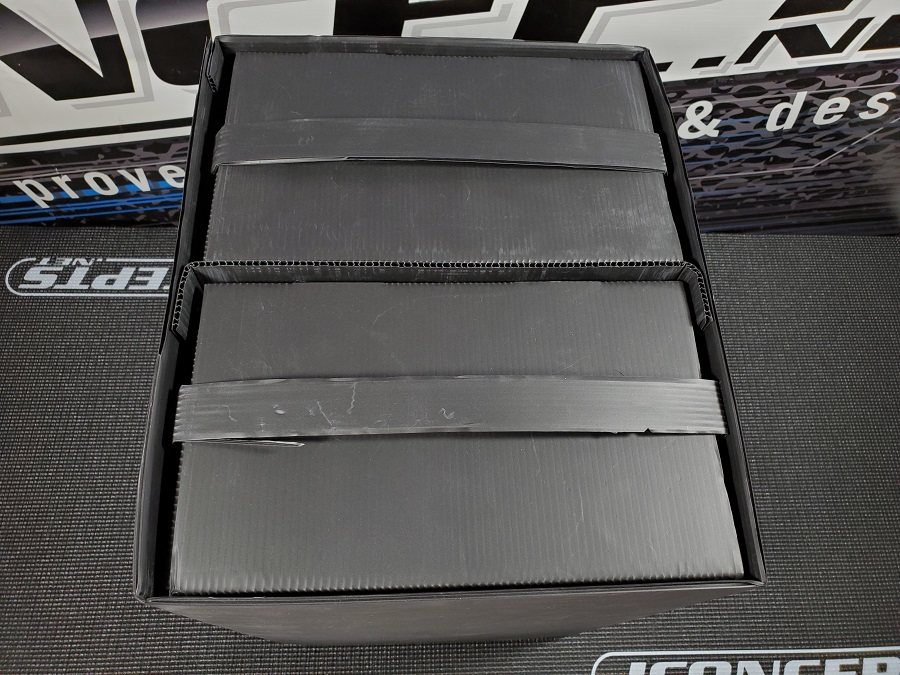
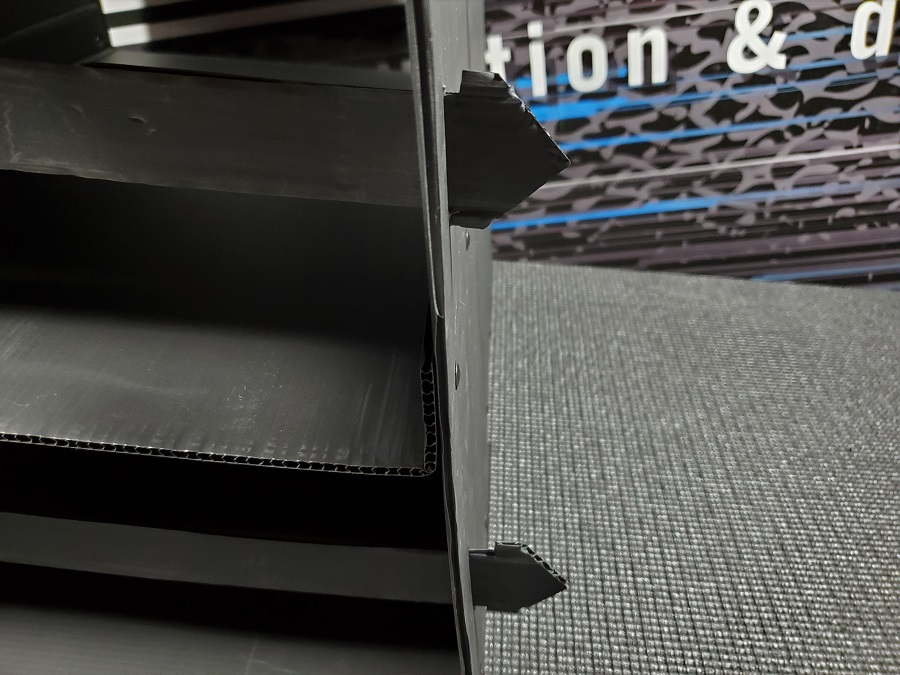
The easiest way I found to slide this cover on was to take the assembled backbone and drawers and set them upright so that the opening for the drawers is against the ground. You can also see the ‘bumpers’ installed in the above image too.
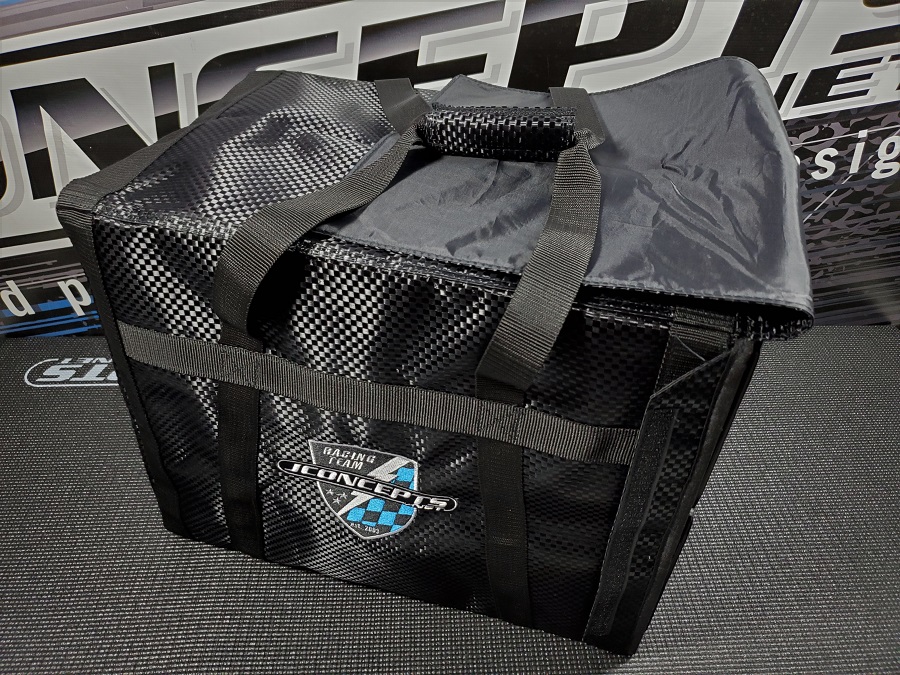
Now, carefully slide on the cover and gravity will help slide it into place. Make sure to take your time and that those bumper arrowheads point forward too. Now, that is is assembled, let’s go over some of the features.
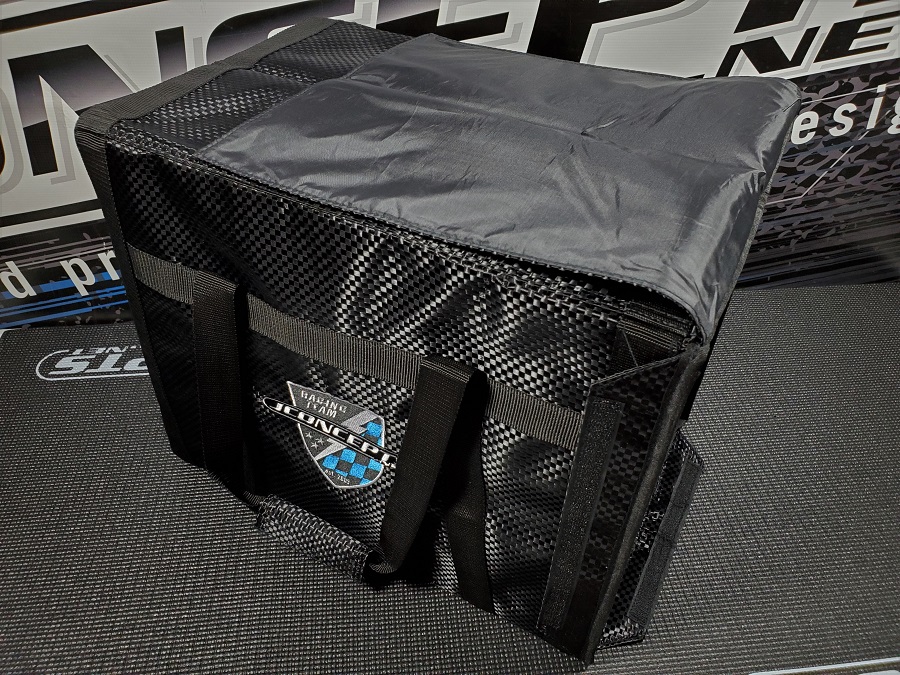
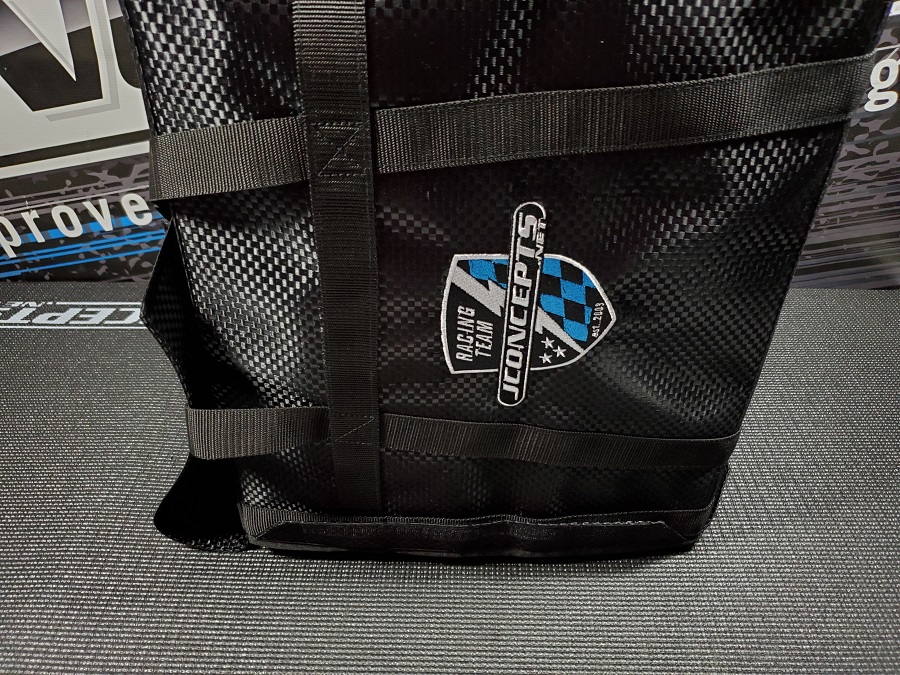
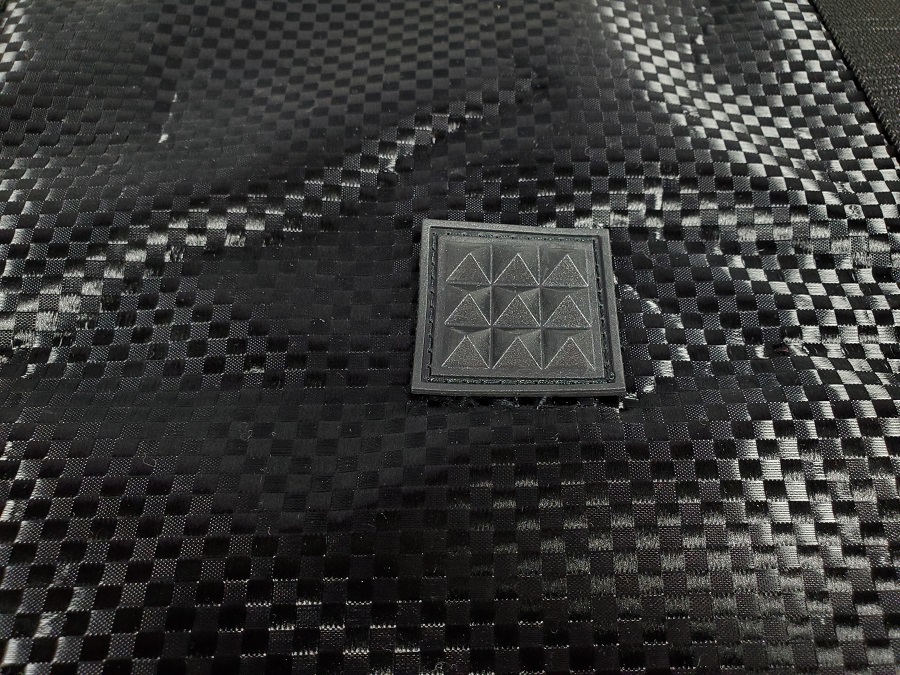
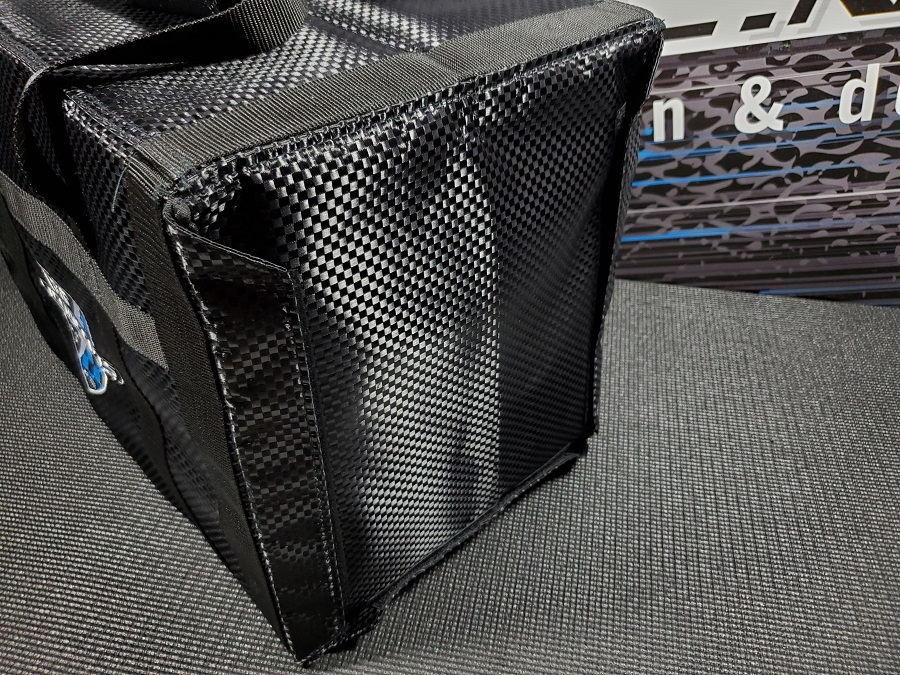
Again the first thing you will notice is the sharp looking Finish Line livery which has a carbon fiber like appearance to it.
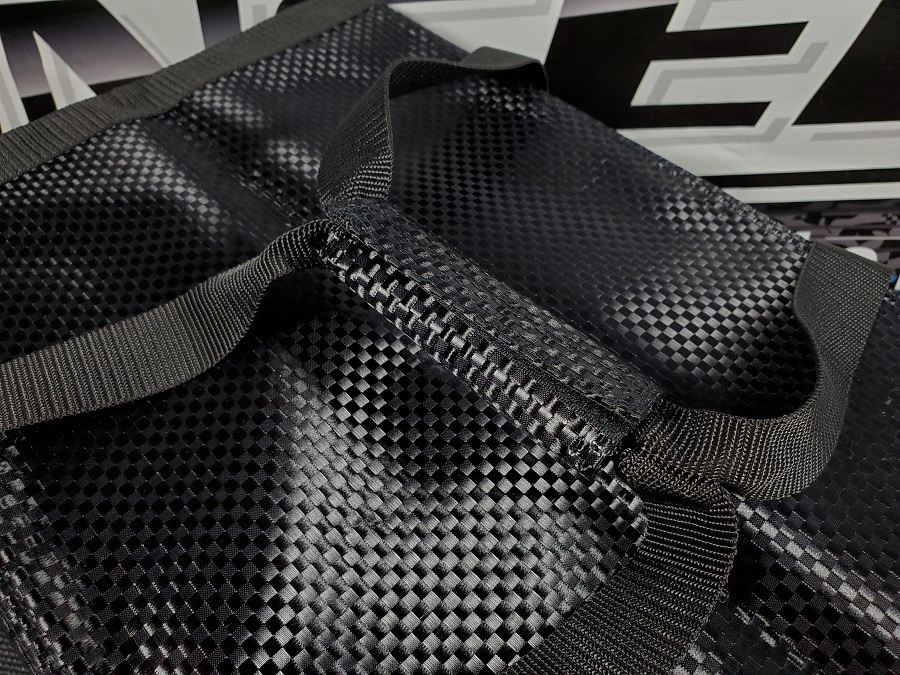
Sewn into the top of the bag is a carrying strap that can be hooked together with integrated hook and loop tape.
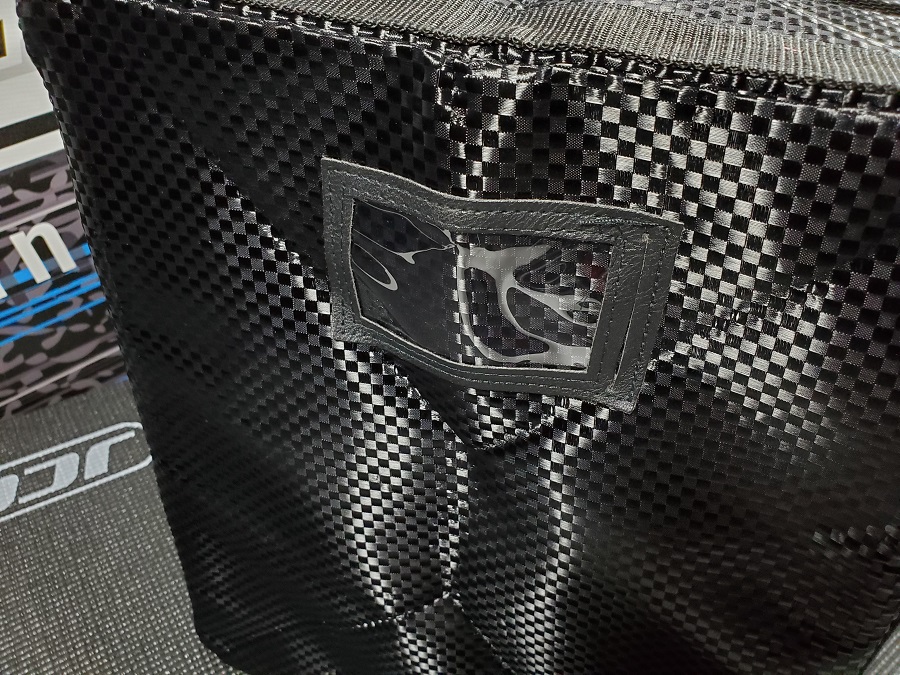
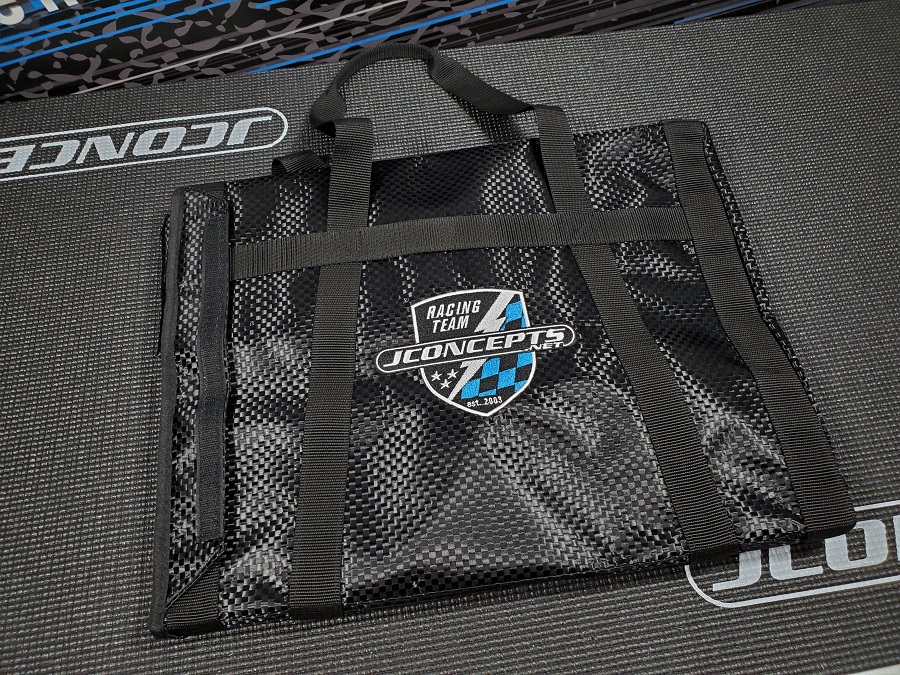
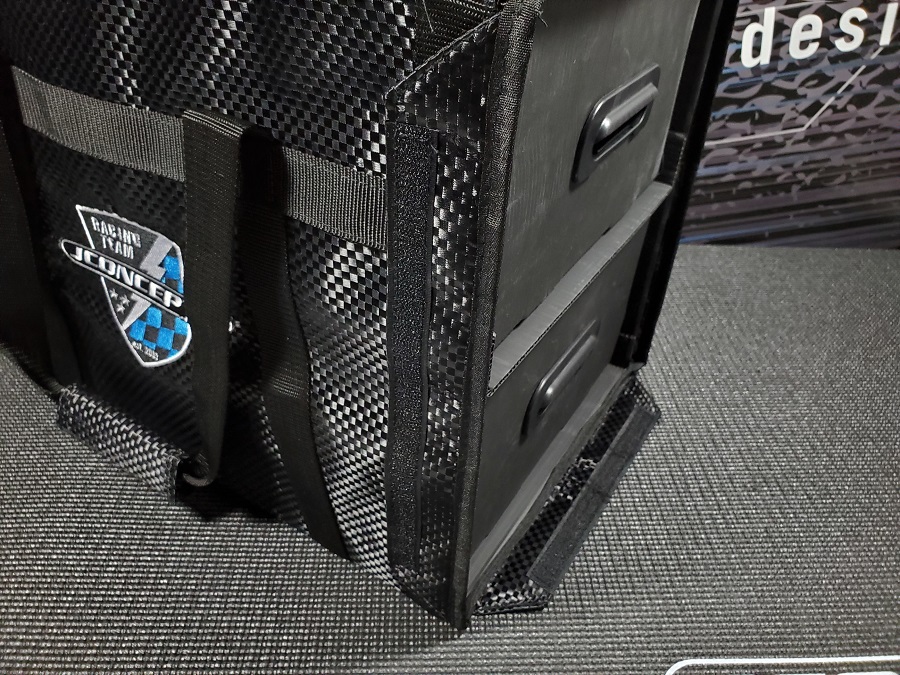
On both sides of the bag there is an embroidered JConcepts logo for authenticity and a business card (remember those?) or identification holder is located on the back.
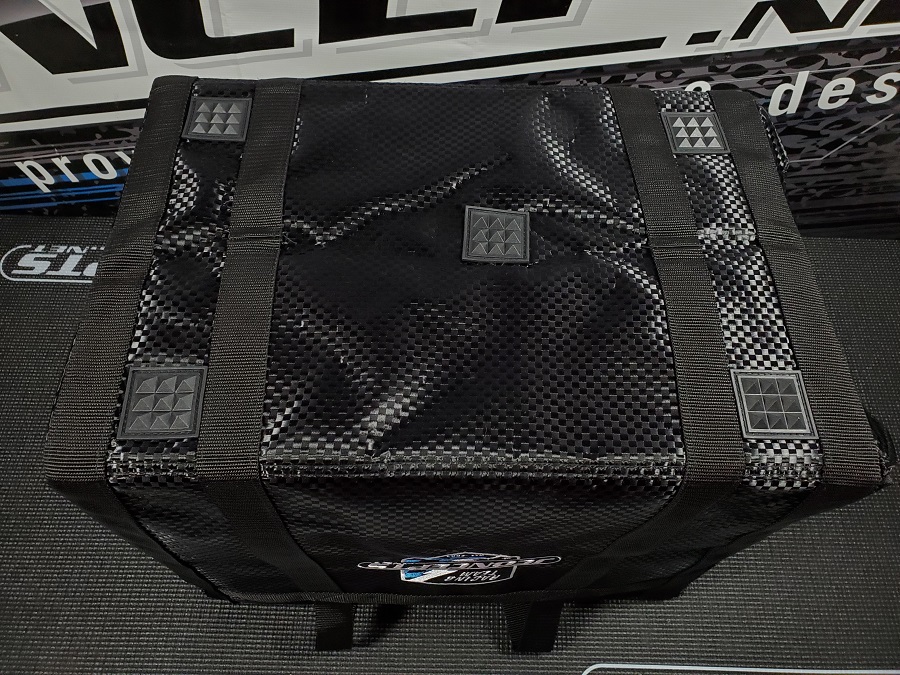
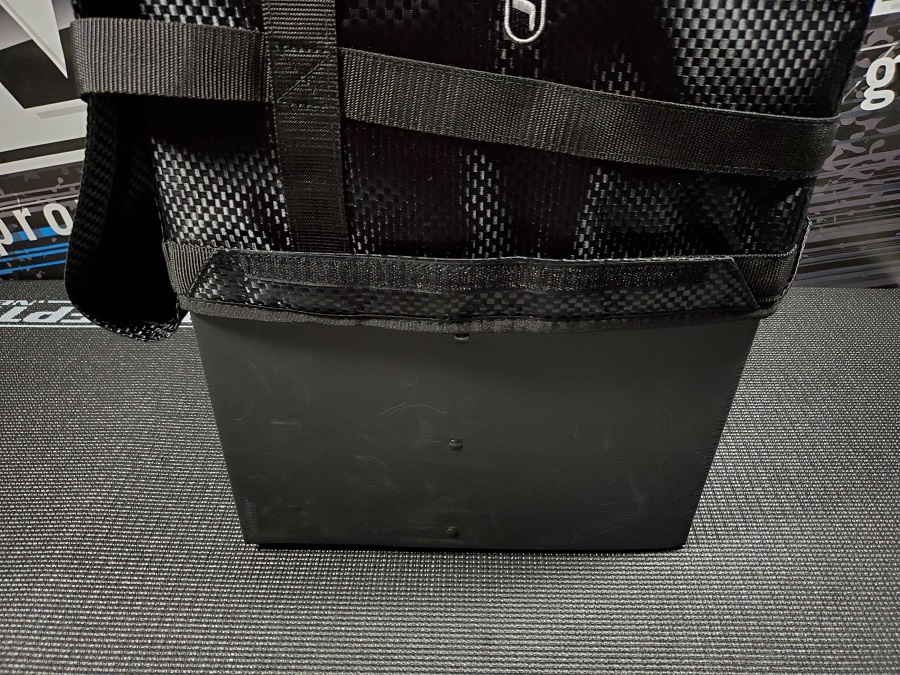
Flipping it over to the bottom you will see five sections with black, molded plastic ‘pyramids’.
These help to keep it in place on your pit table when pulling the drawers open, plus it will keep the bottom of the bag from coming into direct contact with dirty or wet surfaces more.
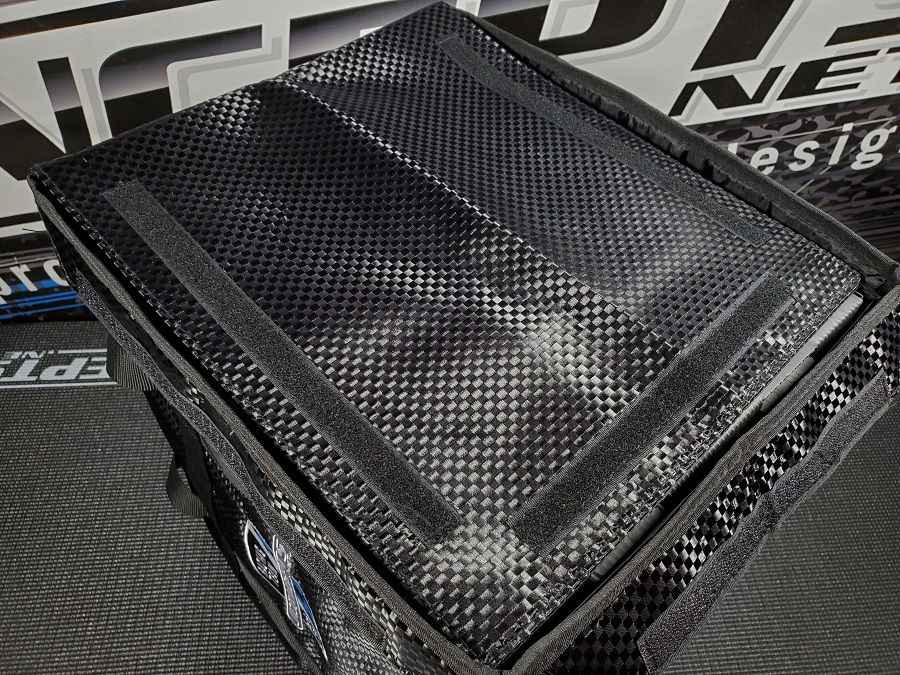
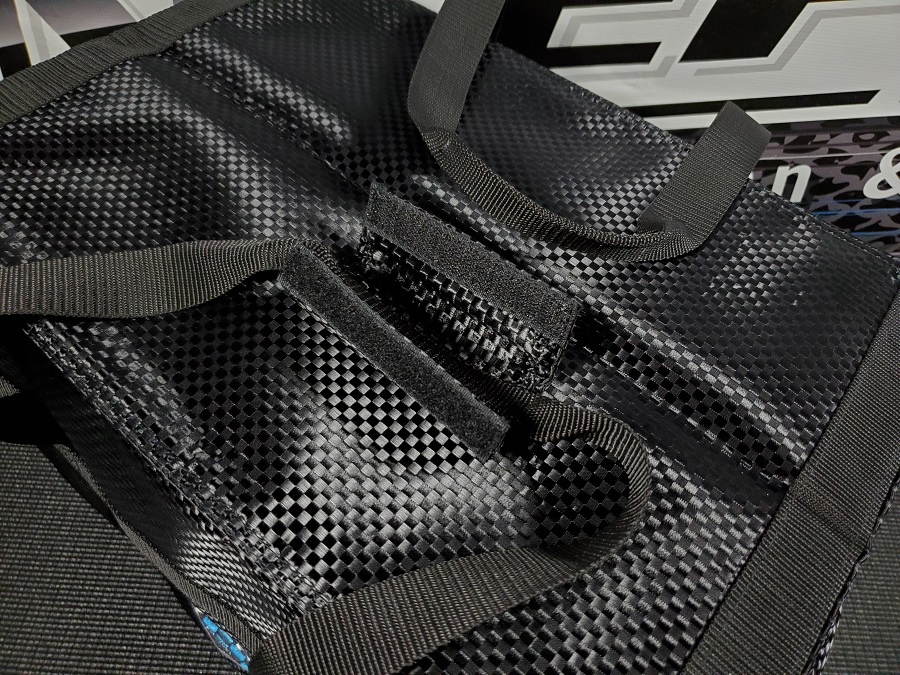
Finally, looking at the front you can see three large integrated hook and loop tape strips that are used to keep the main cover secure when transporting the bag.
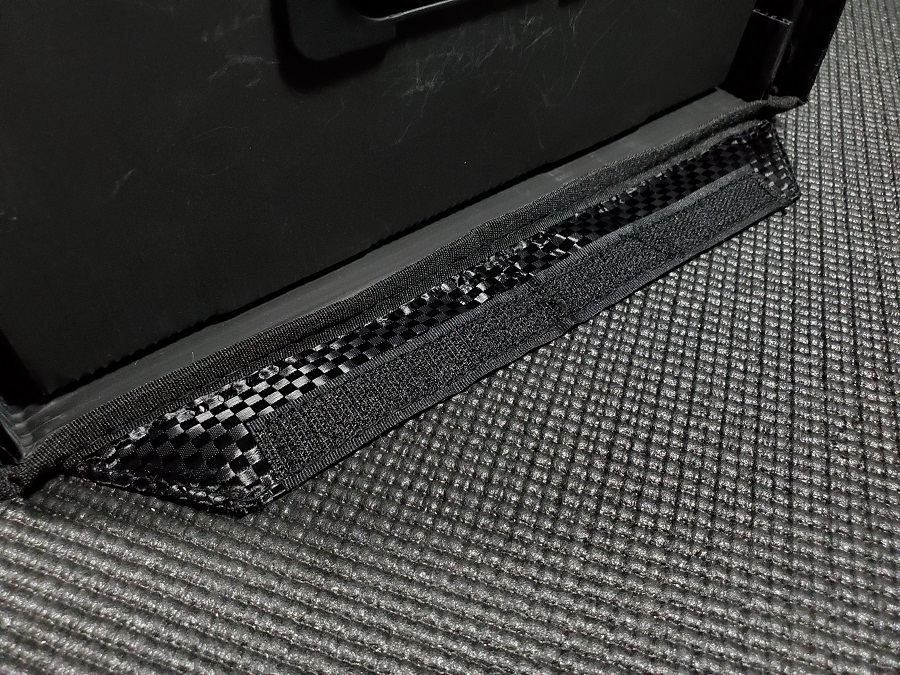
Around the opening to the bag there are also side flaps and a bottom flap with integrated hook and loop tape.
Simply fold those flaps over so they connect to the main cover to keep everything locked into place.
When you need to open the bag simply unhook these flaps and flip the main cover up on top. It also helps sometimes to have the handle assembled and tuck the main cover underneath of it.
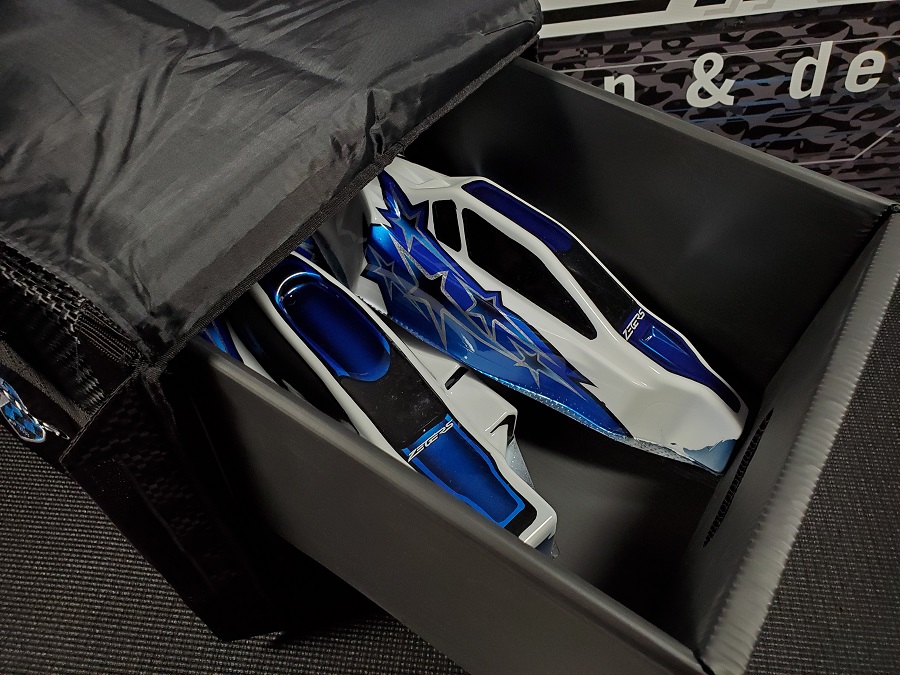
When assembled, this multi-purpose bag is 18”L x 14″H x 12″W and the two drawers give you lots of options for storing your gear like extra body shells.
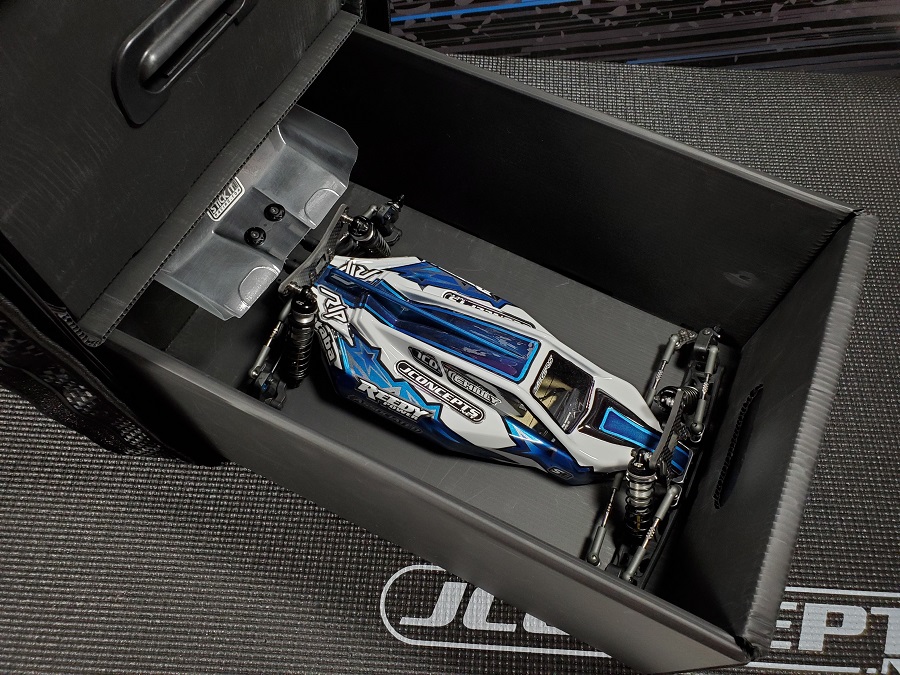
A 1/10 buggy with no tires and wheels installed.
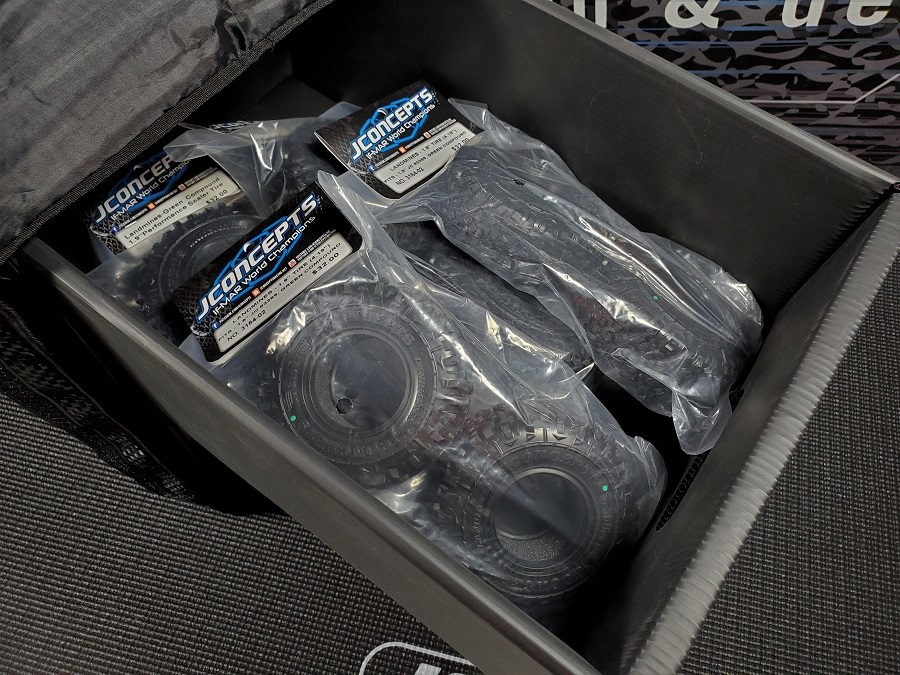
If you want to bring extra tires for a day of trail running they will fit in there too.
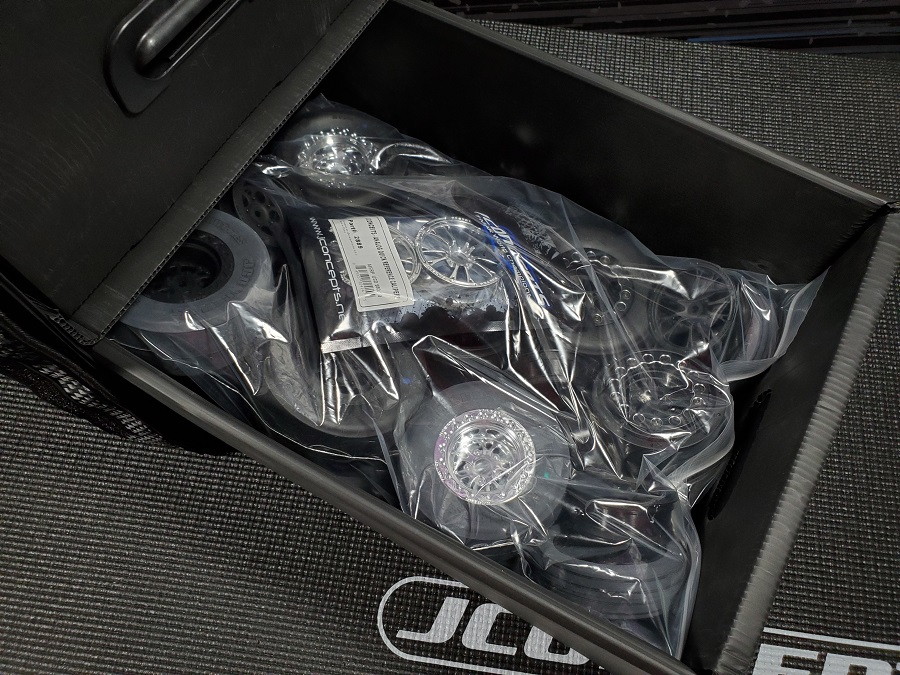
Or if you need some more tire options for a drag racing event, throw them in the drawers as well.
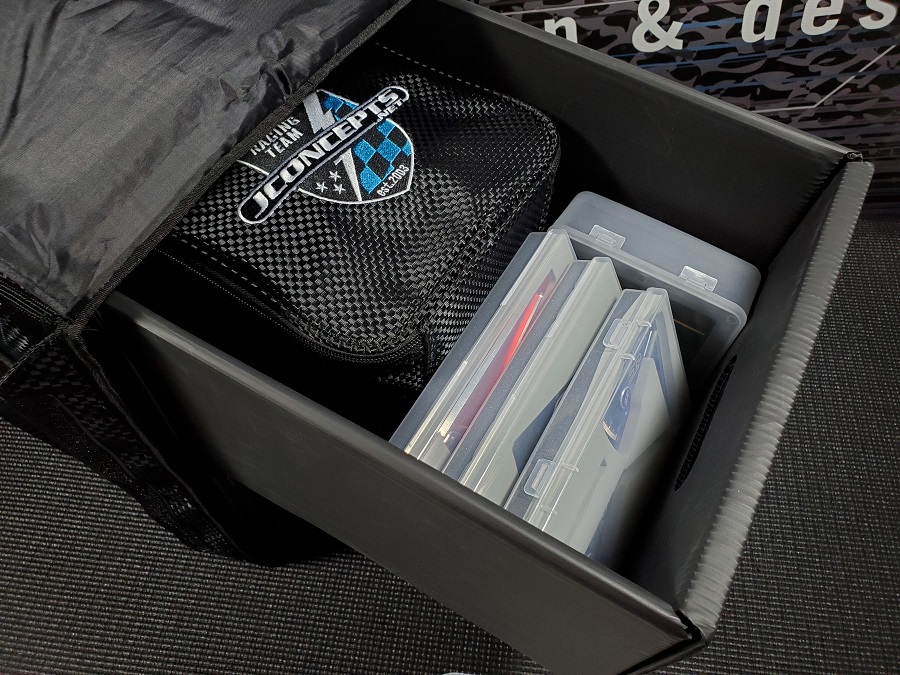
You can also choose to store extra tools, smaller bags, spare parts, etc.
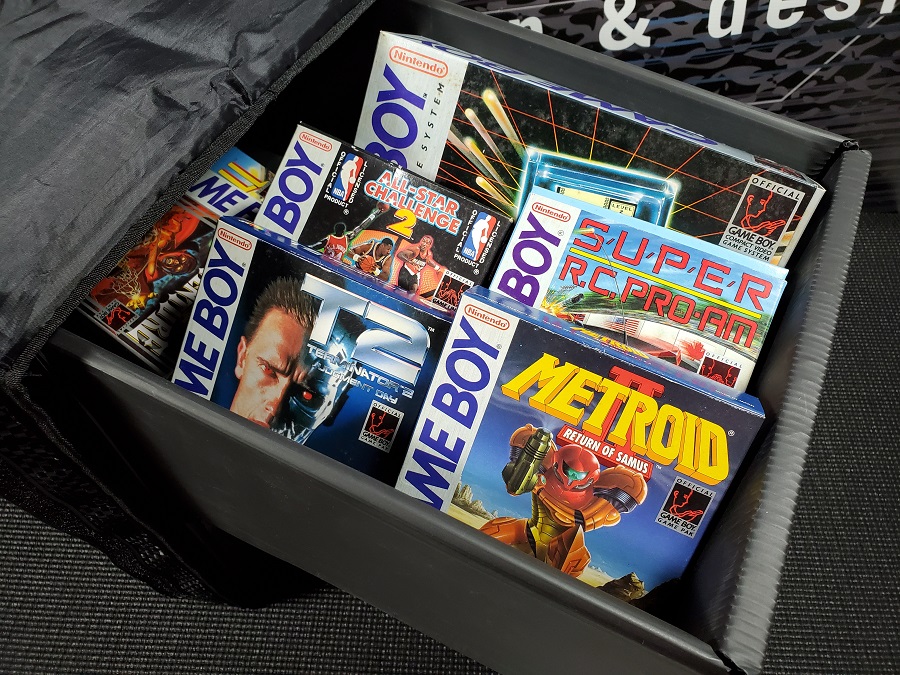
Heck, you can even store your vintage Game Boy collection in it as well. The choice is yours, so pick up your bag today!