
The scale crawling segment of RC is more popular than ever and JConcepts continues to release new and exciting products for this growing genre. From bodies, tires, wheels, and accessories we have you covered for both competitive and recreational events. In this edition of the Garage, we’ll take a look at a few products that we have recently introduced into the crawling market that are sure to be a hit with crawler owners everywhere.
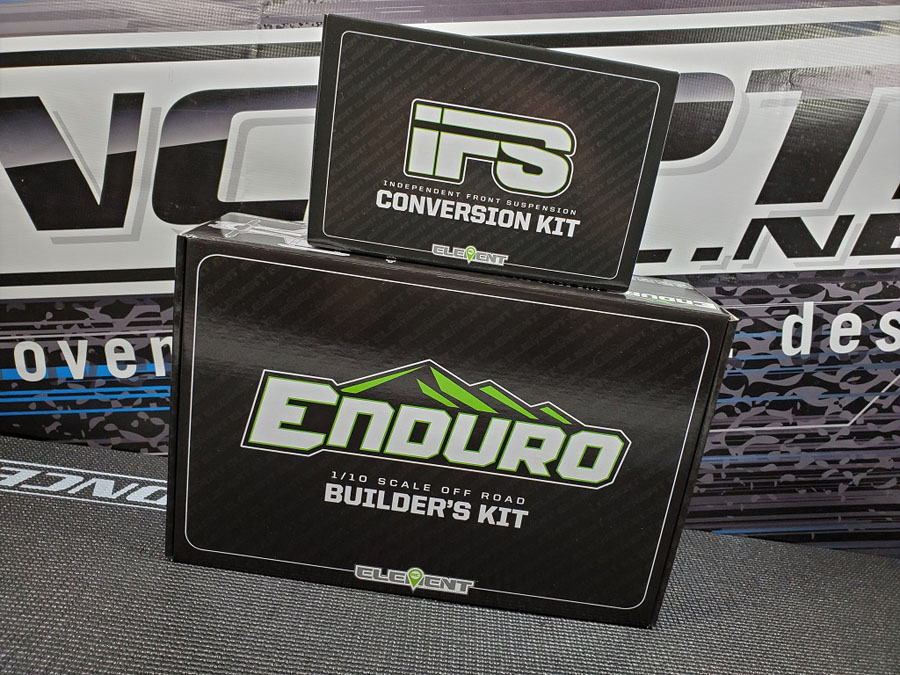
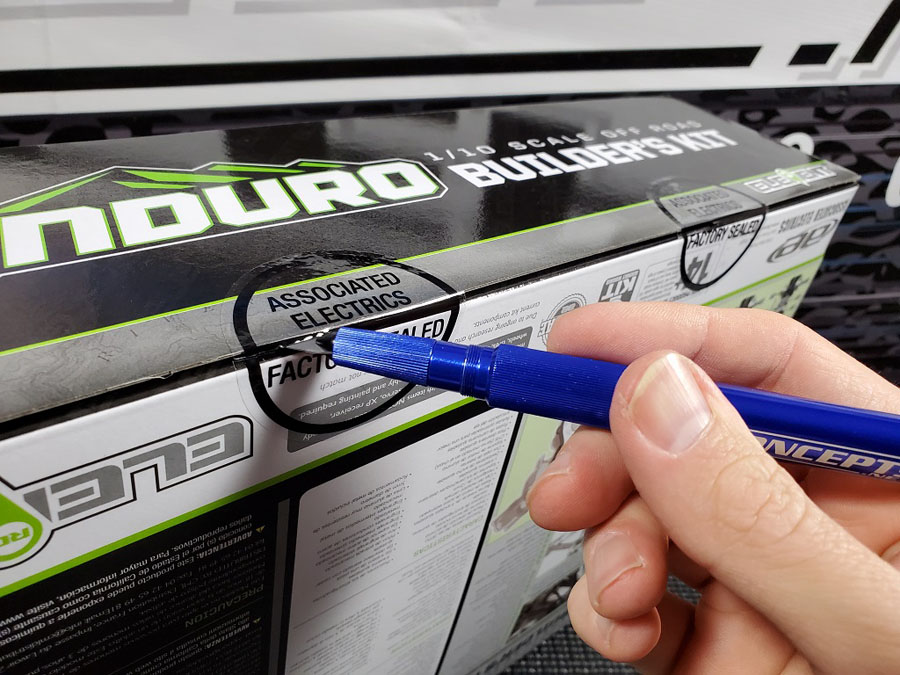
Before we can showcase some of these products we first needed a vehicle. So, I contacted our friends over at Element RC and they were happy to help us out. Since this new brand was launched in 2019 by Associated Electrics, it has been churning out tons of cool, full-size inspired vehicles in both RTR and kit form. So, for this build they sent over their Enduro Trail Truck Builder’s and IFS Conversion kits.
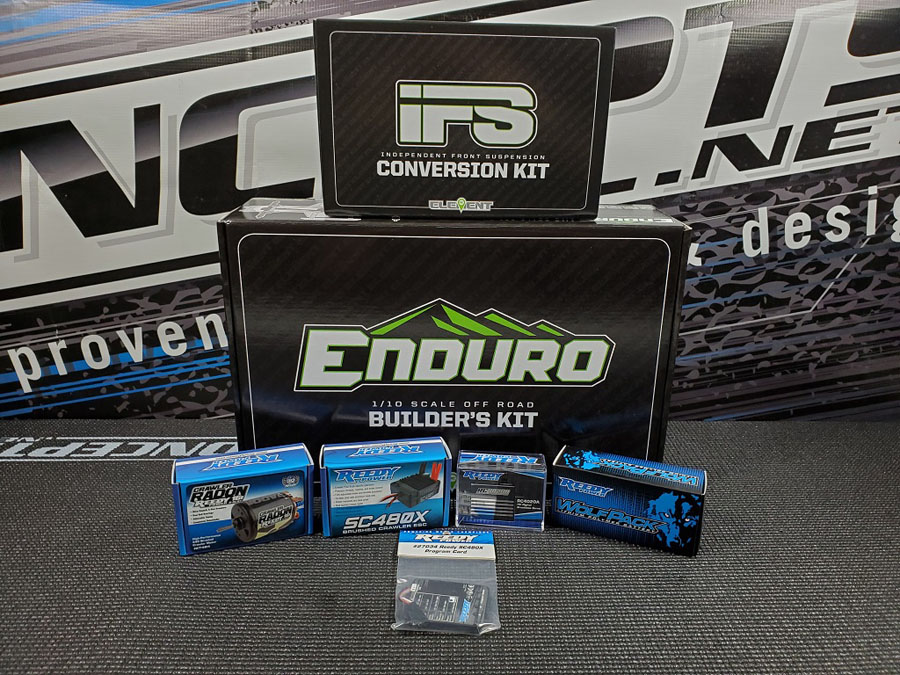
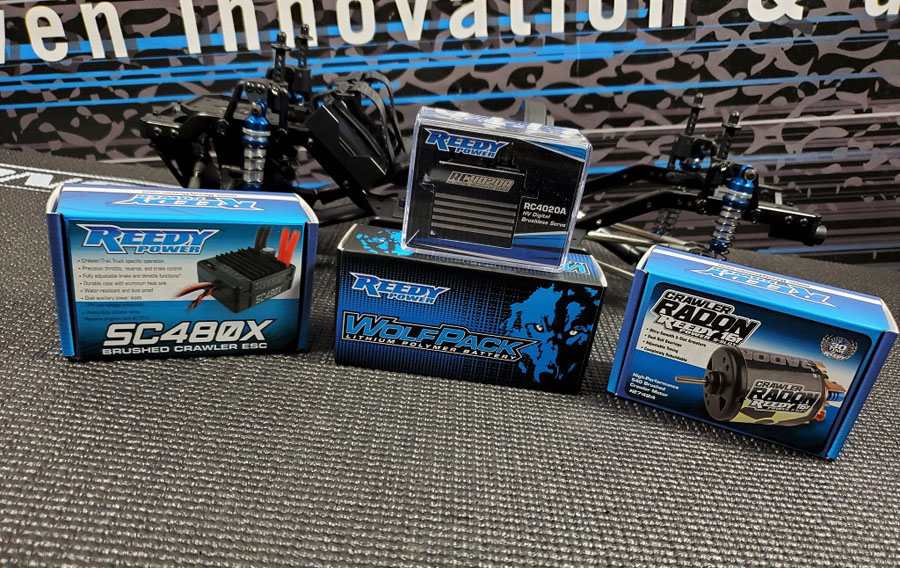
Reedy is also their in house brand of electronics so they also supplied us with an ESC, motor, battery and programmer box too.
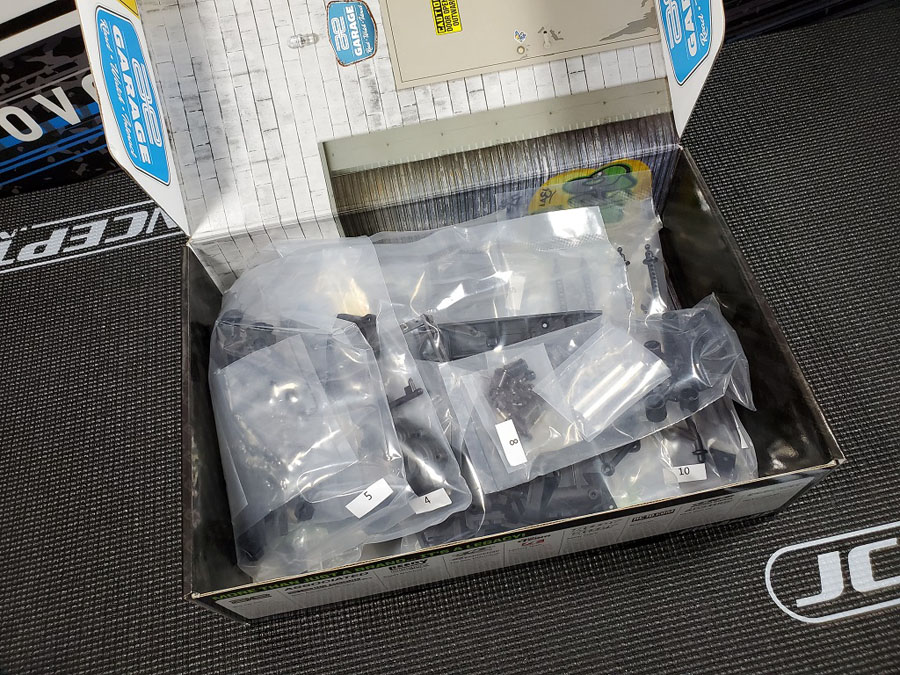
But before I could install the electronics I had to build this new rig. So, I cracked open the kit and got to work.
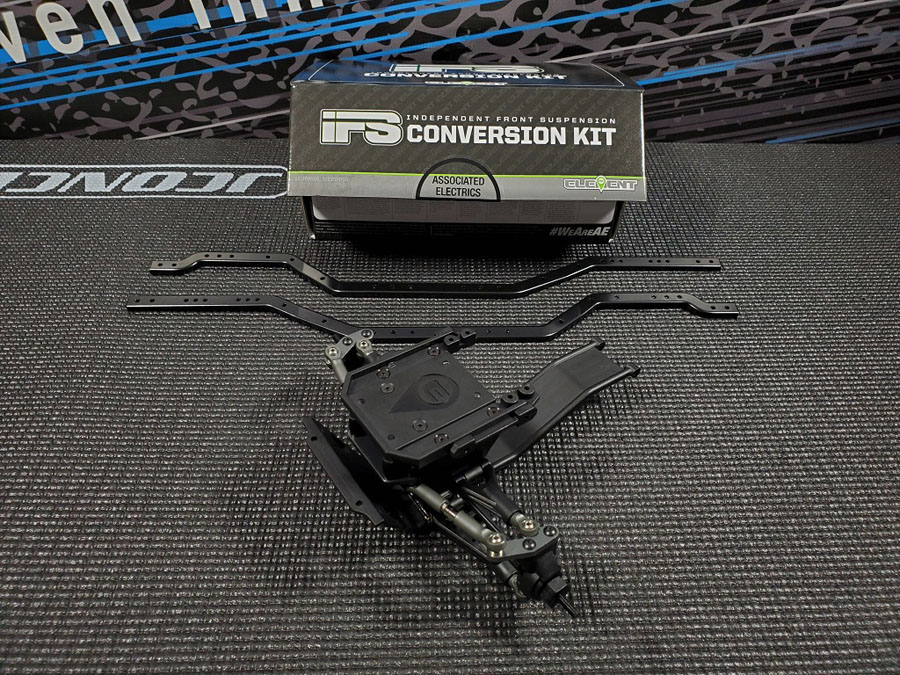
Since the IFS Conversion Kit gives you an upgrade to the front suspension the Builder’s kit only needed to be built about 60% of the way. This IFS kit not only makes the Enduro look more scale, but it also makes your kit more agile thanks to the independent front suspension. It is a direct bolt on accessory to this kit and their extensive line or RTR trucks, plus you can also use it on the Axial SCX10, SCX10ii, and SSD Trail King with a few additional parts. These parts can be printed at home for FREE since Associated Electrics supplies the needed source files, or if you don’t have a 3D printer you can purchase them from their Shapeways store.
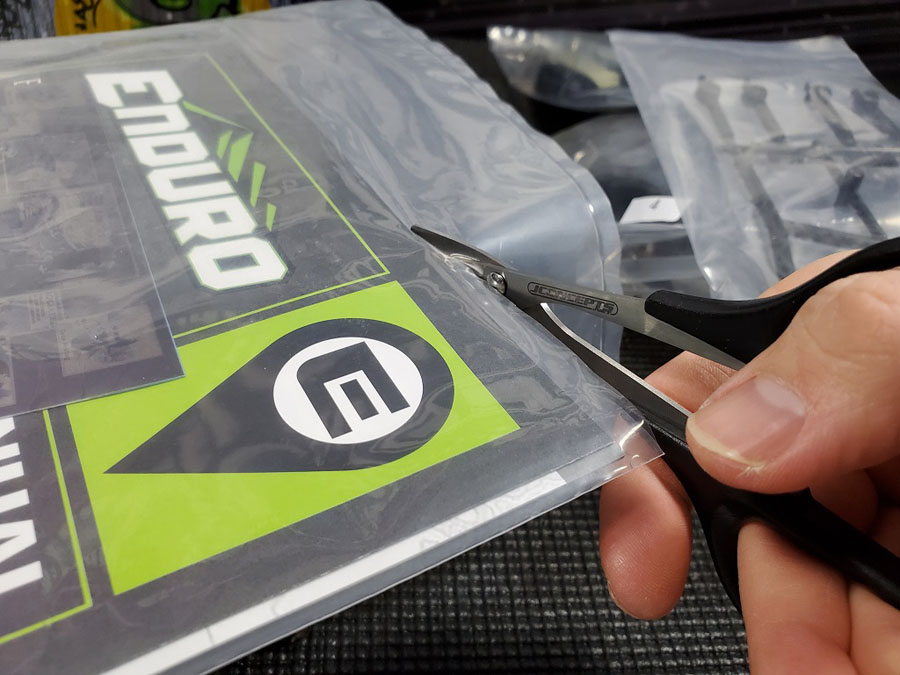
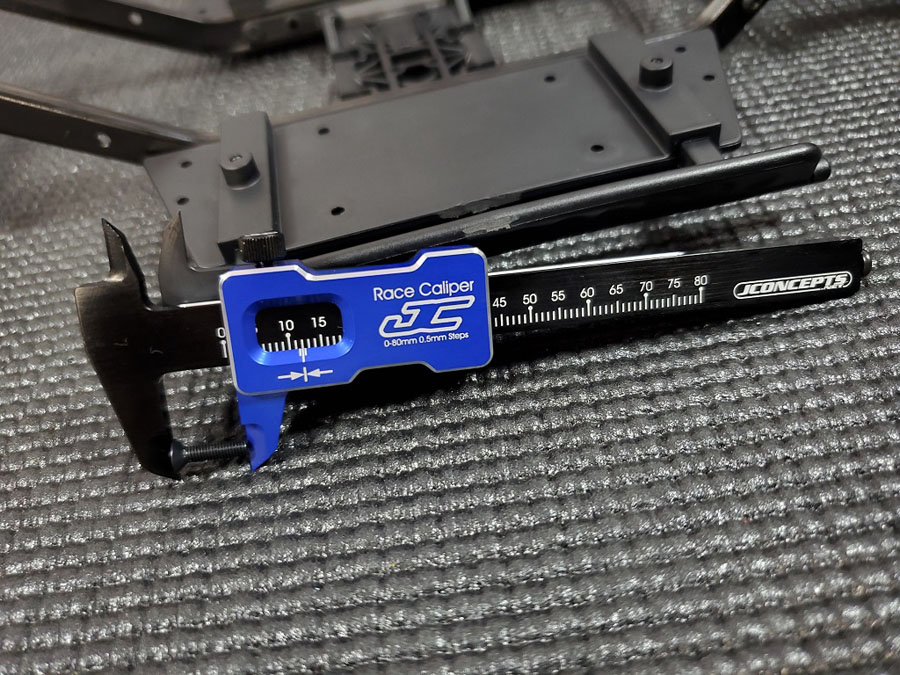

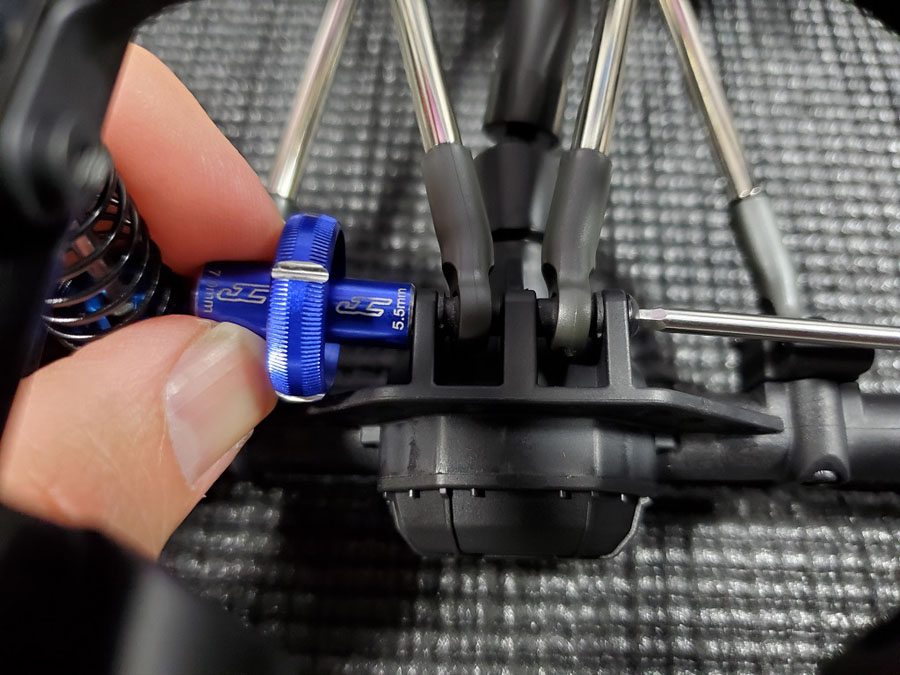
JConcepts offers plenty of tools that can be used for building a kit like this so they came in handy along the way.
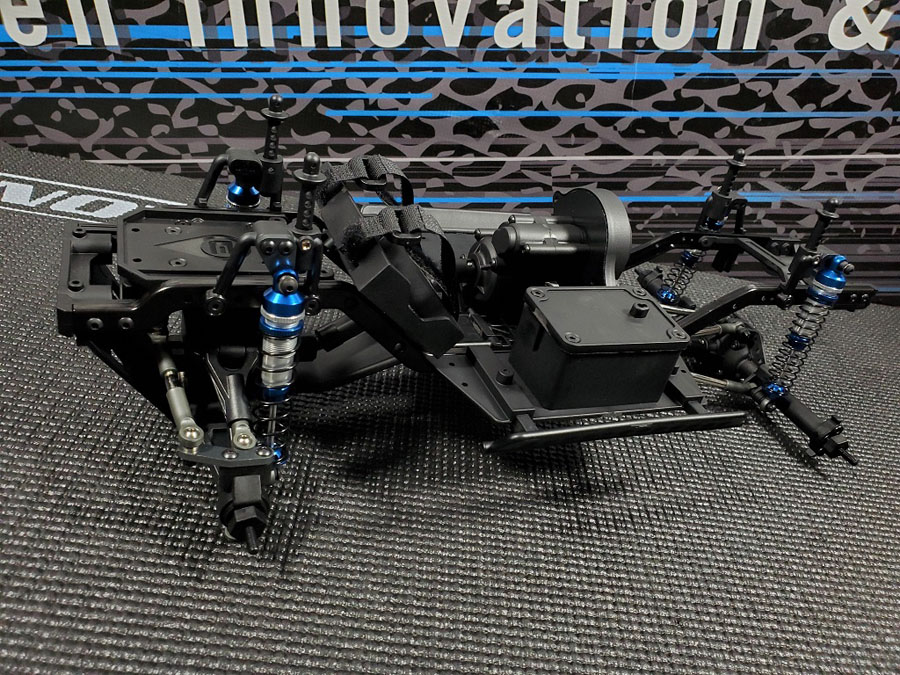
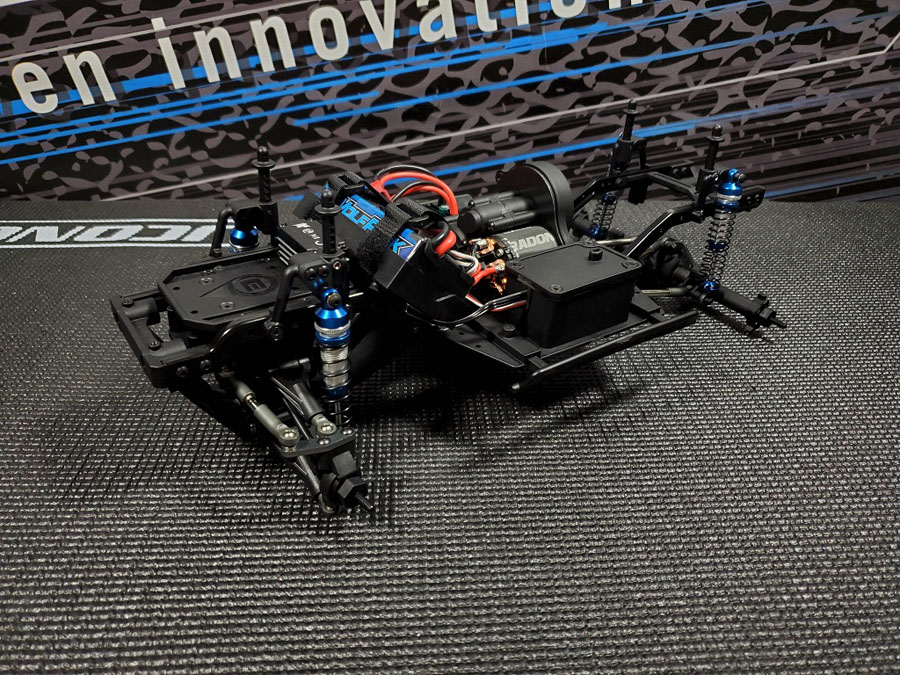
I decided to use a 12.3” wheelbase and once the IFS Conversion Kit was assembled it was time to connect the dots on the complete build.
So, turning to the electronics, let’s first take a look at the servo since it installs into the IFS.
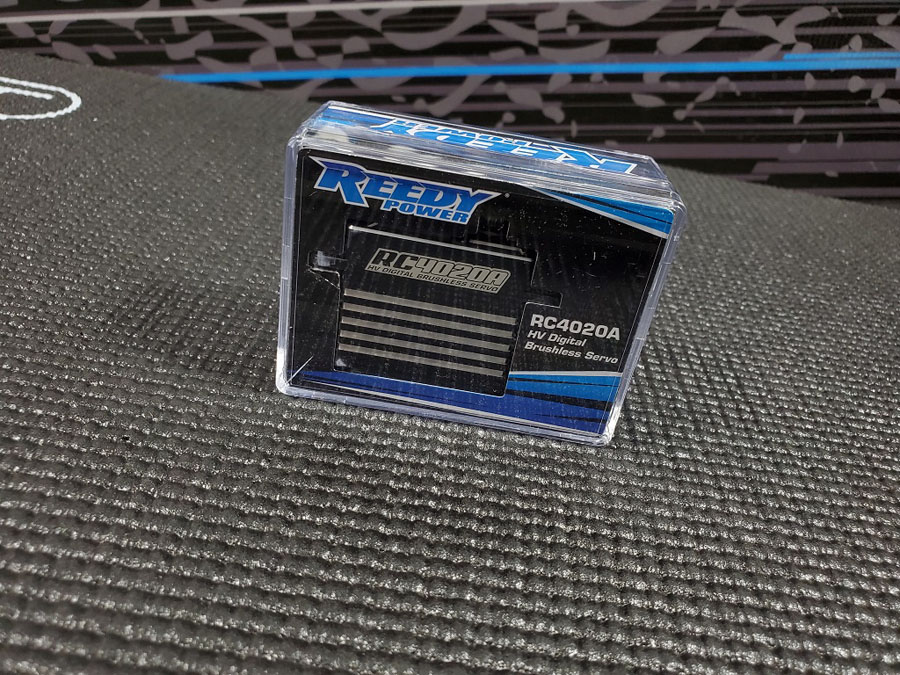
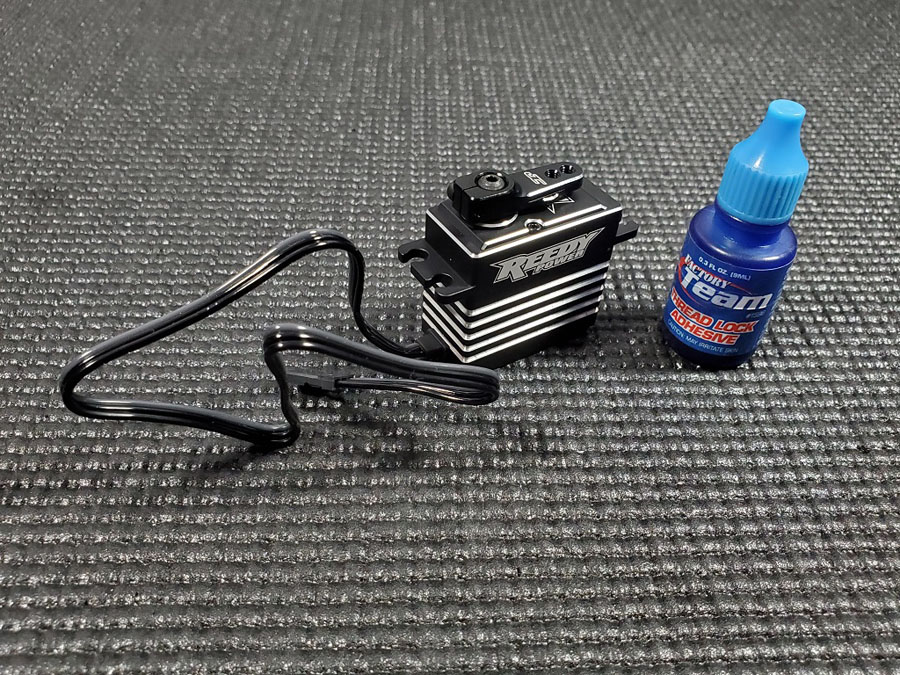
The Reedy RC4020A HV Digital Competition Crawler Servo fits perfectly into this kit, and it is designed to work in high load applications commonly found in competition trail rigs, rock crawling and even monster trucks.
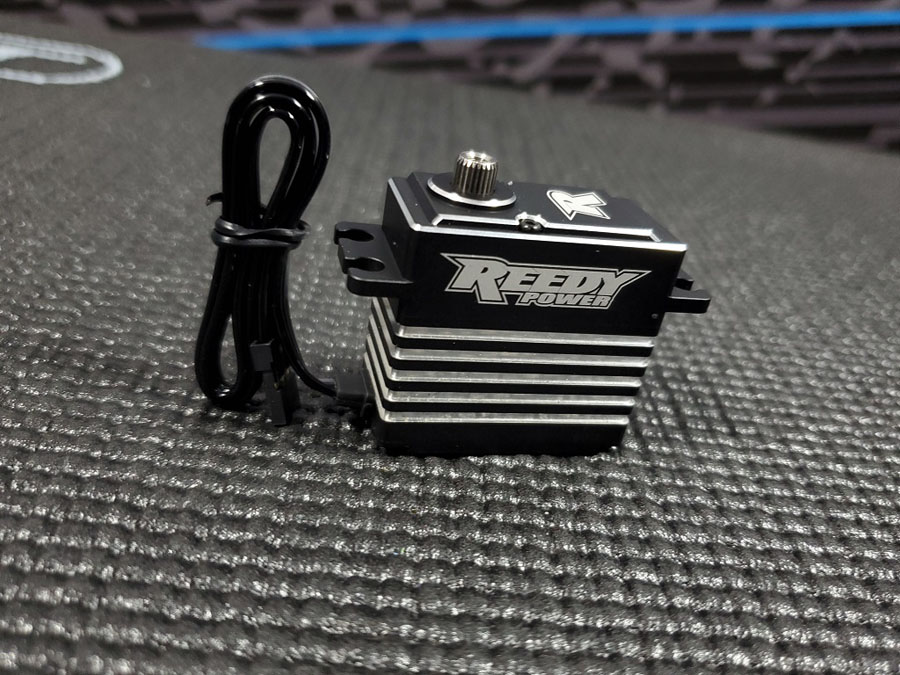
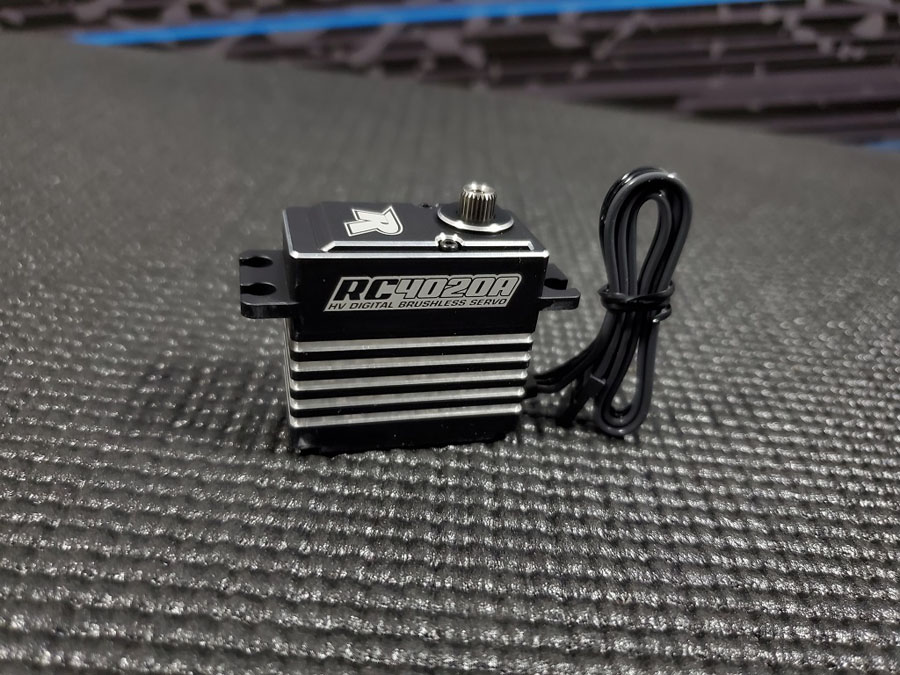
It uses an all-metal gear design and the outer CNC-machines full-aluminum case helps to dissipate heat that is built up during runs. It is rated at 612oz of torque at 7.4v, but it is also HV 8.4v compatible which means when you combine it with an external BEC unit you can increase the torque to 695oz!
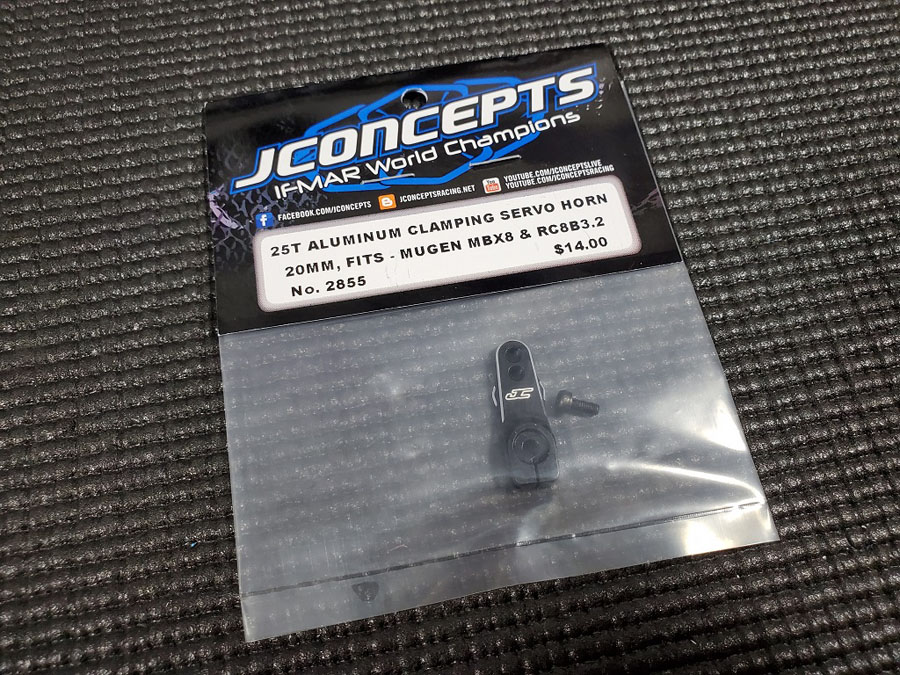
The IFS Conversion Kit does include a metal servo horn, but for this build I opted to use the JConcepts 20mm Aluminum 25T Clamping Servo Horn.
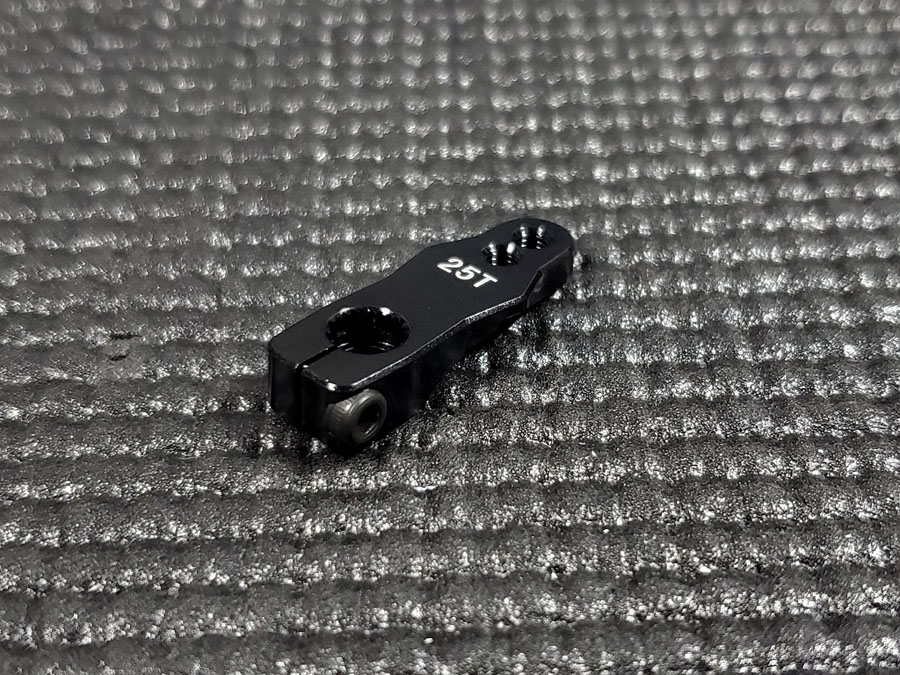
This horn was originally designed for 1/8 4wd Buggies like the Mugen MBX8 & Team Associated RC8B3.2, but also works in this build too. It is crafted from precision machined aluminum and anodized in black.
Chamfer highlights have been added to the edges and even though they are lightweight they still offer plenty of durability.
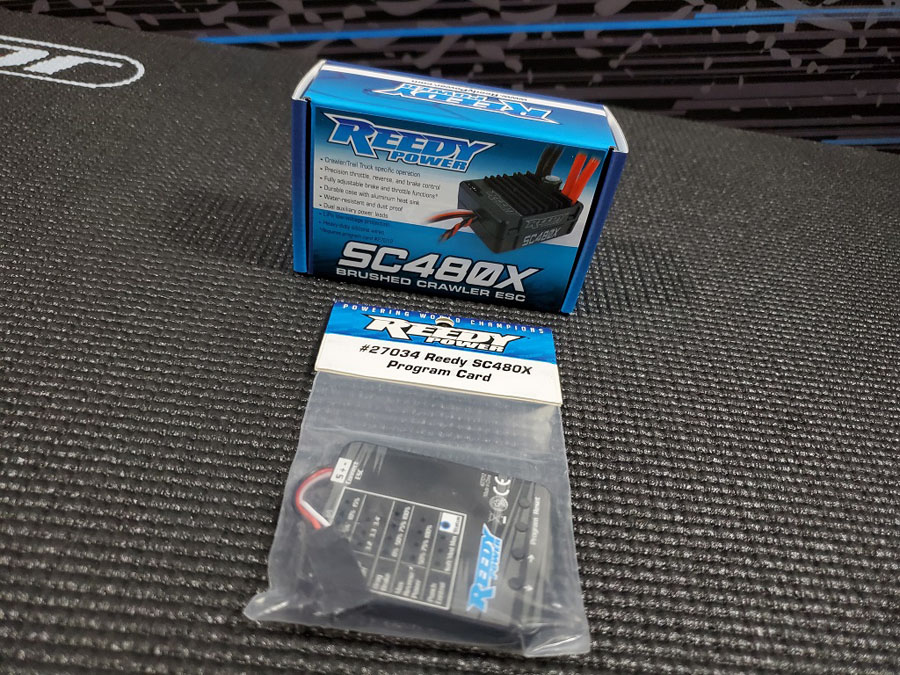
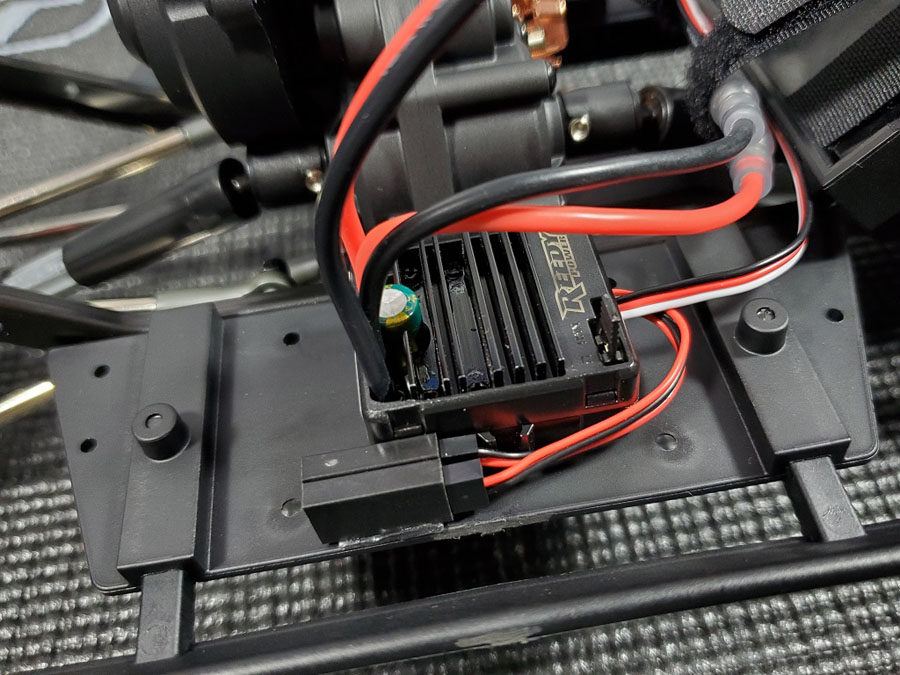
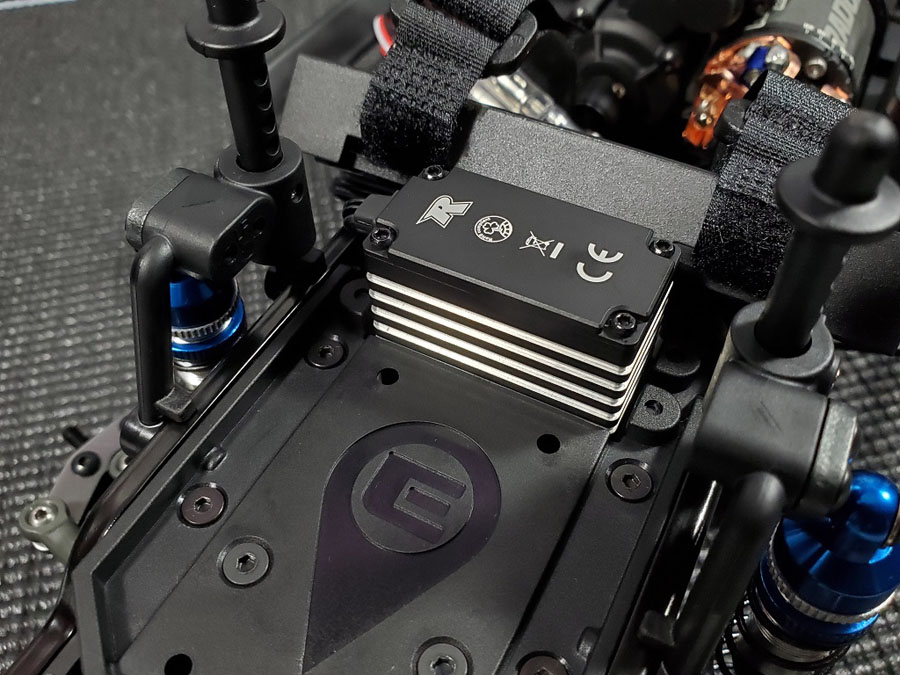
The Reedy SC480X Brushed Crawler ESC is perfect for any trail truck or crawler.
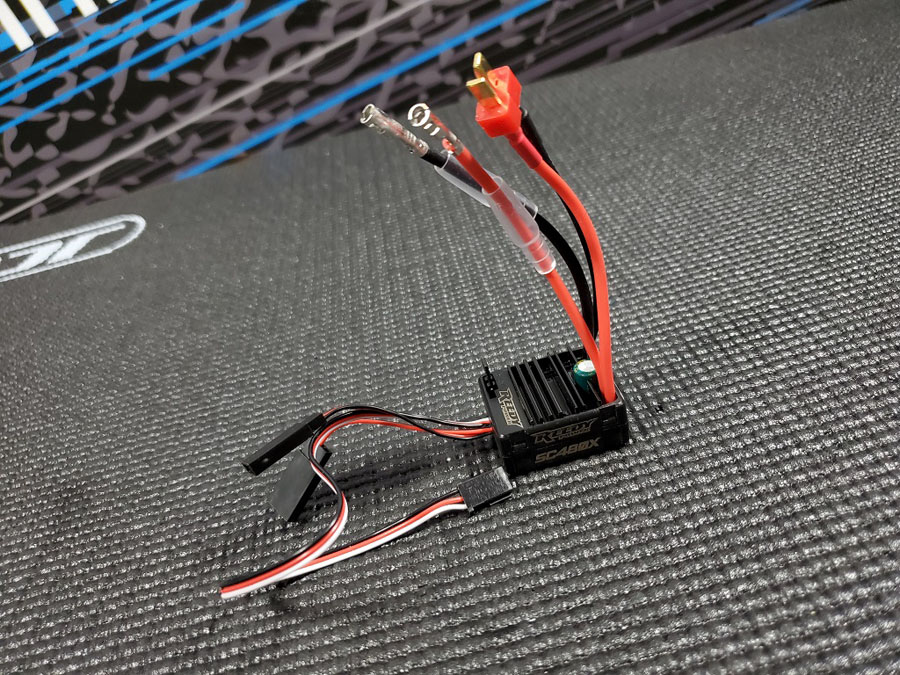
It is water resistant and dust proof so it is ready to tackle most natural elements when you are out and about.

A heat sink is built into the top of the case to keep operating temps cool and it is pre-wired with a T-plug battery connector.
It has a LiPo cut off feature when you are operating your vehicle, but there is no on/off switch so do take care to disconnect your battery when not in use so you don’t over discharge your battery.
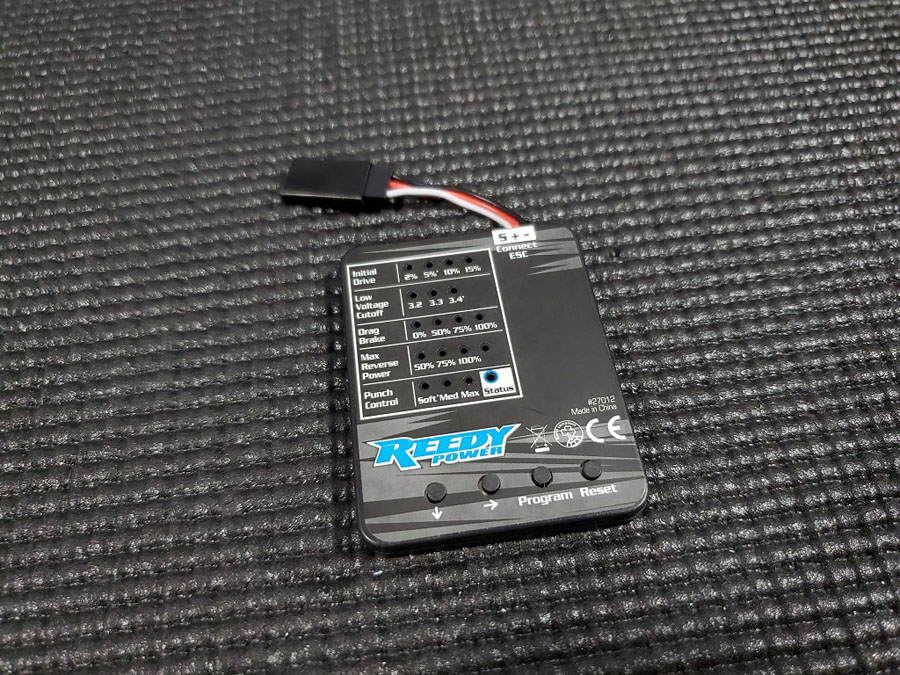
It offers precision throttle, brake and reverse control and they can be adjusted with an optional Reedy SC480X Program Card.
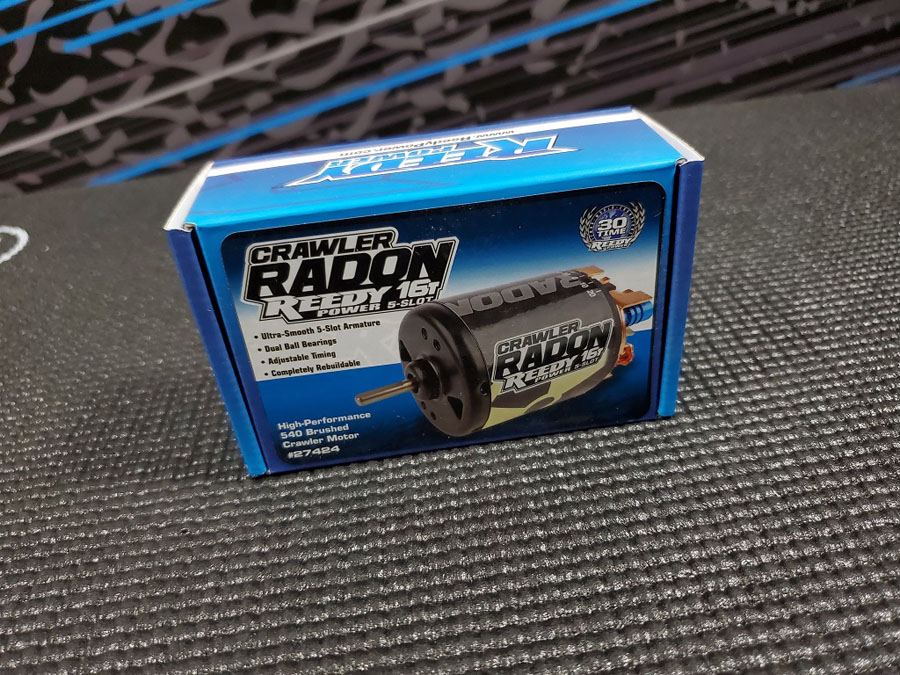
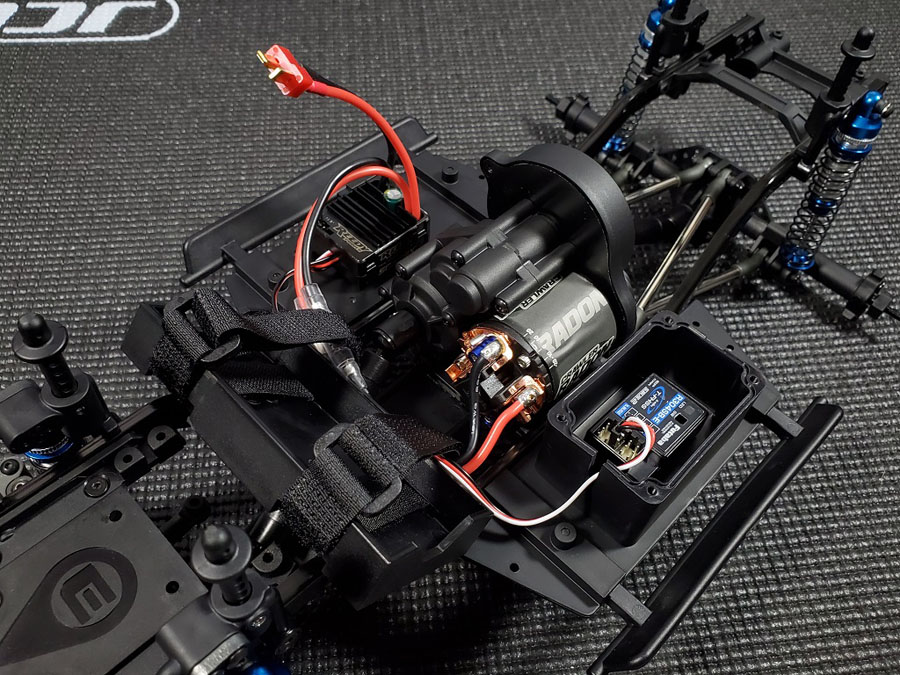
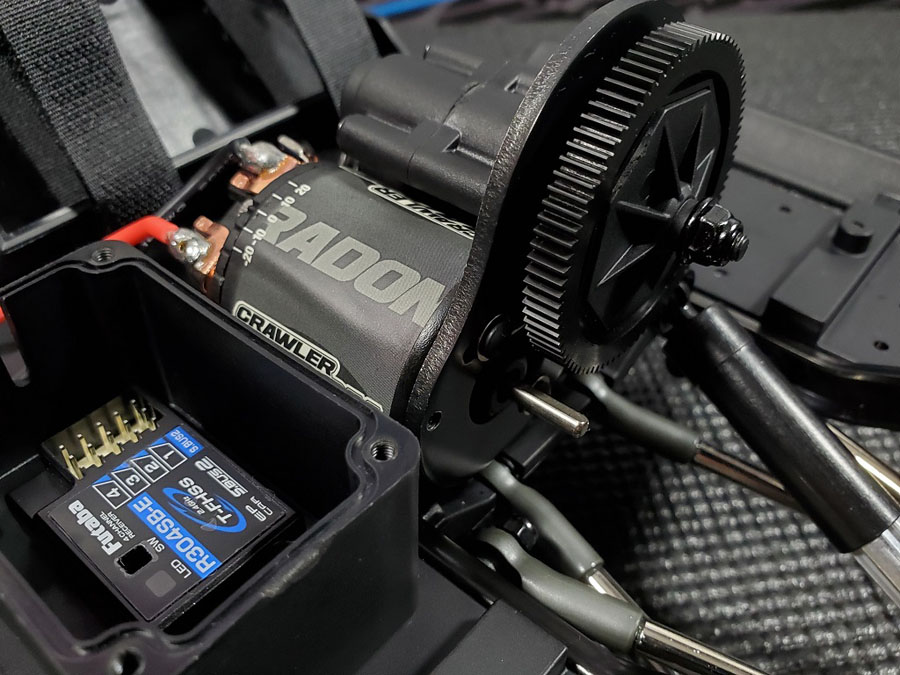
Providing power to this truck is the Reedy Radon 2 Crawler 16T 5-Slot 1850kV Brushed 540 Motor.
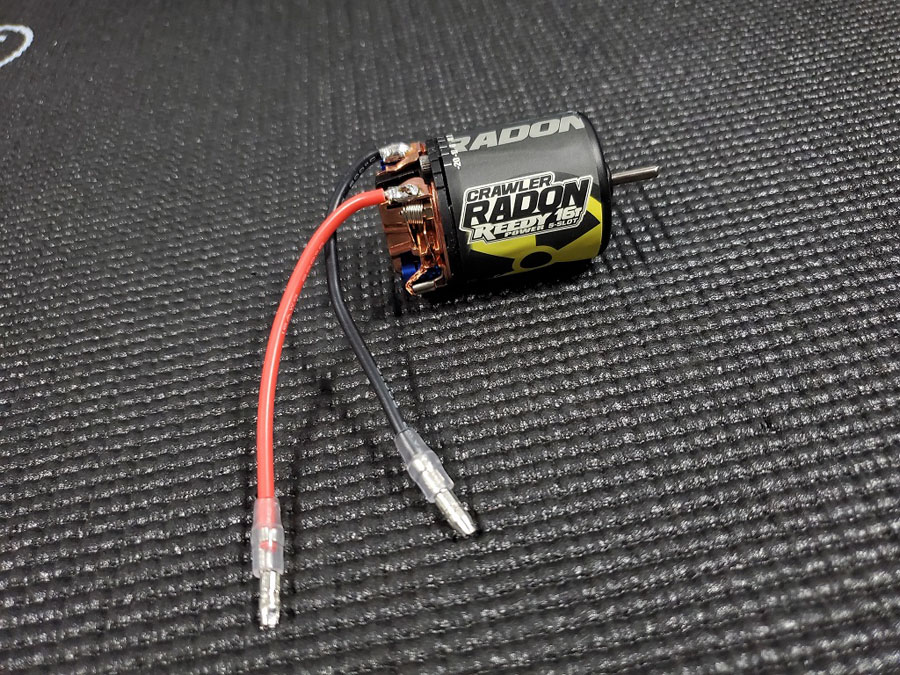
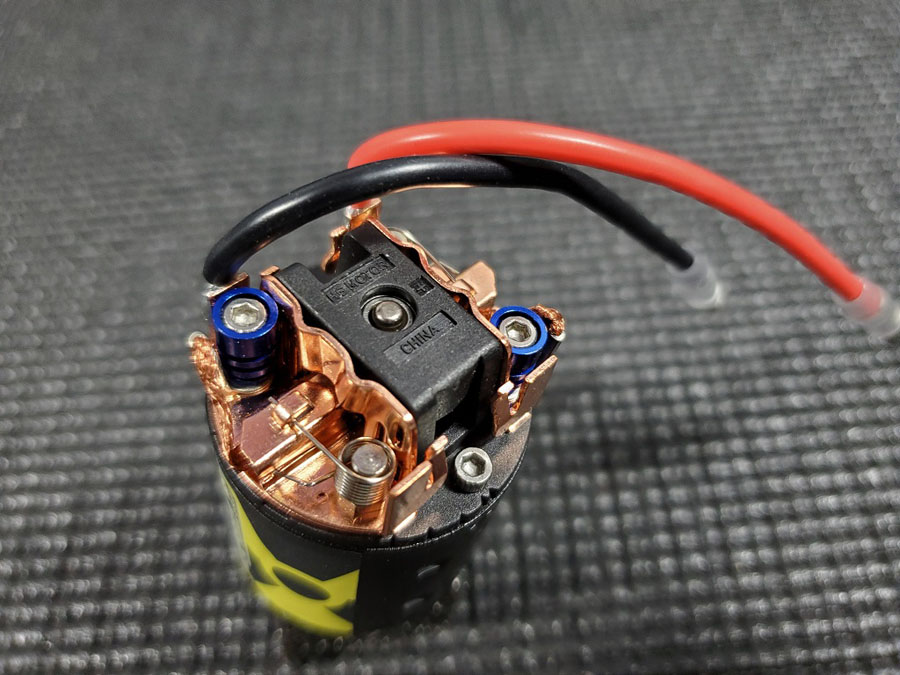
It features adjustable timing, dual ball bearing and is completely rebuildable.
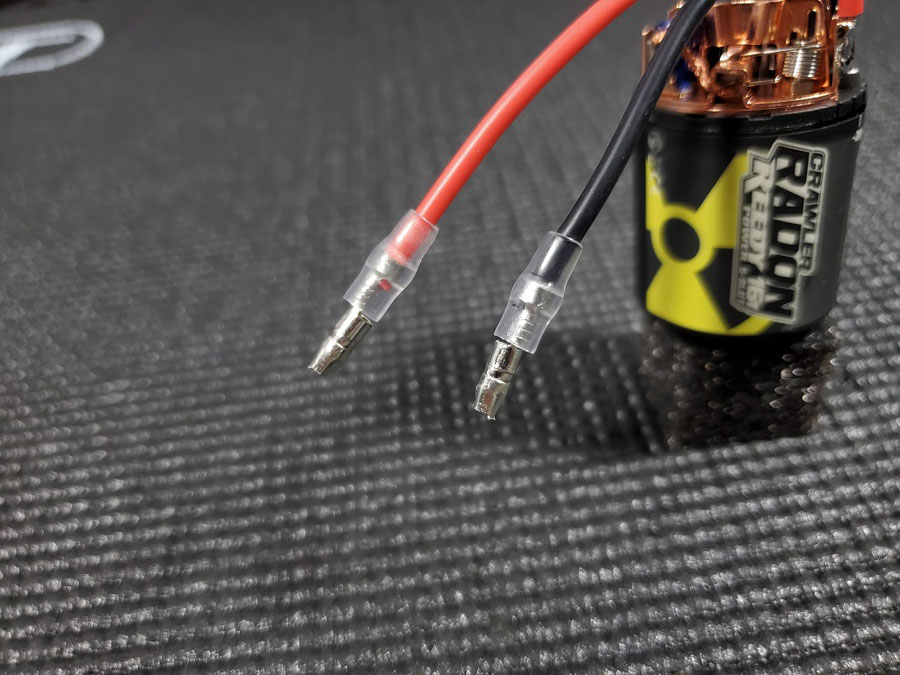
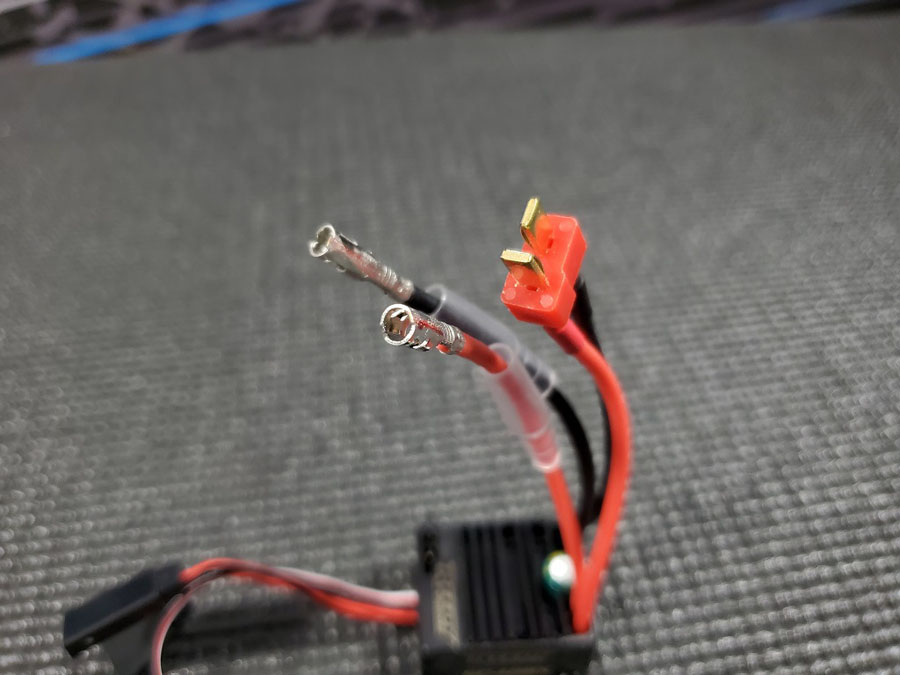
It also comes pre-wired with bullet motor connectors that easily plug into the SC480X ESC. So, no soldering is required to connect these two components together which is a bonus.
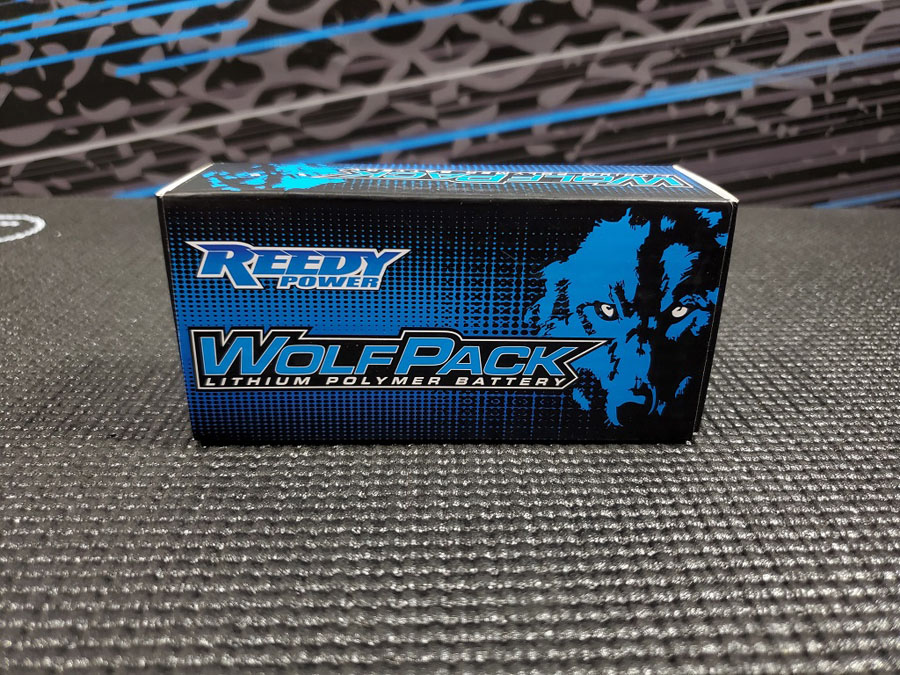
The juice is provided by a Reedy WolfPack LiPo 3000mAh 30C 11.1V Shorty pack. This fits nicely into the kit and the 3S power and 3000mah will give you ample power and run time when in use.
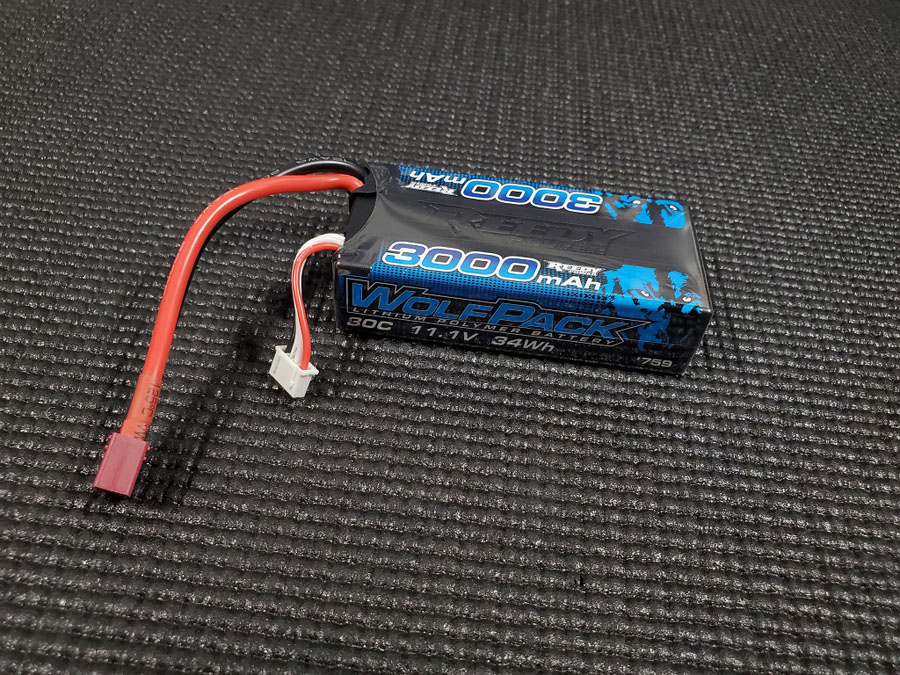
It comes prewired with a T-plug connector and an integrated balance lead with XH connector, and they are both protected with a rubber gasket.
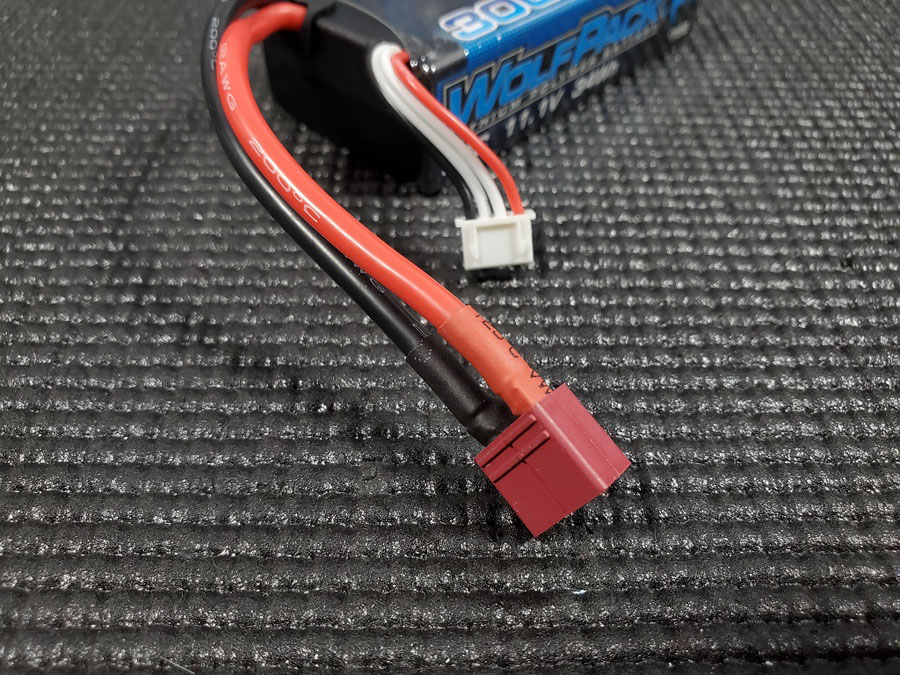
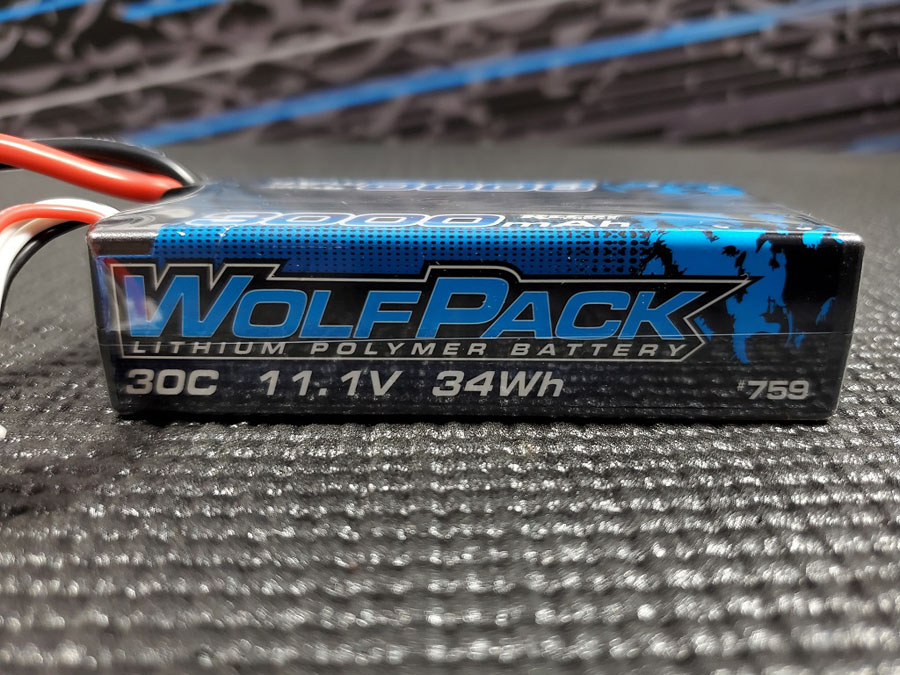
This should help to insulate the wires while also preventing moisture from entering the case. So, to connect it to the SC480X ESC I simply needed to connect the T-plugs together.
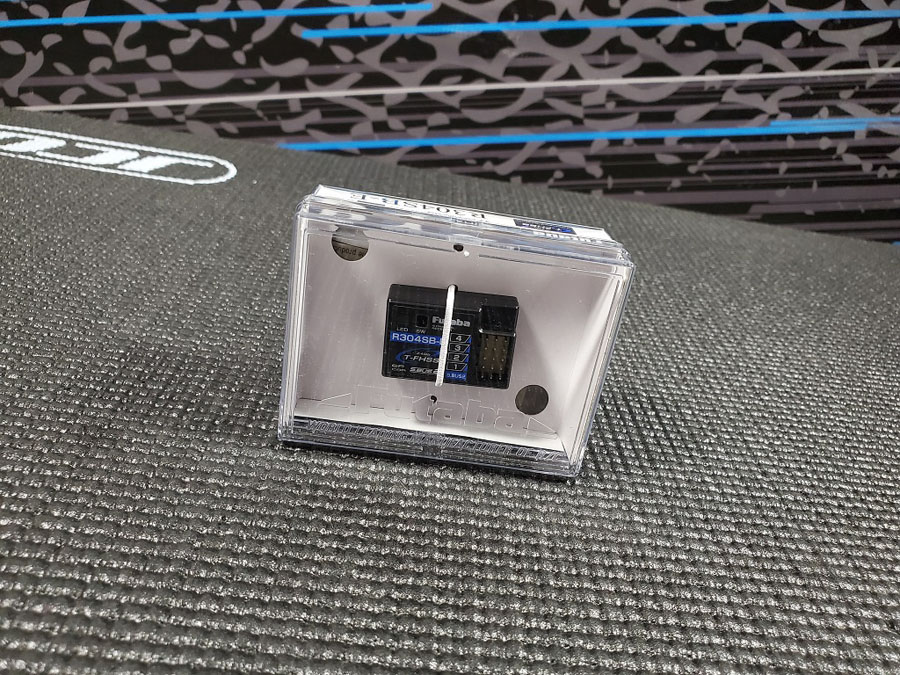
The final piece to the puzzle was a radio system top operate this truck. So, I opted to use a Futaba R304SB-E T-FHSS Telemetry System 4-Channel receiver with my Futaba radio system. This receiver is designed for electric applications only and has no external signal wire leading from it.
So that makes it easier to tuck into vehicles since there is no need for an antenna tube.
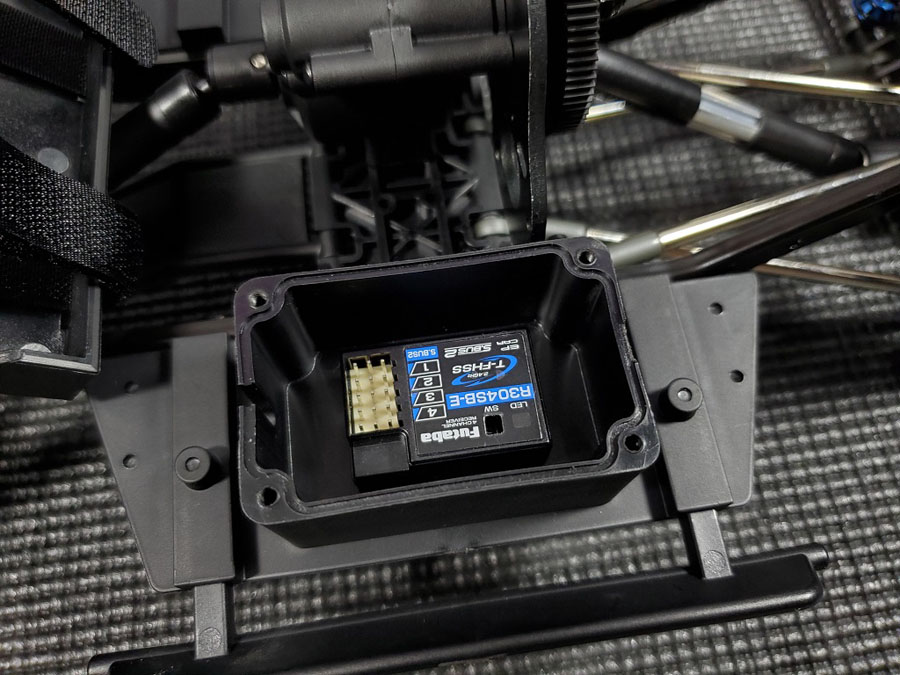
The Enduro Trail Truck Builder’s Kit does come with a receiver box that uses a grommet to seal up electronics inside of it so they are protected from the elements, and it allows for an antenna tube to protrude from it if needed. This receiver also has multiple ports so if you need to run multiple wires for lighting systems, etc. then it has you covered.
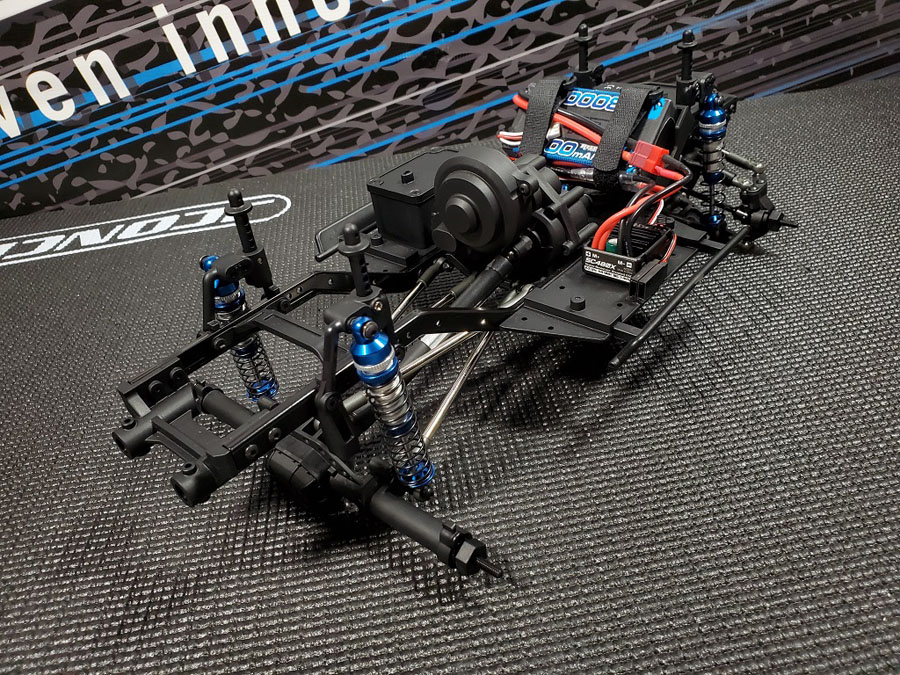
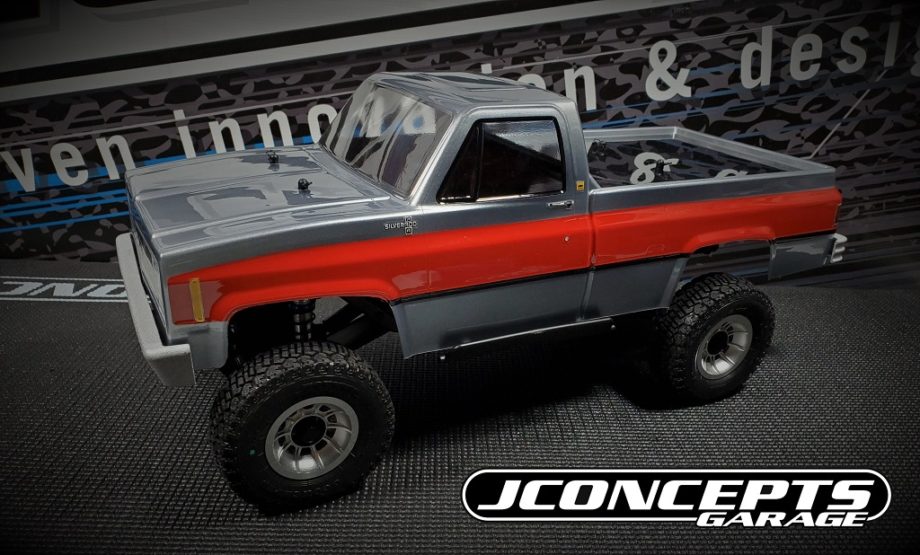
Now that this was built with electronics it was time to finish it off with a body, tires, and wheels.
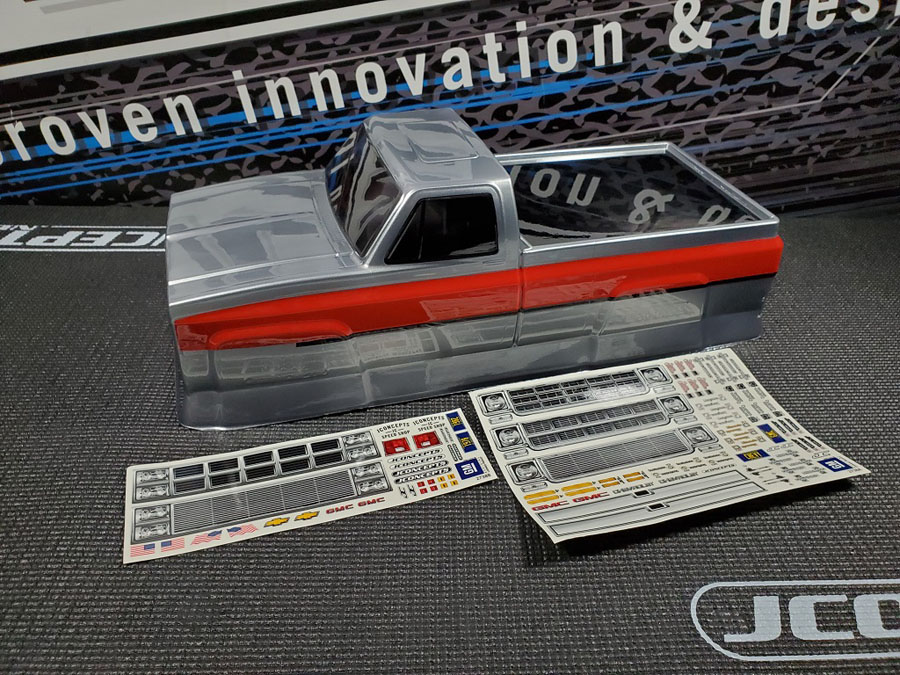
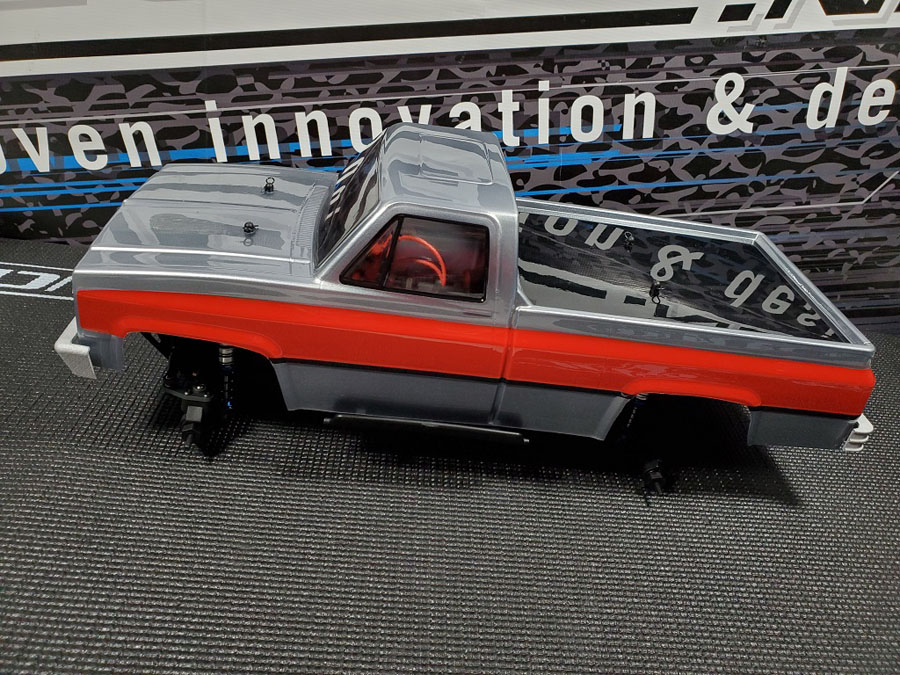
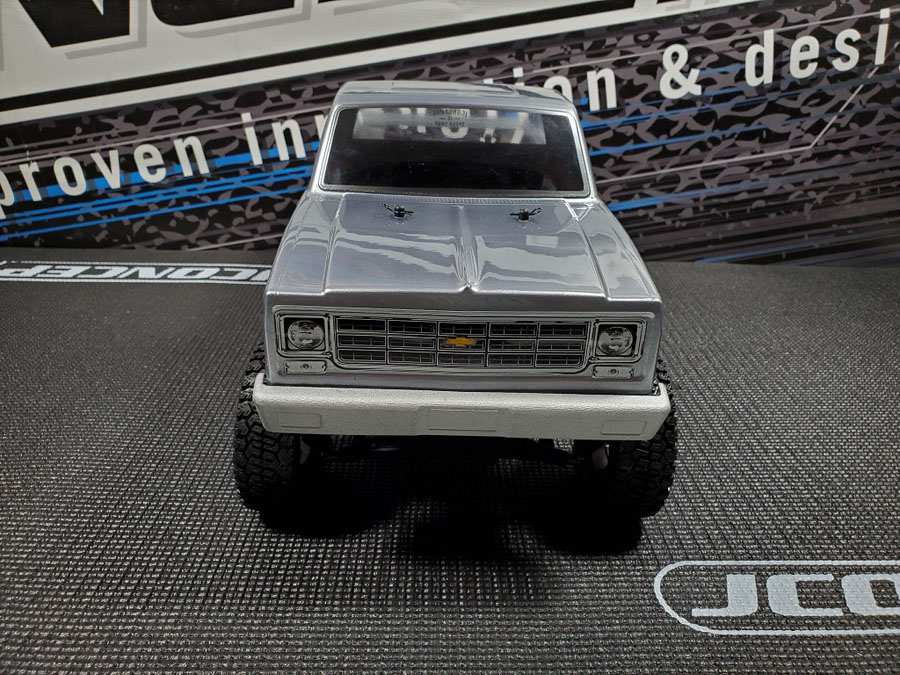
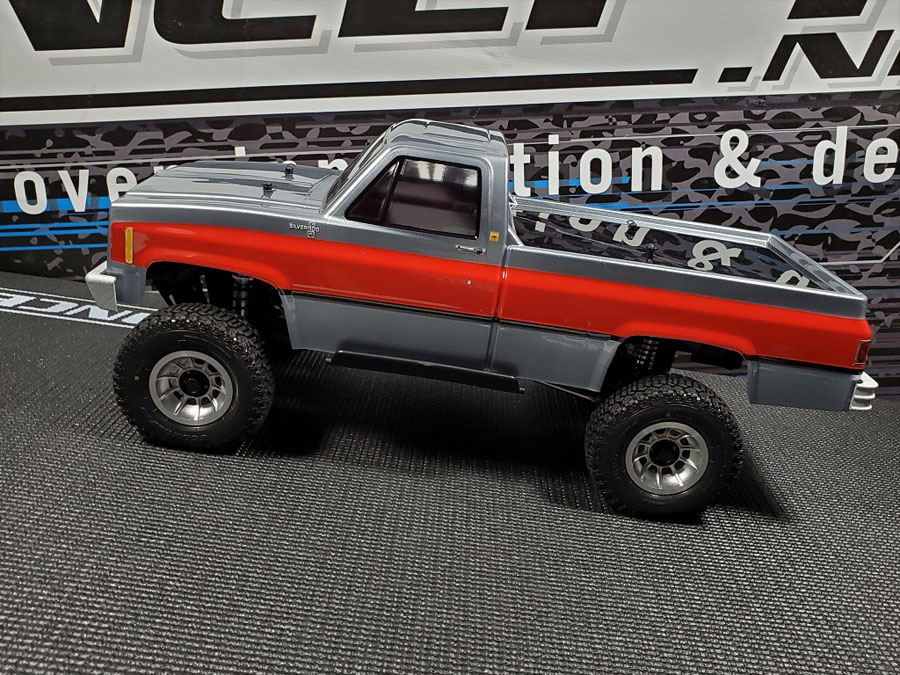
For the lid I opted to use the JConcepts 1982 GMC K10 body. This was designed to be a direct fit for the Enduro, plus other common vehicles of today that use a 12.3” wheelbase. It is also 8” wide and it captures that retro look of square body GM trucks from the later 70’s and early 80’s.
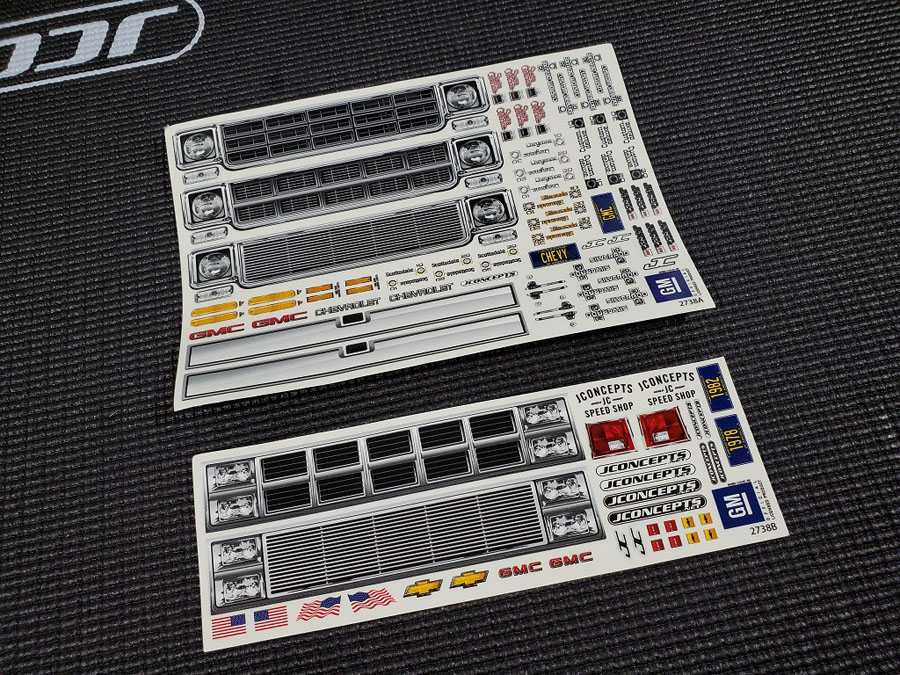
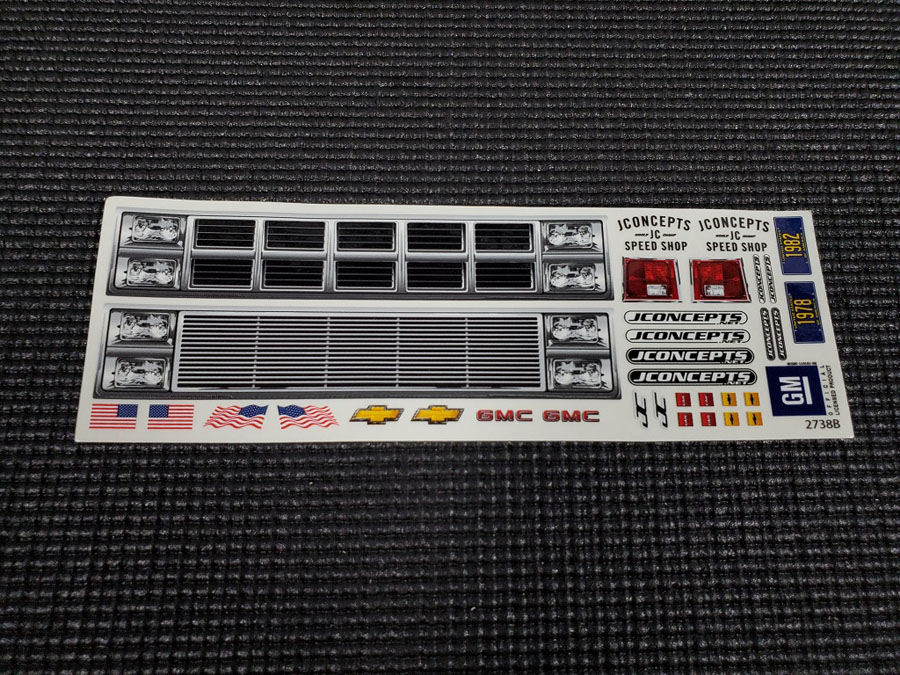
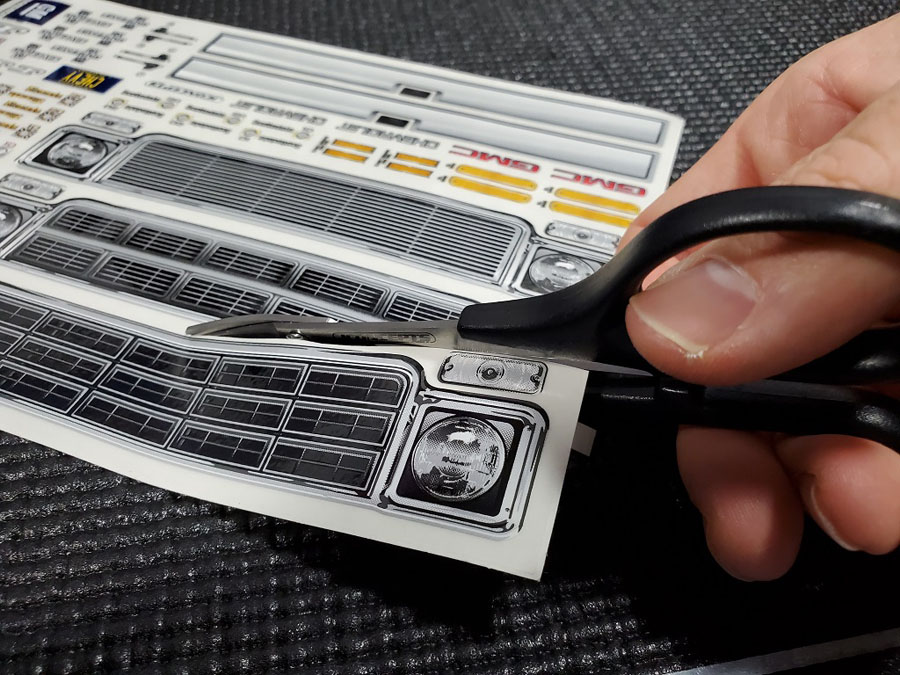
Since this body covers about 14 years of truck design variations by GM, the included decal sheets include five different grille options for you.

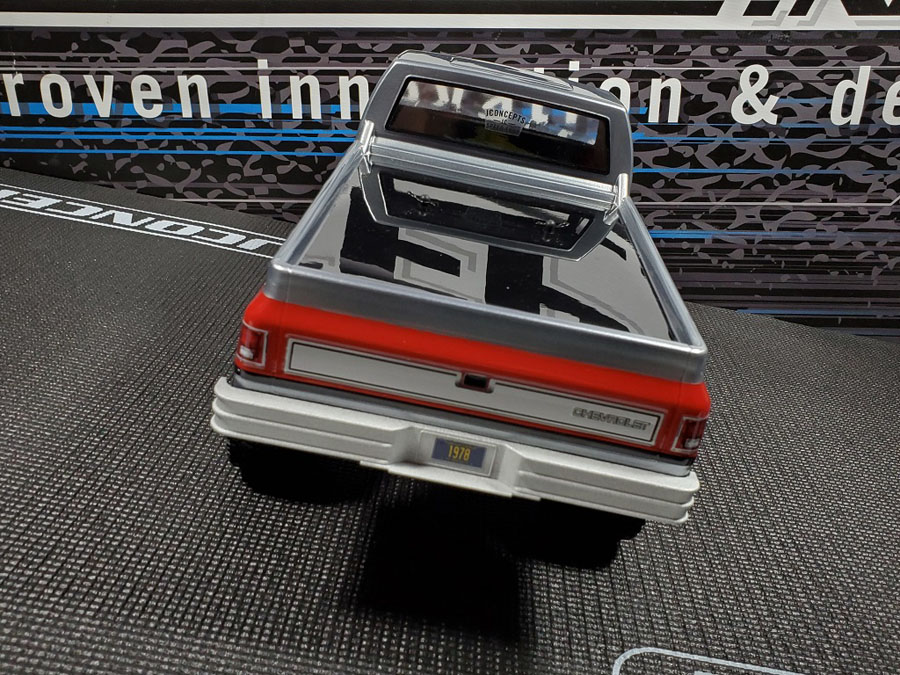
This gives you more flexibility when it comes to customizing the final look of this body. After a little bit of online research, I decided to go with a final look of a 1978 Chevrolet C10 Silverado.
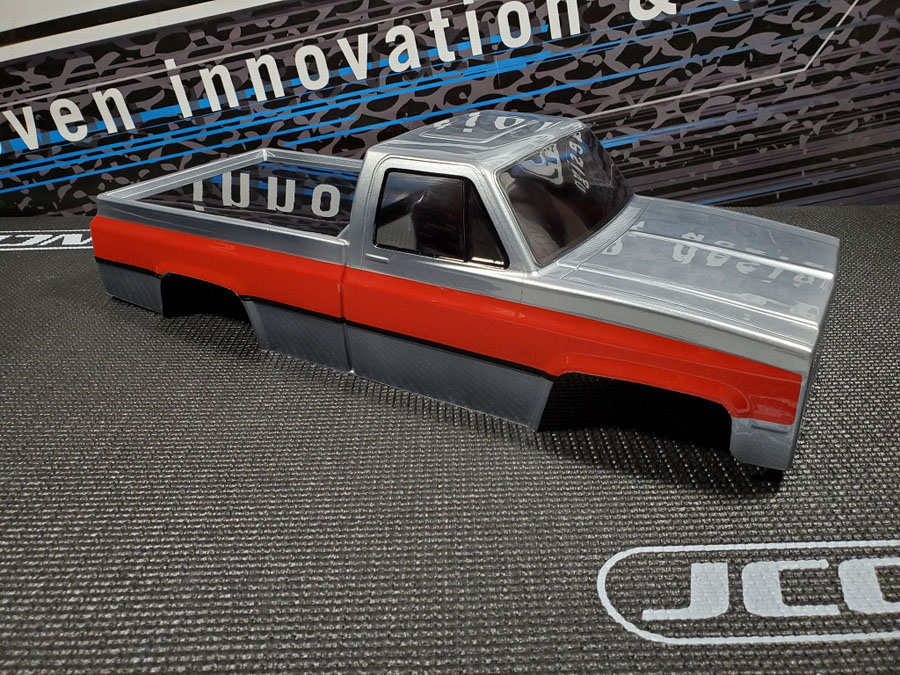
This body is sold clear and includes a protective overspray film and window masks. So, it was sent off to Darkside Designs for a custom, two tone paint job. Once it arrived I trimmed it out, but there was one element (see what I did there?) that needed to be added to complete its look.
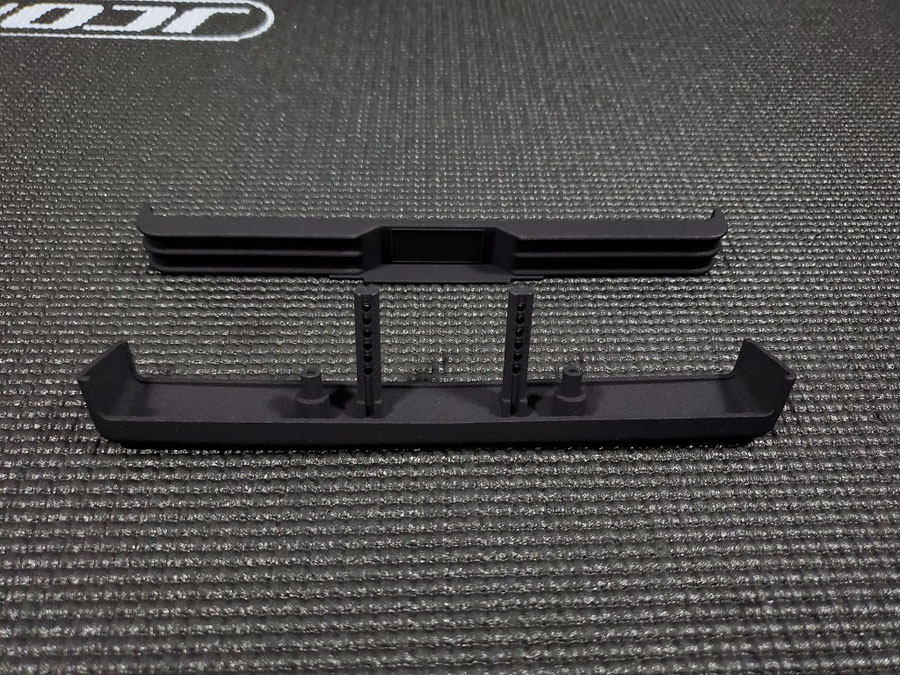
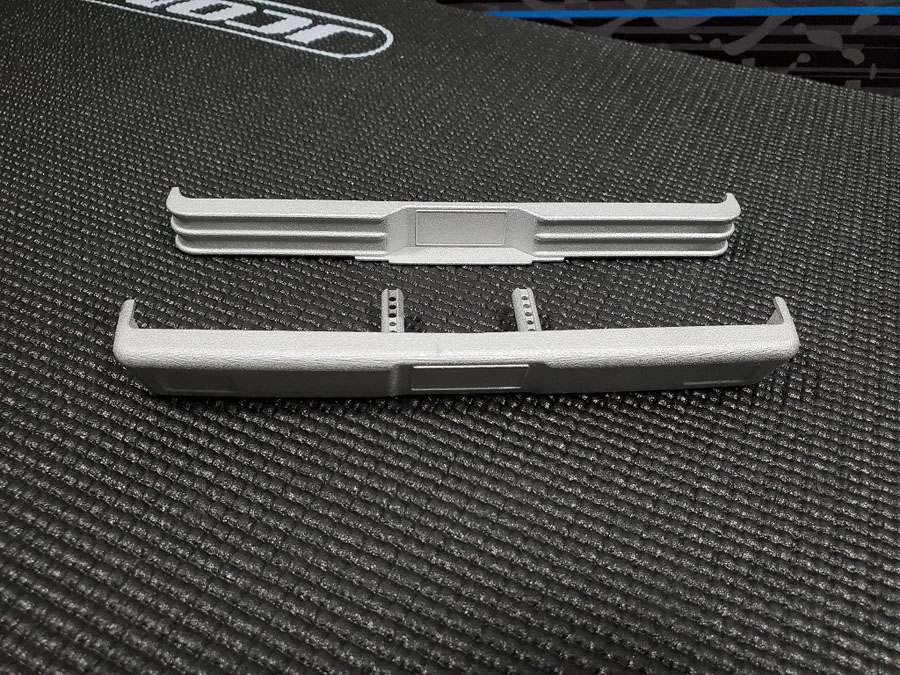
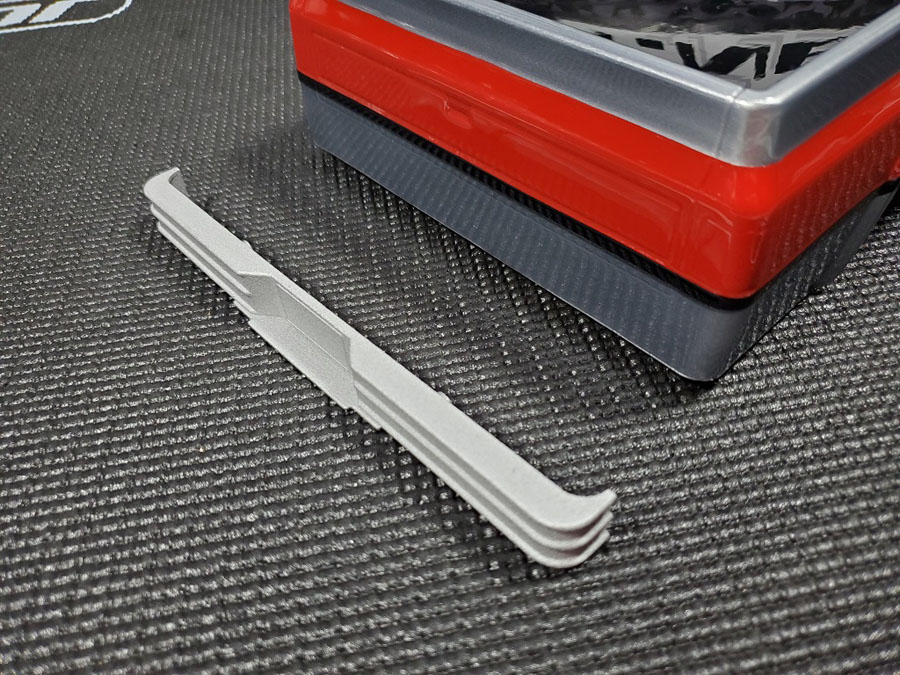
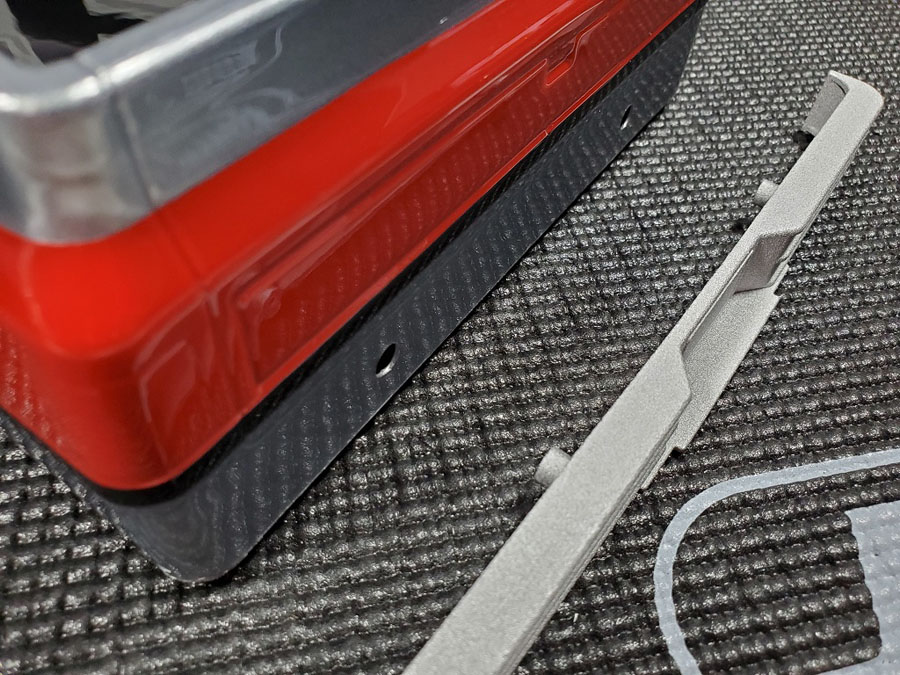
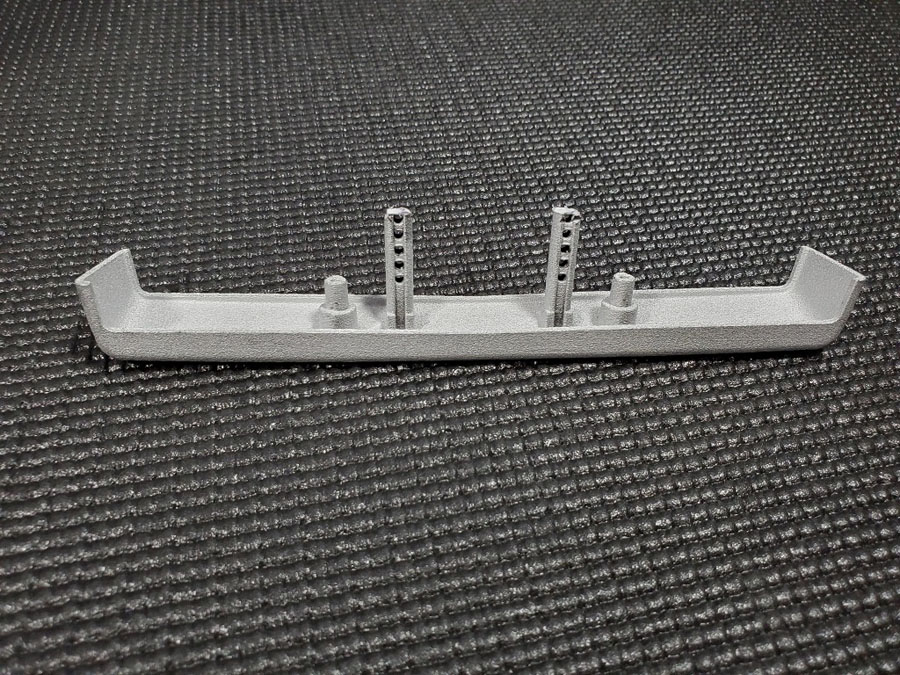
Optional front and rear bumpers are available for this body and sold exclusively at the JConcepts Shapeways store. Since they are 3D printed parts I needed to paint them to make them appear more realistic.
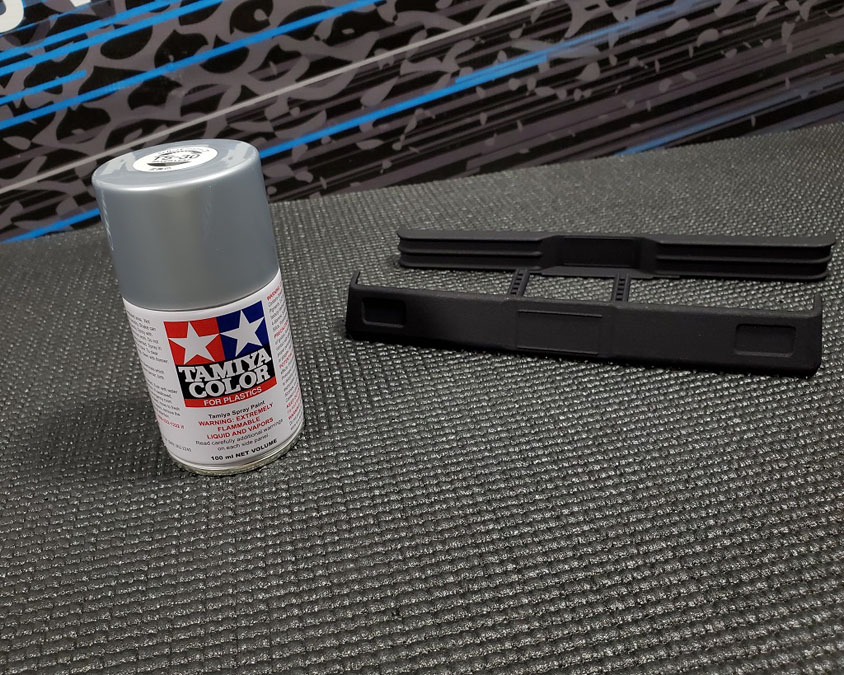
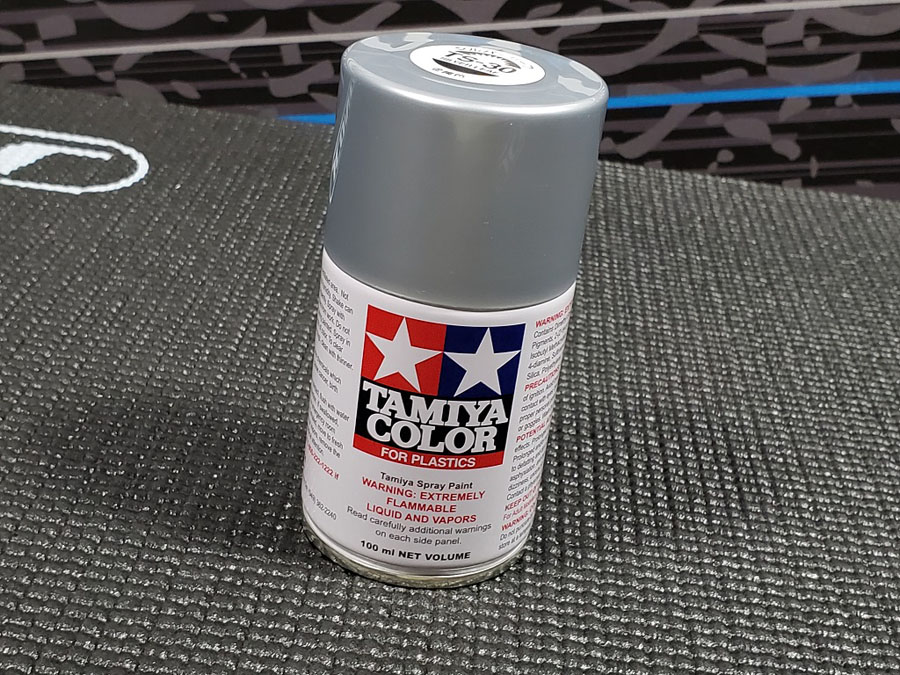
So, I opted to use a simple rattle can of Tamiya TS-30 Silver Leaf Lacquer Spray Paint to complete the look.
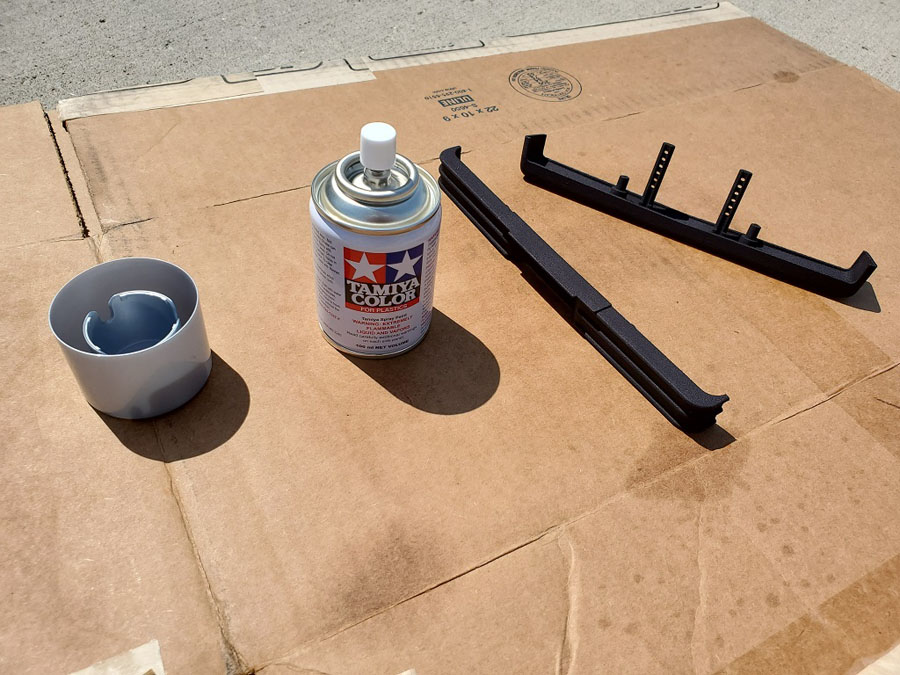
Depending on your setup, you can apply the paint in a paint booth or outside on a nice, sunny day.
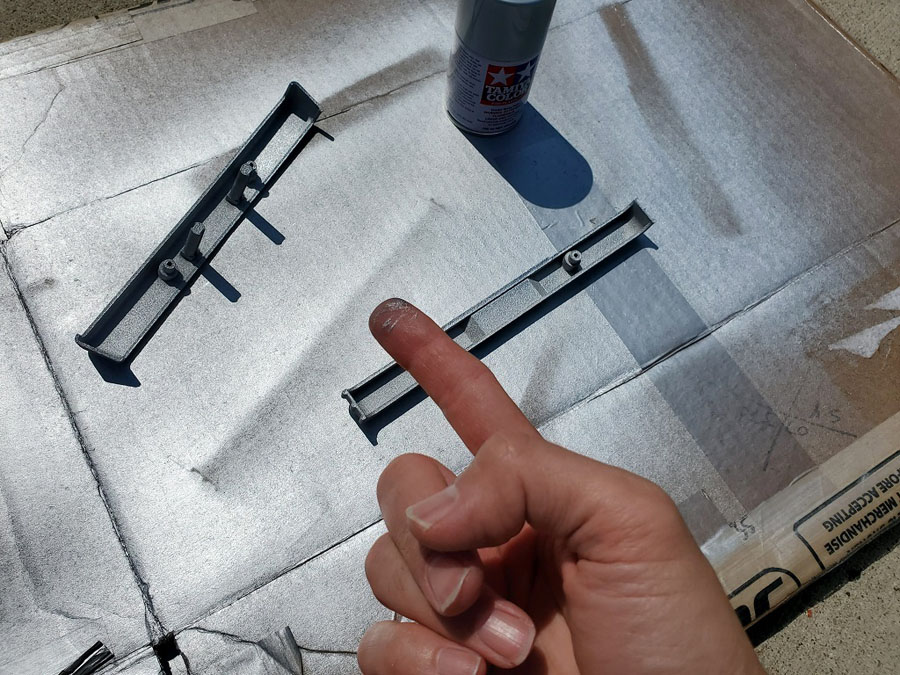
But, I do recommend using a JConcepts shipping box to catch the overspray. And maybe a rubber glove so you don’t end up with a silver tipped finger! 😊

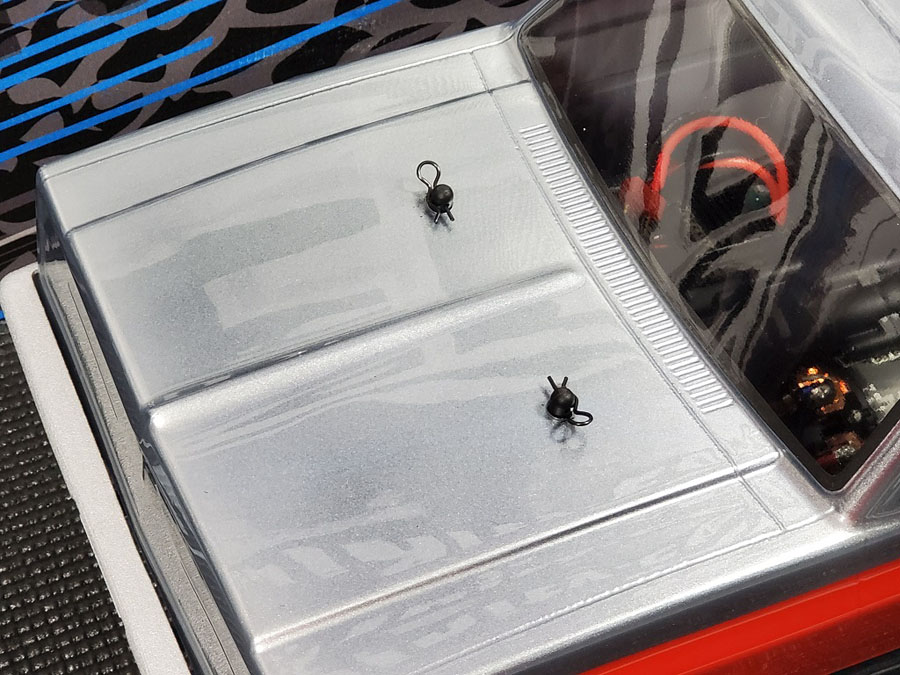
Before I could line up these bumpers I had to ream out four small holes for the body posts.
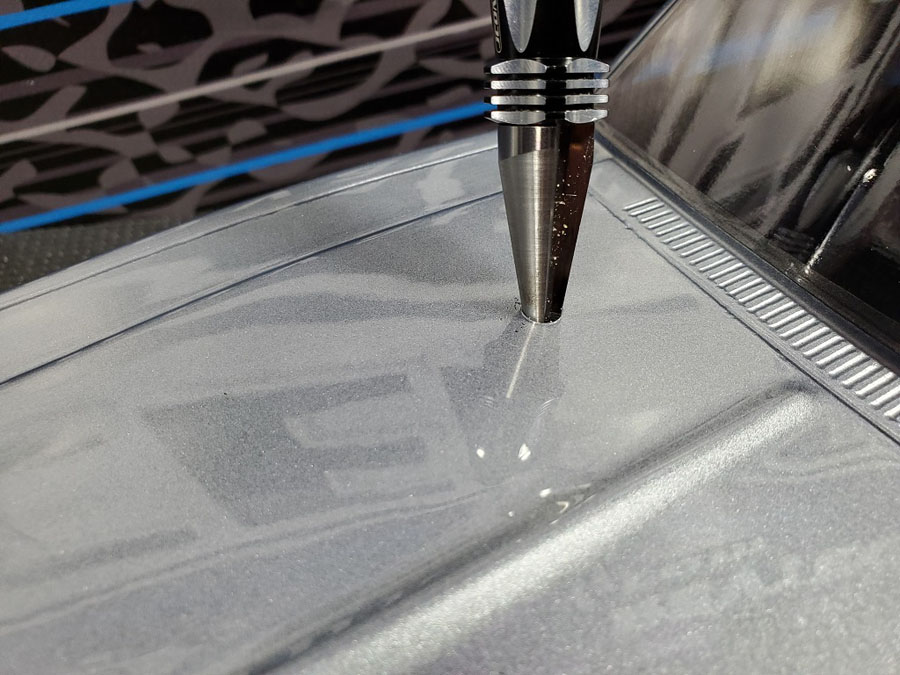
The Fin Reamer made quick work of that.
The rear bumper is installed through the back of the body.
So, after lining it up to the needed height, I reamed out two holes so I could slide the bumper into it.
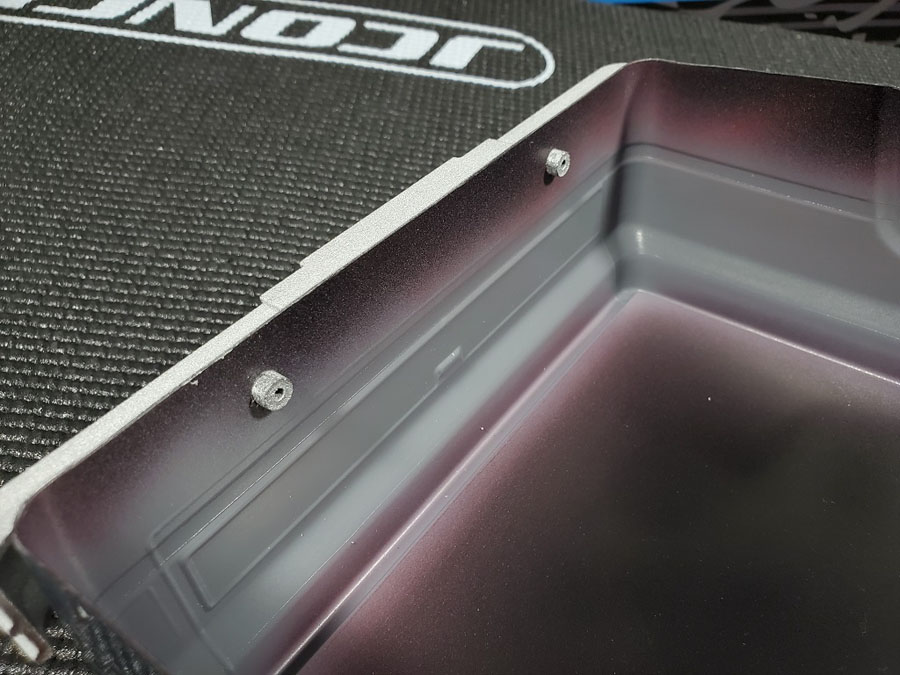
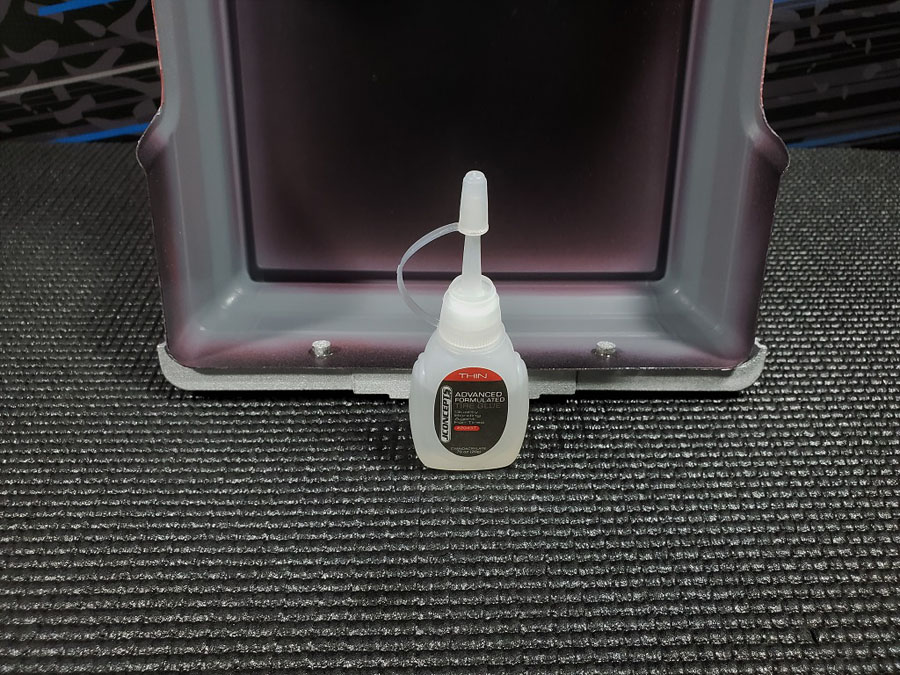
The holes were tight enough to hold the bumper in place, but to be safe I added some glue to make the connection even stronger.
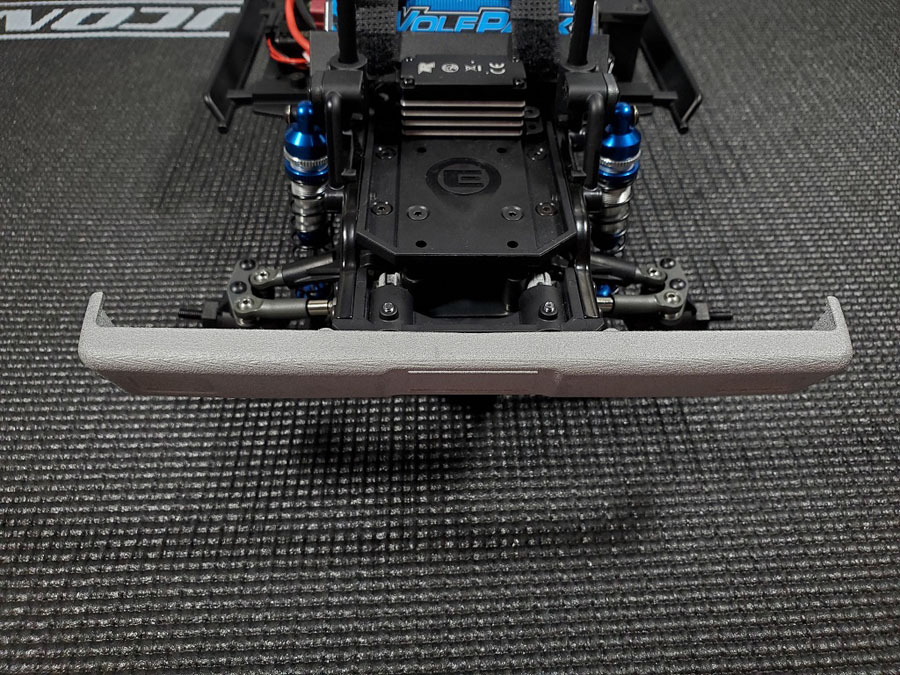
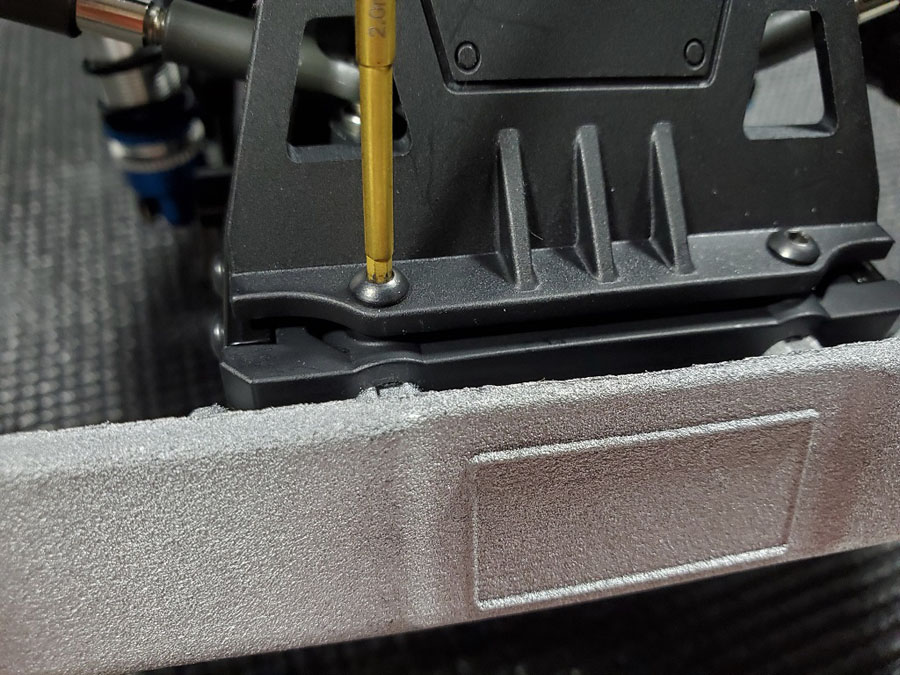
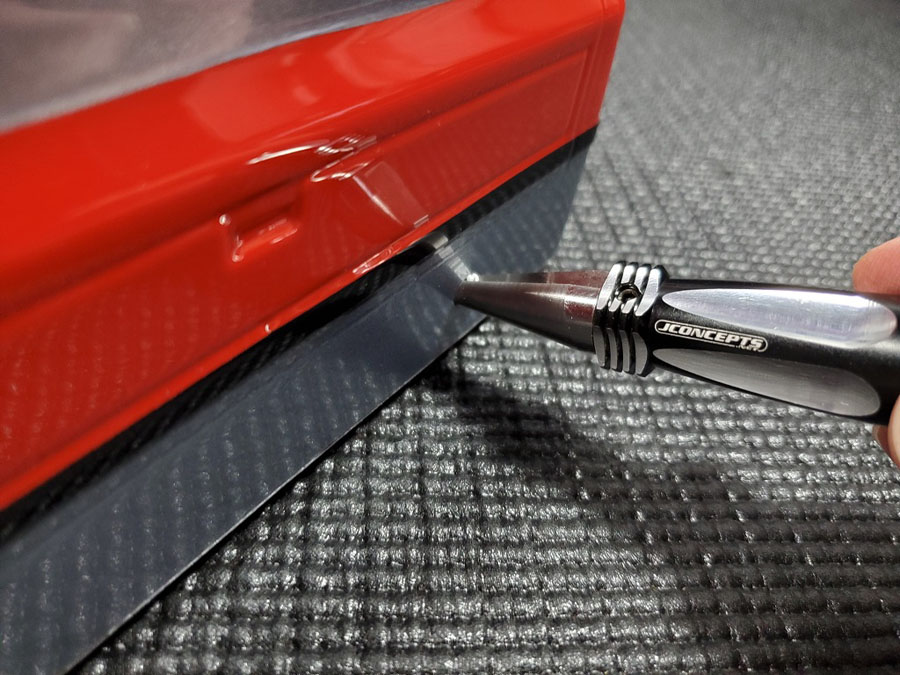
The front bumper it is perfectly compatible with the kit’s front bumper mount system so once I tucked it inside I simply used the existing screws to lock it into place.
After installing it I saw that the bumper posts were a little too long for my setup so they were interfering with the steering throw. So, I took a Dremel and shaved them down a bit and then it was good to go.
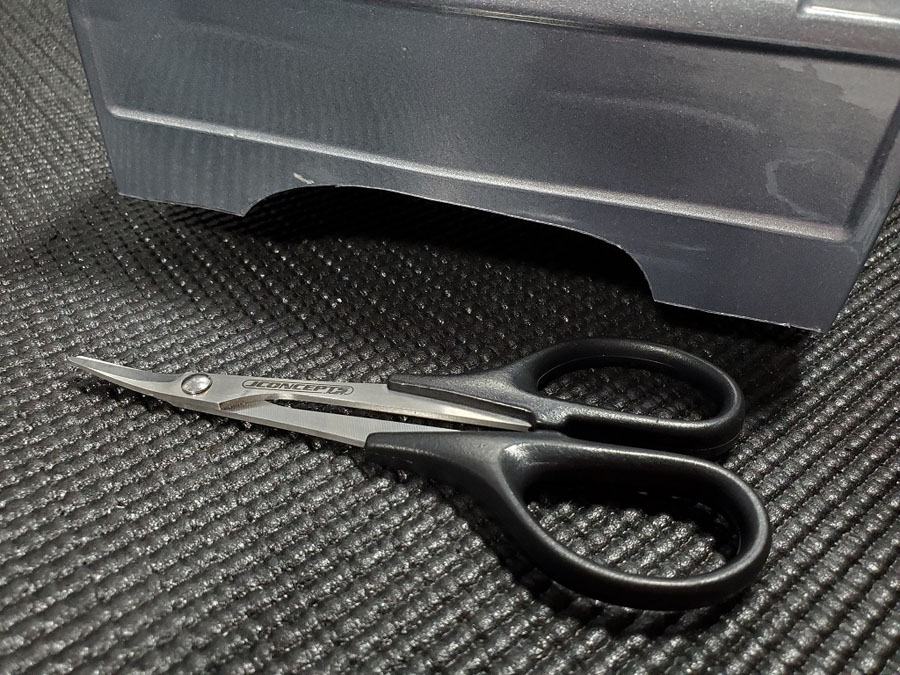
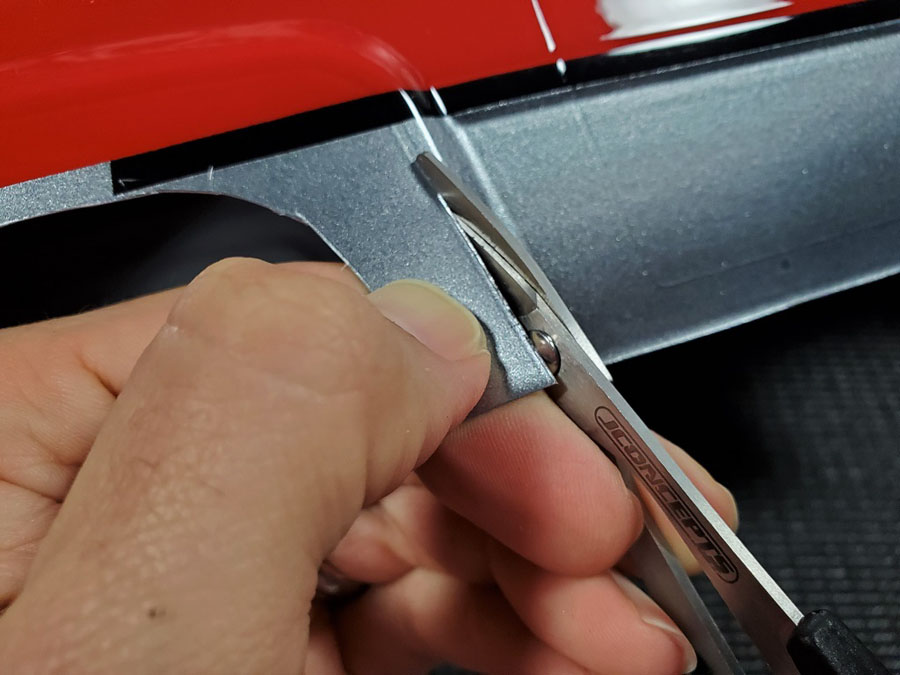
To make sure it cleared the body I used the Precision Curved Scissors once again and trimmed out a small area from the front of the body to give me enough clearance. With that complete I could drop the body in place and make any last adjustments that were needed.
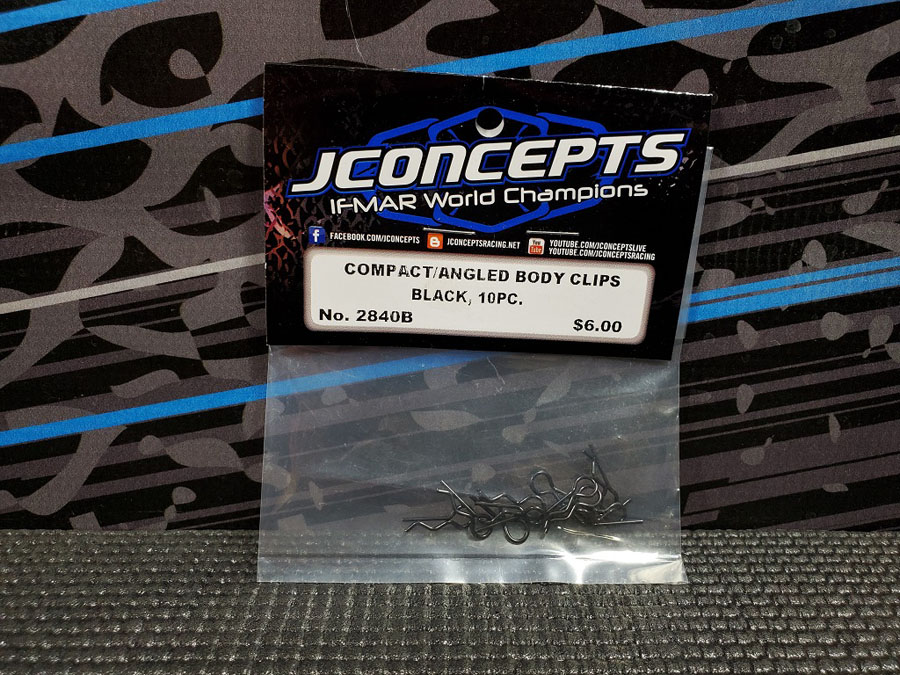
Once everything checked out I used the JConcepts Compact Angled Body Clips in the black color option to keep the body secure.
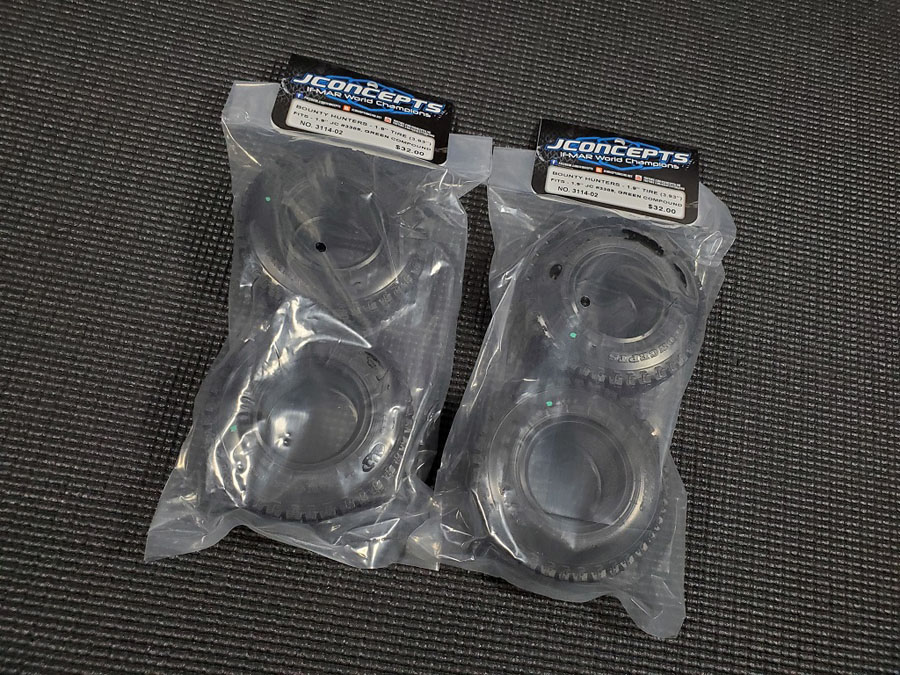
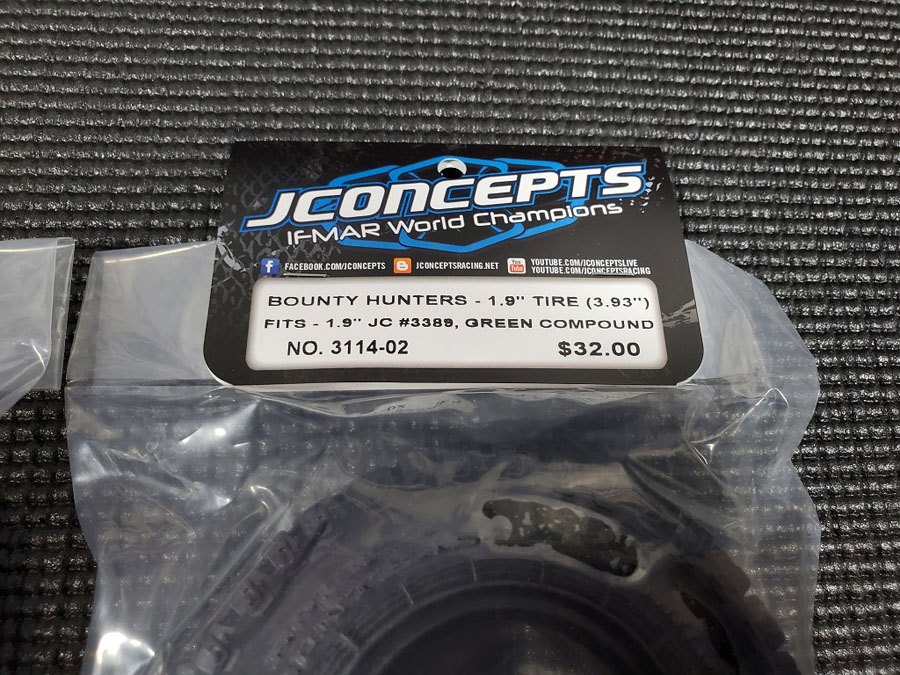
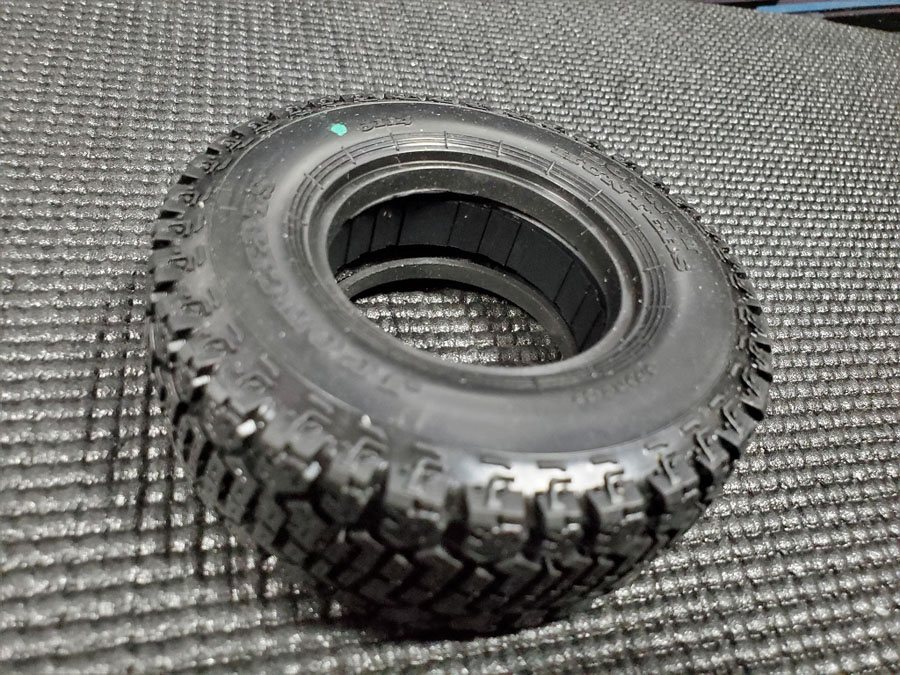
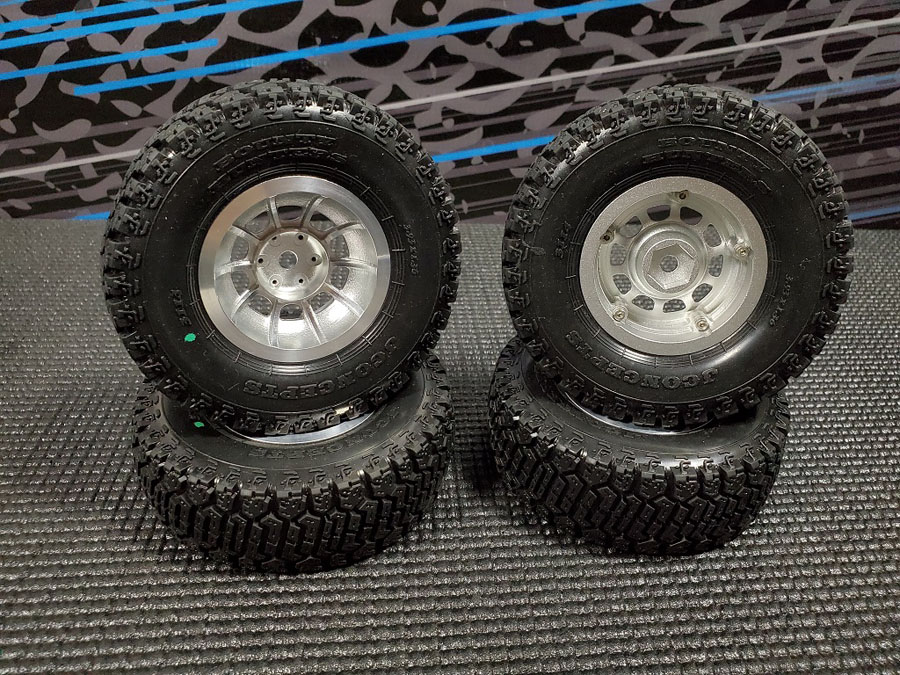
The final pieces to the puzzle were some new tires and wheels. Starting with the tires I opted to use the 3.93” Bounty Hunters.
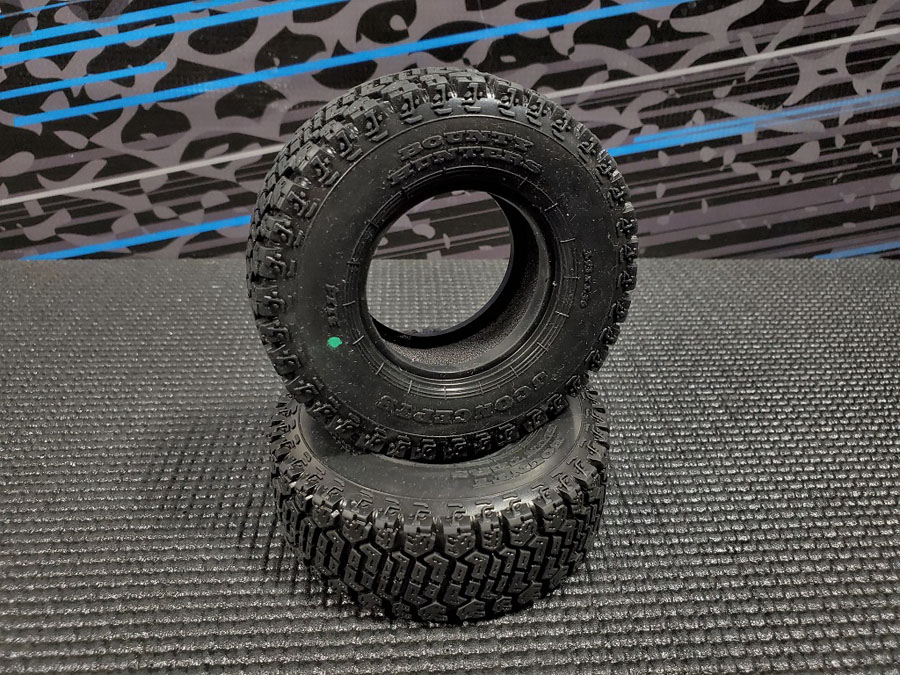
The tread pattern used on these tires feature a dual angular and mirrored center lug combination along with a tight group tread that is comprised of squiggle cuts and carved out sections. Combined together this allows the Bounty Hunters to conform to hard surfaces better and offers less rolling resistance.
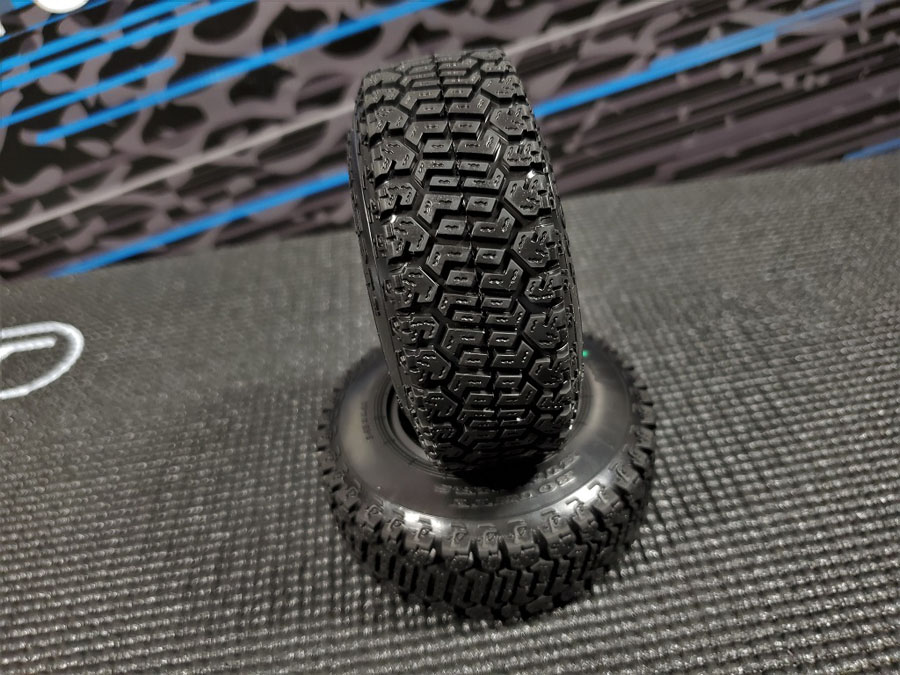
Sculptured side-lugs, incised grooves, radial sidewall ribs and vertical hatching all work together to give this tire a realistic look while still performing at a high level. Ample ground clearance is achieved thanks to the 3.93″ overall height, and this size is also perfect for this build since it looks scale and the body doesn’t need to be lifted or altered in anyway (more on that in a moment).
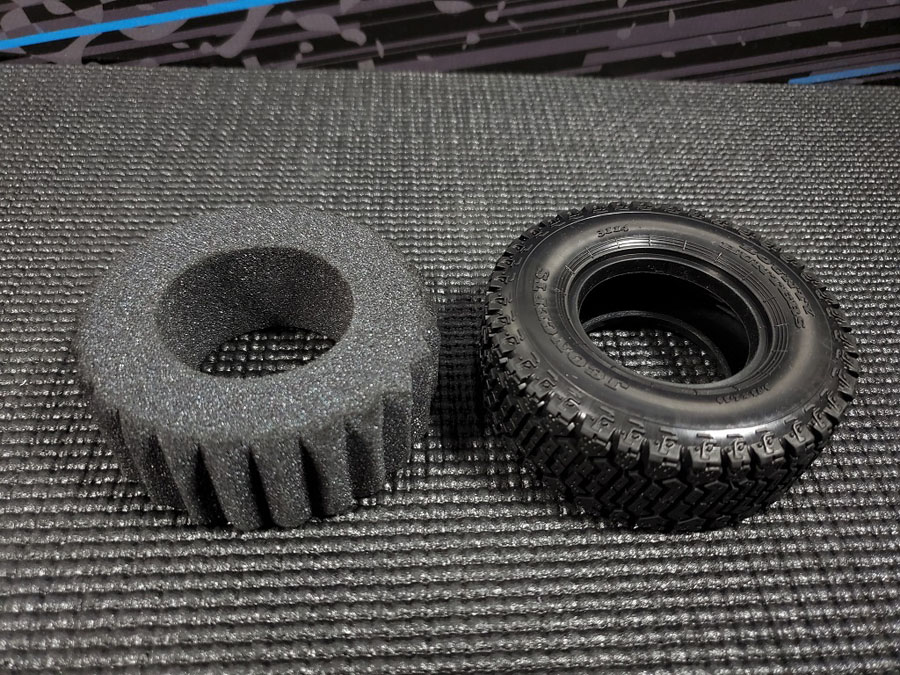
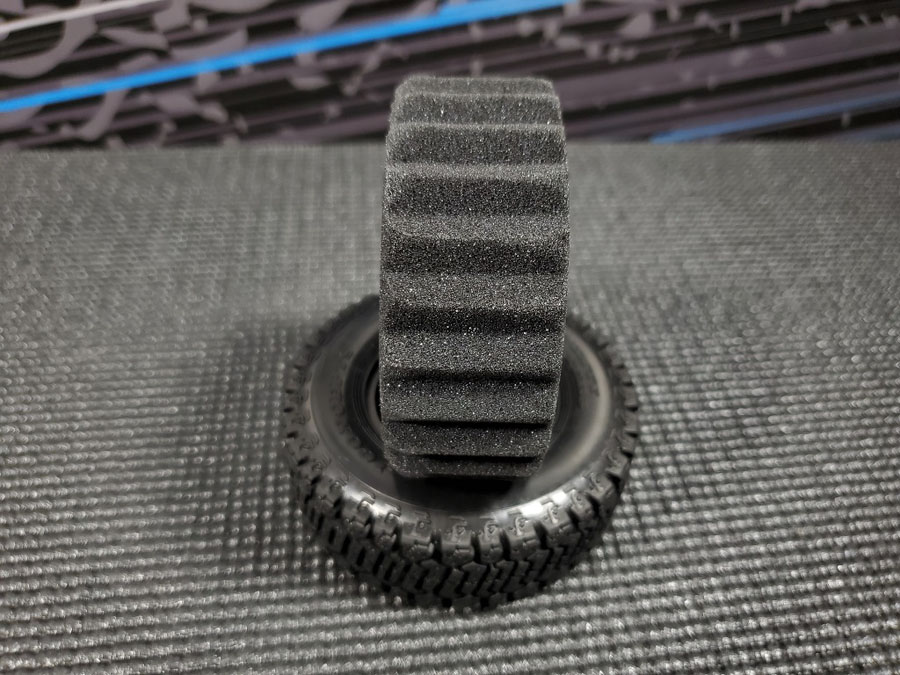
These are currently available in our Super Soft Green compound and are sold in sets of two which also includes medium, spiked open cell inserts.
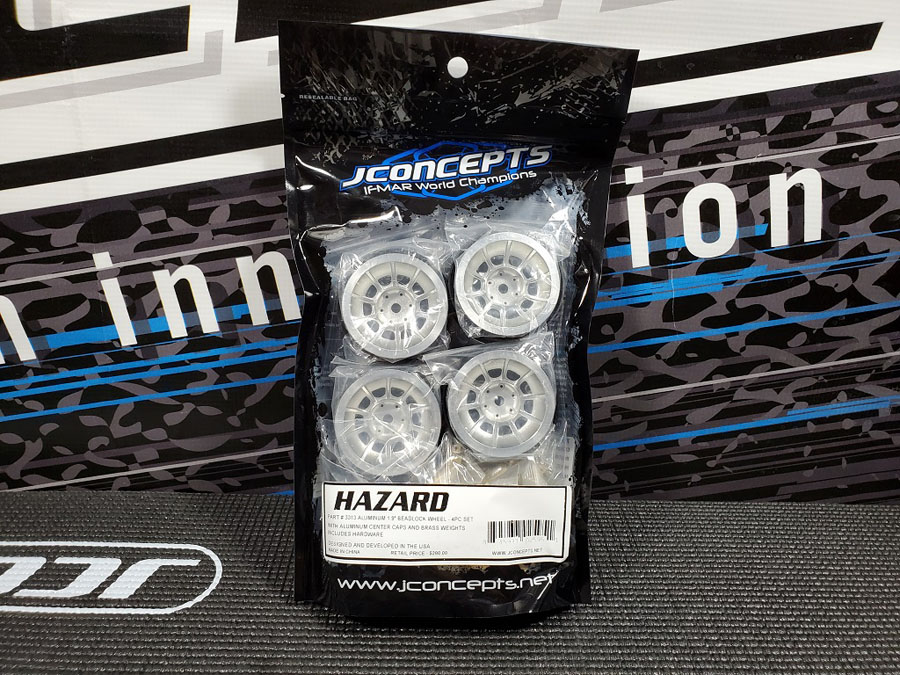
Locking these tires into place were the new Hazard 1.9” Aluminum Beadlock Wheels with Caps and Brass Weights.
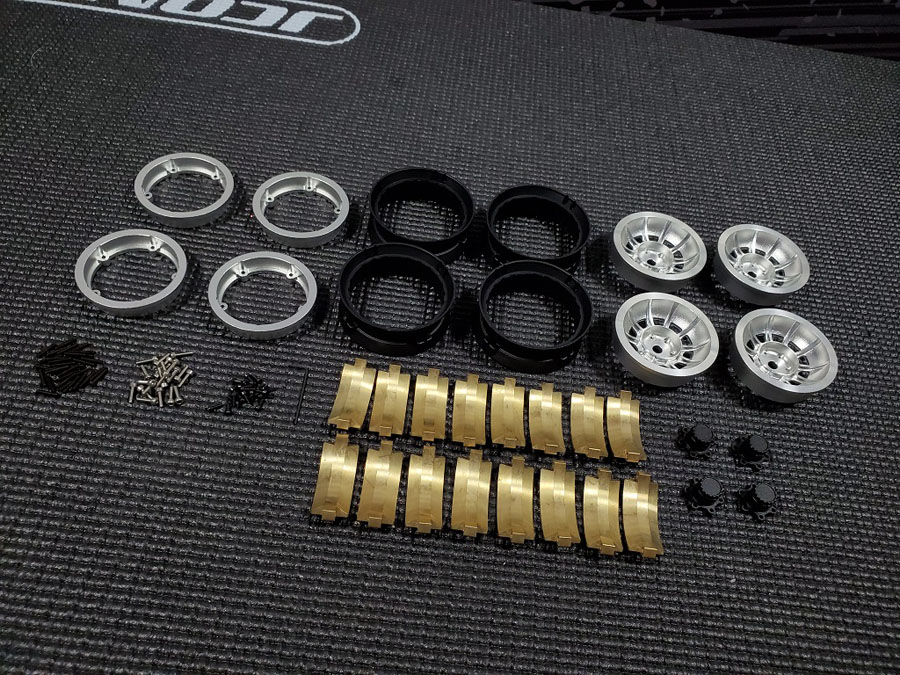
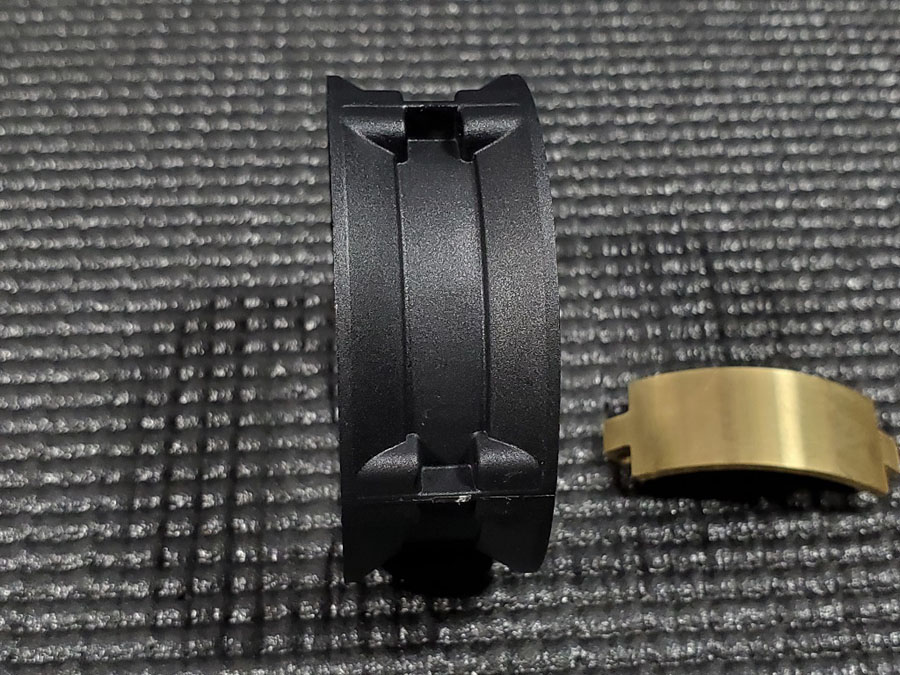
Each package includes four wheels to equip an entire vehicle, and these new rims are comprised of three main components. The inner and outer sections are made from machined aluminum, and the black center beadlocker is injection molded. When combined with the included hardware, these new wheels will both grip the tires in place and give you a fresh, scale look for your vehicle.
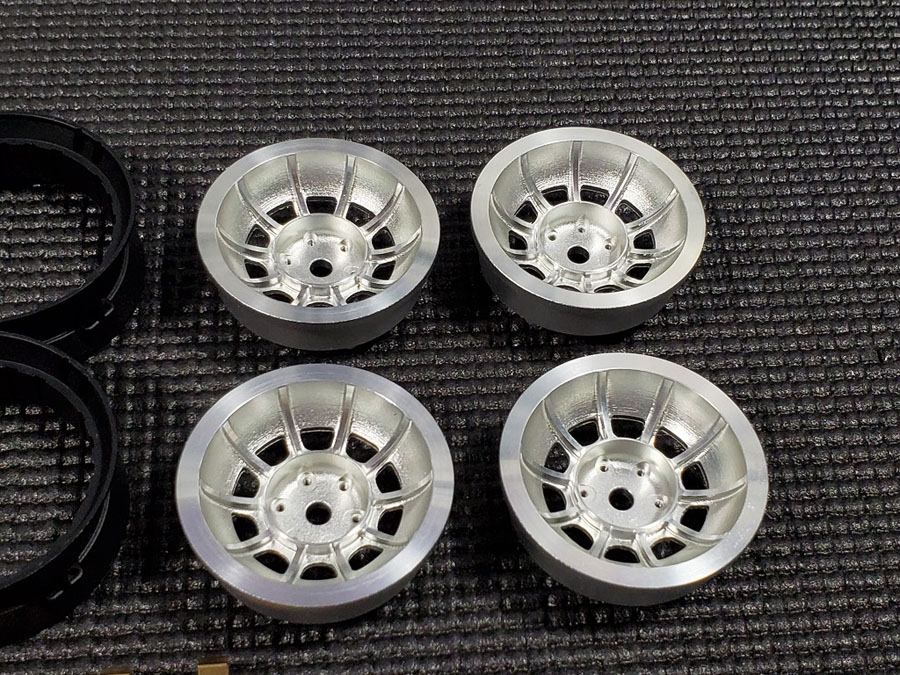
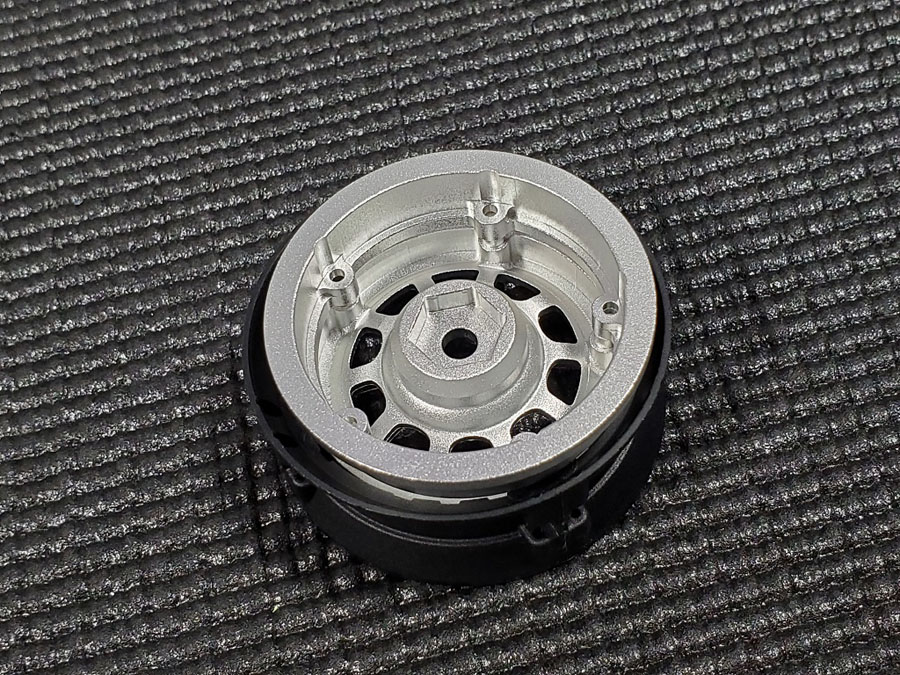
The outer ring provides that scale look for the wheels and when you flip it over you will see the built-in industry standard 12mm hex area.
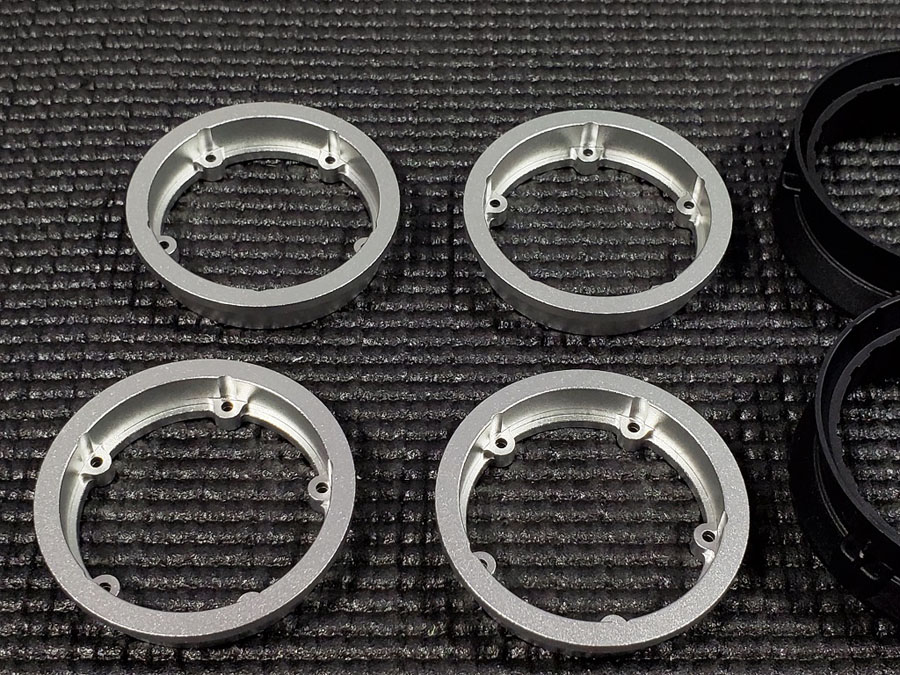
The inner ring uses the same finished look and has five different mounting holes for the assembly process.
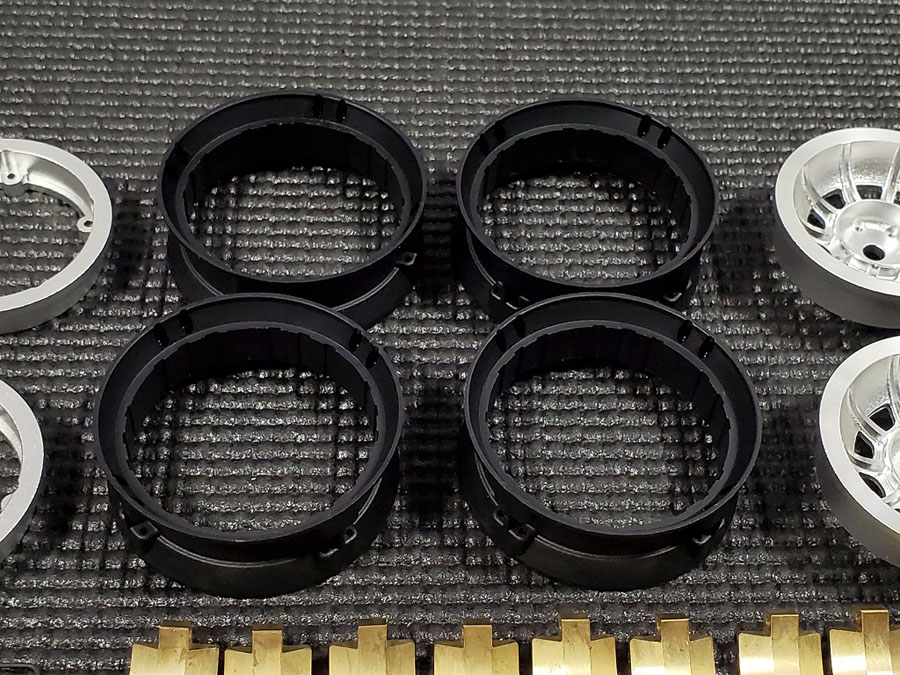
The center beadlocker also features the ability to hold the included brass weights.
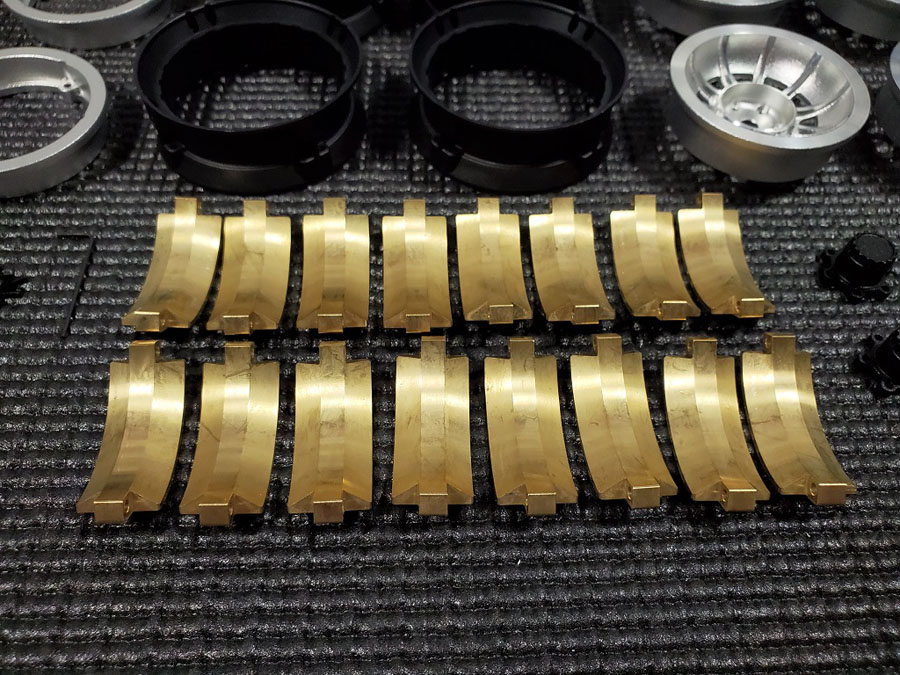
Each set of Hazard wheels includes 16 brass weights that weigh approximately 17gm each.
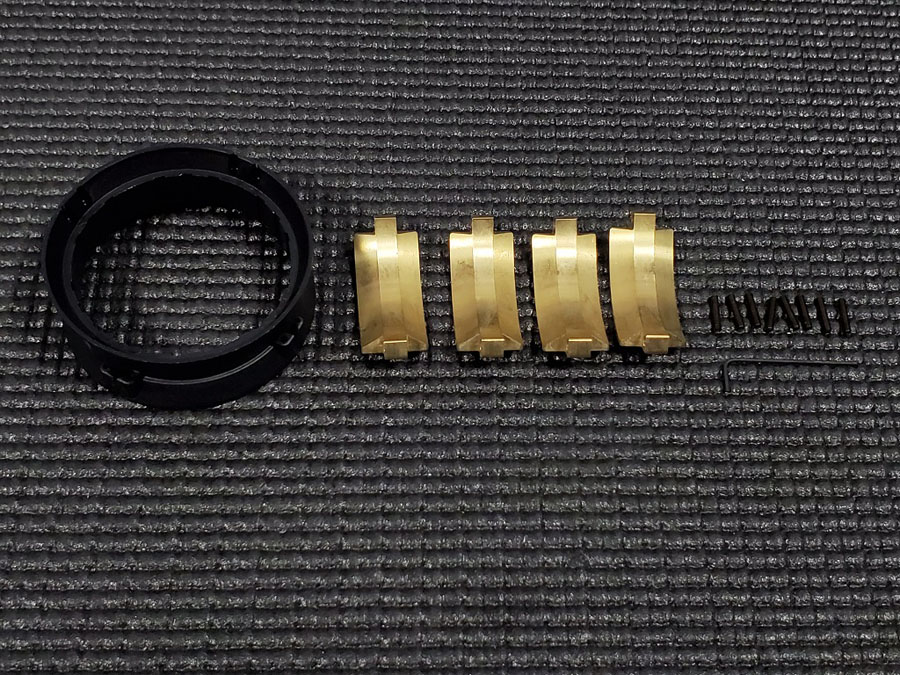
Four weights can be installed onto each center beadlocker using the small black set screws.
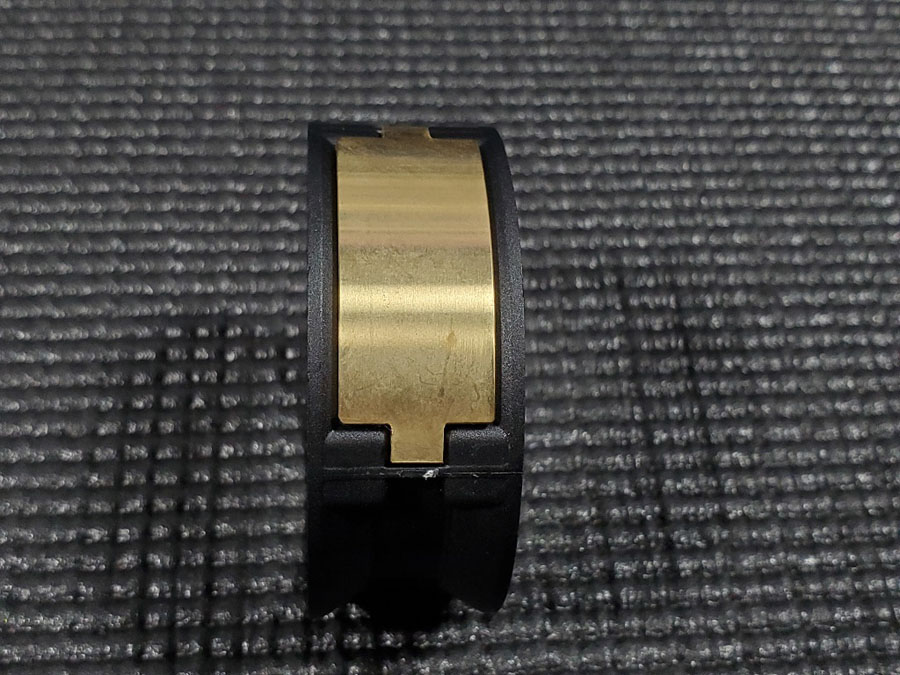
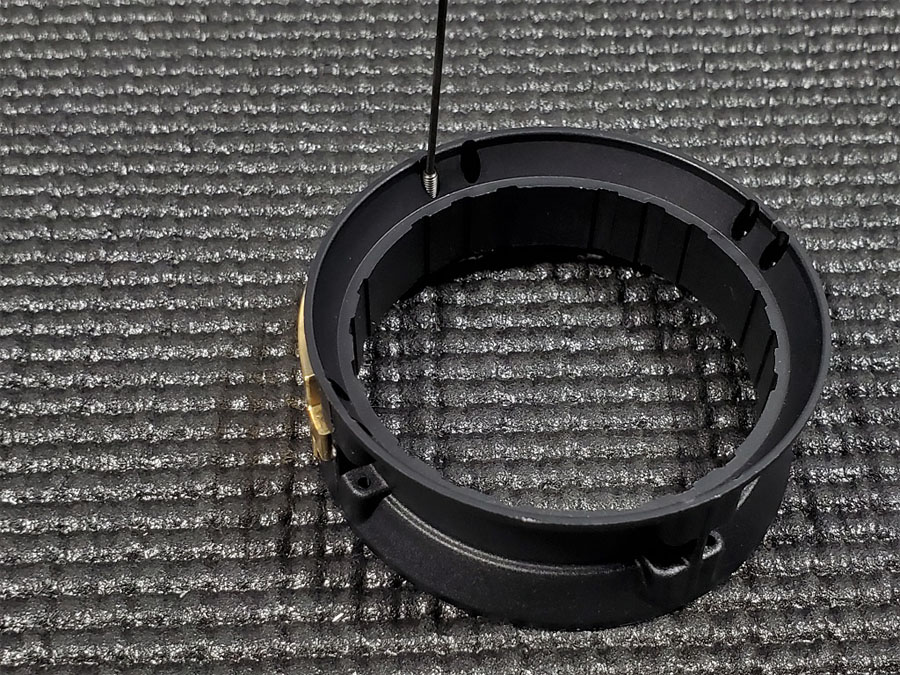
Simply lay the weight into place and then tread the set screw into the center beadlocker with the included small Allen wrench.
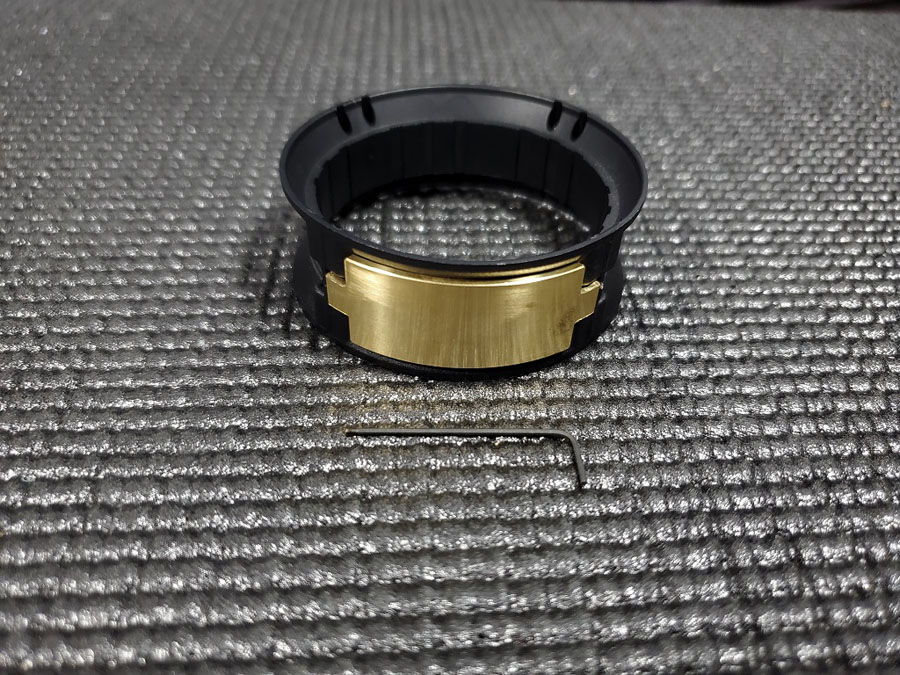
So, depending on your setup you can run one, two, three or four weights per wheel.
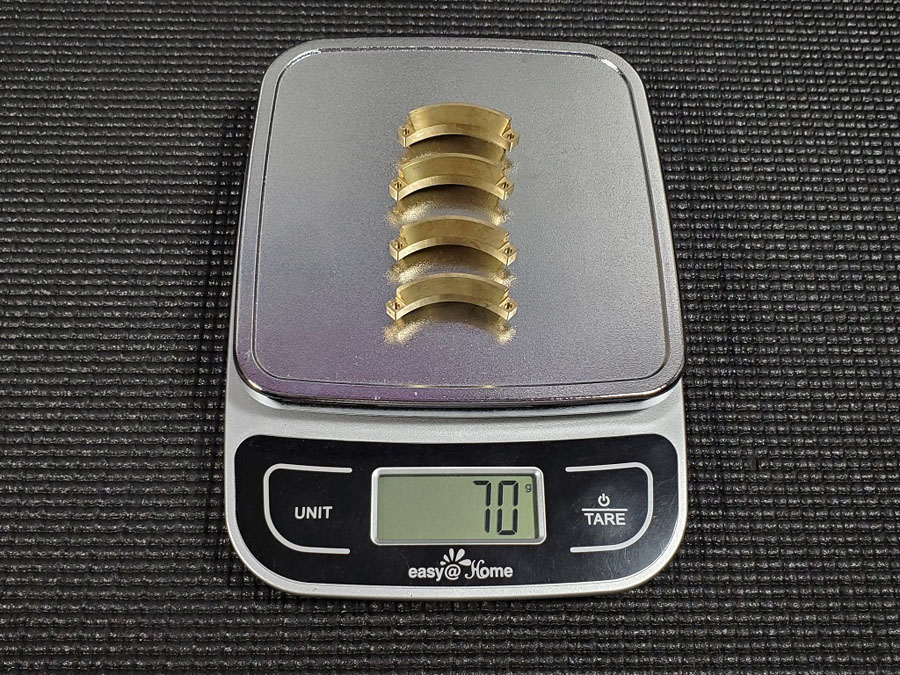
All four weights will add approximately 70 gm to each wheel so due factor that in before you decide to hit the muddy trails or cross through small streams.
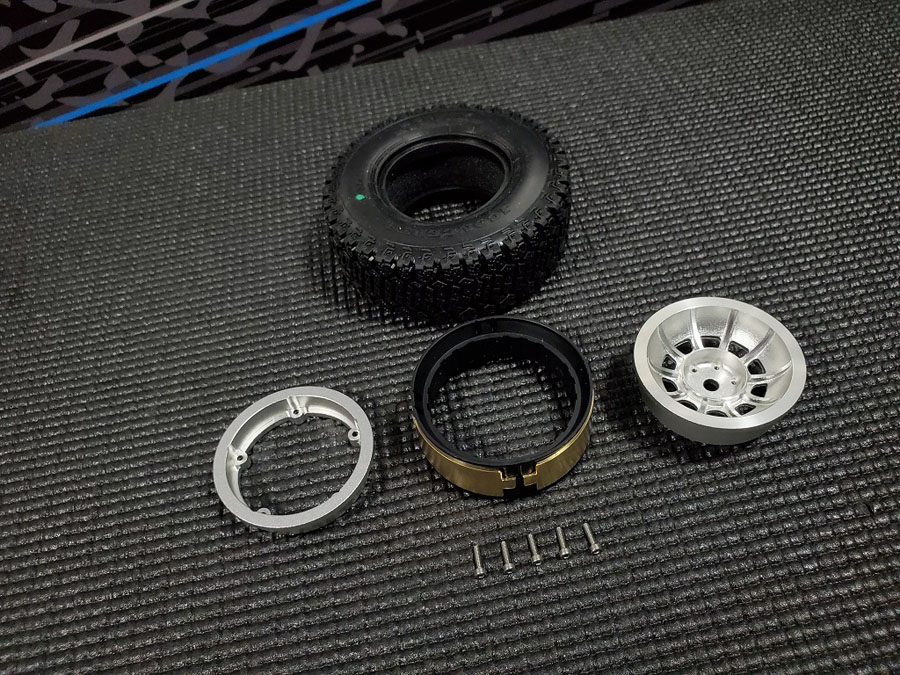
Once you have your desired weights installed you will need to grab the center beadlocker, both rings, the tire of choice, and five of the silver colored M2 x 6 screws.
Frist, you will tuck the center beadlocker into the tire and get it lined up properly in the center. There is no way to install this backwards or facing the wrong direction, but you do want to get the ring centered inside the tire.

Then place the outer ring on the front side of the tire, and then hold it place and flip it over so you can then install the inner ring.
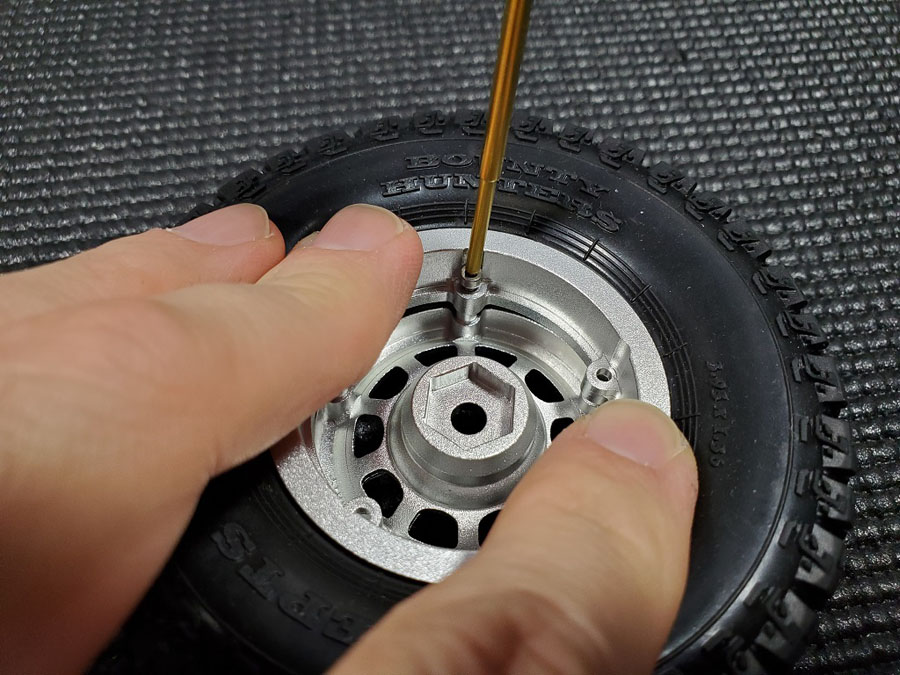
Line up the machined holes and then use a 1.5mm hex driver to install the five M2 x 6 screws in a star pattern. Make sure to get the screws installed most of the way, but don’t completely lock them in place until all five screws are installed.

Then go back and gently tighten each one down to make sure everything is secure.
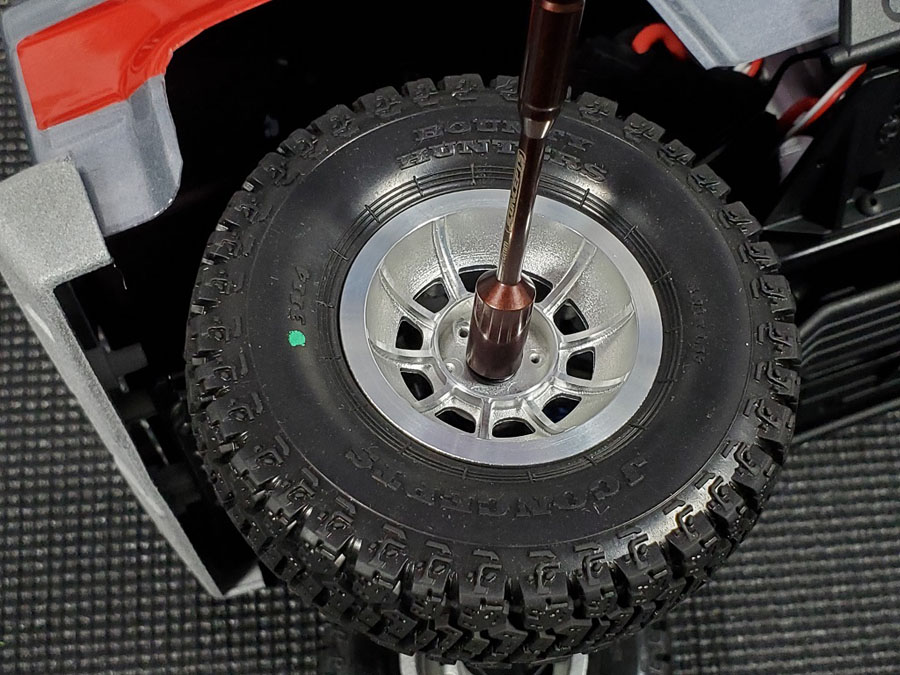
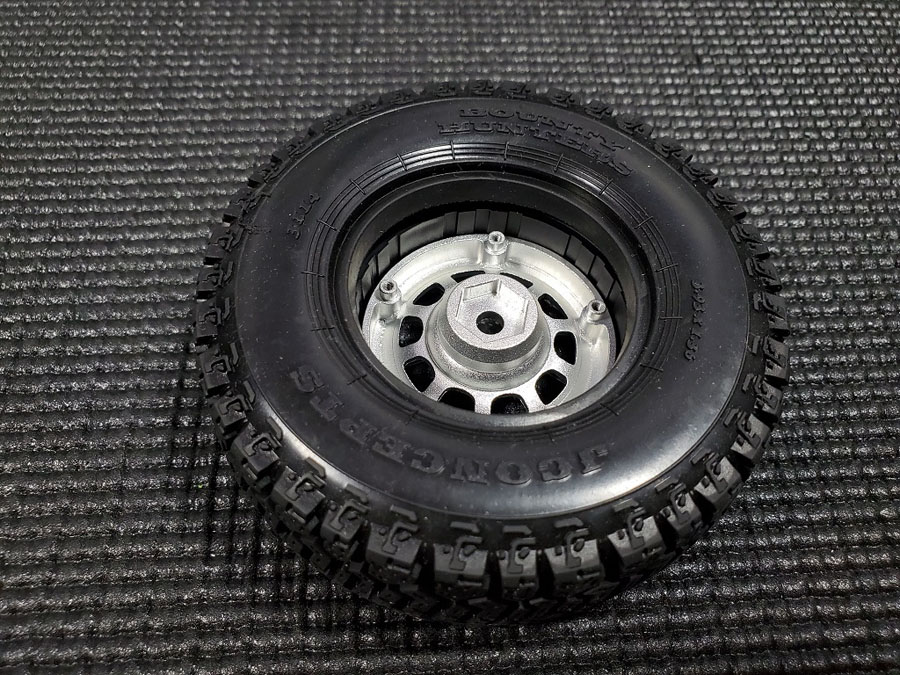
Once all four wheels were mounted with tires I installed them onto the Enduro using the kit’s 4mm hardware.
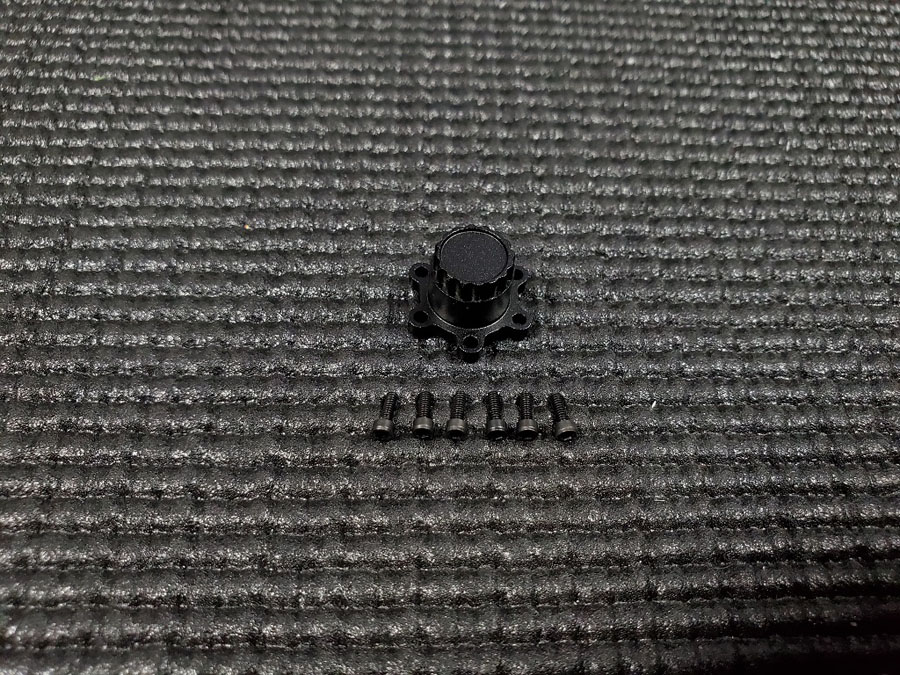
The final touch was to install the black anodized center caps. They help to complete the scale look and the needed hardware is included.
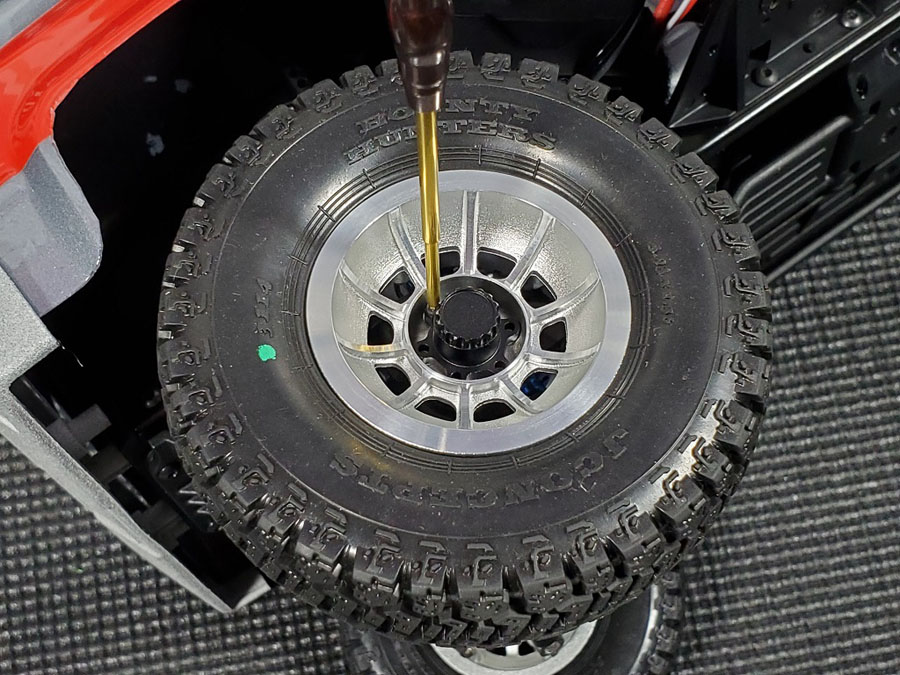
Use a 1.5mm hex driver to install six of the included M1.6 x 5 screws and again don’t overtighten them at first and work your way around in a star pattern.
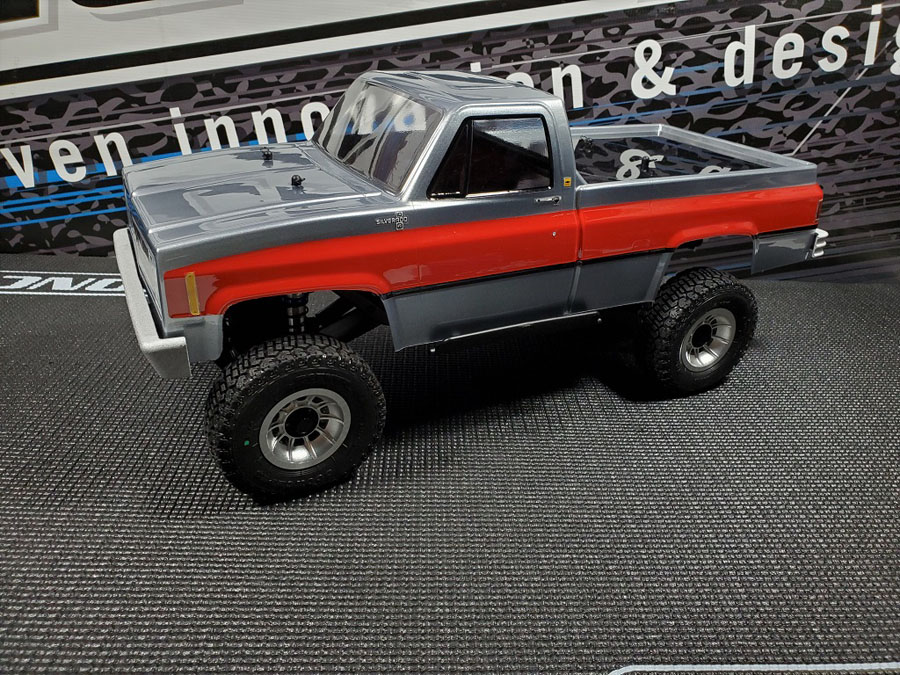
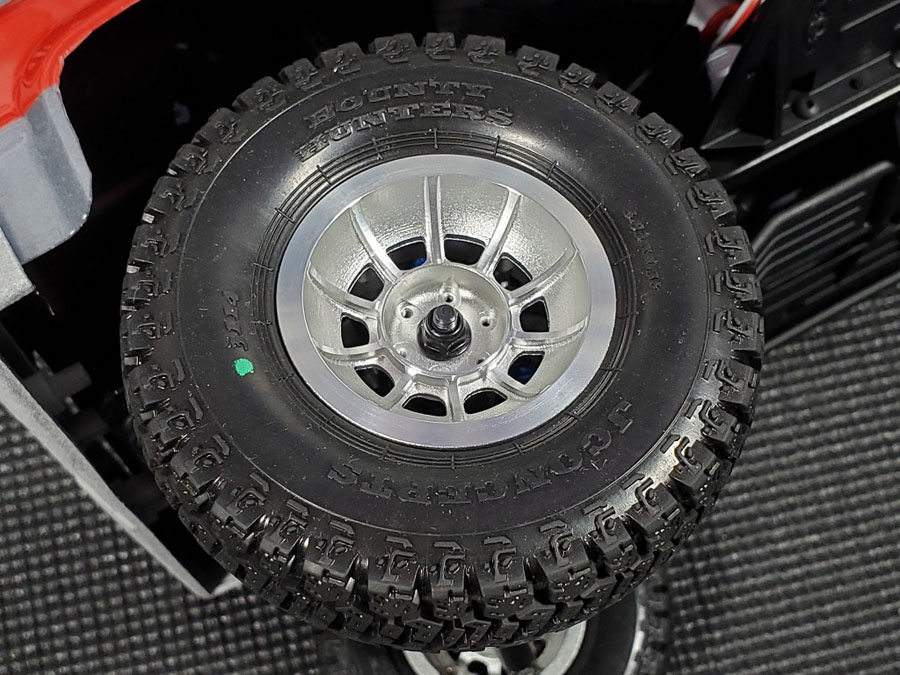
I trimmed out and applied all the decals and this new build was ready to hit the trails!
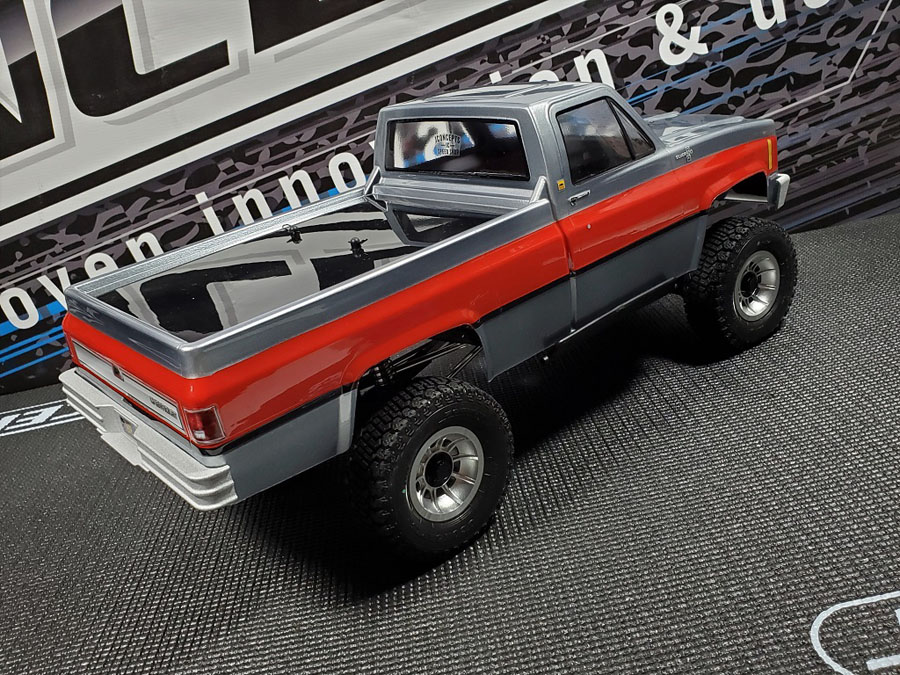
Again, with these new wheels fit perfectly with the 3.93” Bounty Hunters tires and the body didn’t need to be adjusted so the tires cleared the wheel wells.
The Hazard 1.9” Aluminum Beadlock Wheels are also compatible with larger 4.19” and 4.75” tires, but just make sure you have enough clearance under your body.
I hope you enjoyed this edition of the Garage, and a complete list of the items featured in this story is listed below:
JConcepts Products:
- 0363 – 1982 GMC K10 – TRX-4 Sport Body – MSRP $44.00
- 2029 – JConcepts Racing Banner – MSRP $20.00
- 2043T – Advanced Formulated Tire Glue – Thin – $11.00 MSRP
- 2133 – 4′ Pit Mat – MSRP $20.00
- 2371B– Exo 10th Scale Shock Stand And Cup – Black – MSRP $14.00
- 2373 – Precision Curved Scissors – $9.00 MSRP
- 2452-2 – Fin Reamer – Black – MSRP $45.00
- 2552-1 – Precision Hobby Knife Handle – Blue – MSRP $36.00
- 2556-1 – Combo Thumb Wrench – Blue – MSRP $10.00
- 2840B – Compact Angled Body Clips – Black – $8.00 MSRP
- 2855 – Aluminum 25T Clamping Servo Horn – 20mm – MSRP $14.00
- 2889 – Analog Quick Reference Calipers – $80.00 MSRP
- 3413 – Hazard – 1.9″ Aluminum Beadlock Wheels w/Caps And Brass Weight – $280.00 MSRP
- 3114-02 – Bounty Hunters – 3.93″ O.D. – Scale Country – $32.00 MSRP
JConcepts Shapeways Products:
- JConcepts 1982 GMC K10 front bumper Traxxas – Axial – $28.74
- JC GMC 12.3 Chassis mount rear bumper – $21.61
Element Products:
- 40110 – Enduro Gatekeeper Rock Crawler/Trail Truck Builder’s Kit – $439.99 MSRP
- 40103 – Element RC IFS Conversion Kit – $139.99 MSRP
Reedy Products:
- 759 – Reedy WolfPack LiPo 3000mAh 30C 11.1V Shorty, with T-plug – $68.99 MSRP
- 27011 – Reedy SC480X Brushed Crawler ESC – $34.99 MSRP
- 27034 – Reedy SC480X Program Card – $19.99 MSRP
- 27150 – Reedy RC4020A HV Digital Competition Crawler Servo – $229.99 MSRP
- 27424 – Reedy Radon 2 Crawler 16T 5-Slot 1850kV Brushed 540 Motor – $34.99 MSRP
Futaba Products:
- FUTL7681 – Futaba R304SBE S.Bus2 4-Channel T-FHSS Telemetry Rx – MSRP $58.99
Tamiya Products:
- TAM85030 – Tamiya TS-30 Silver Leaf Lacquer Spray Paint (100ml) – $7.00 MSRP
Sources: http://www.jconcepts.net | https://www.associatedelectrics.com/element | https://www.associatedelectrics.com/reedy | https://futabausa.com | https://www.amainhobbies.com/ | #gojconcepts