
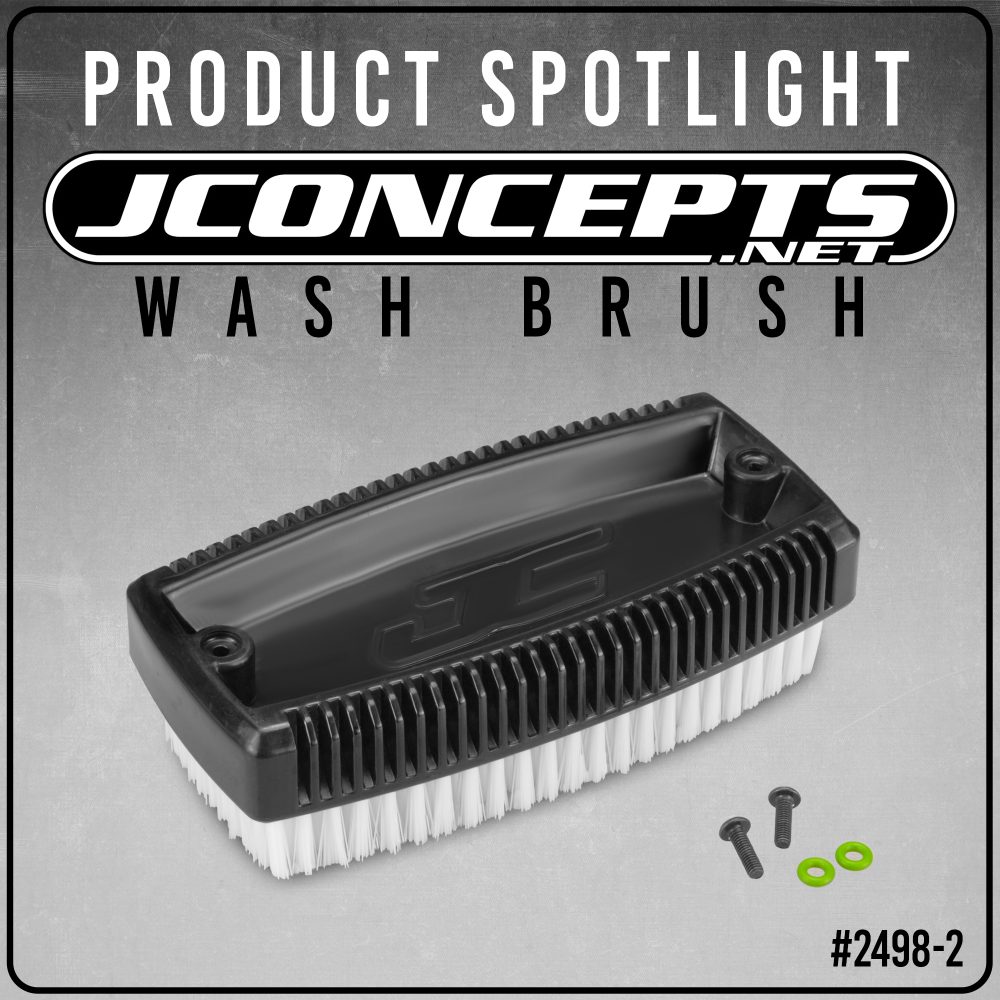
Keeping your tires clean and prepped for their next run is critical to any driver’s race program. This chore can be daunting to some, or tedious to others, but at the end of the day a clean tire is key to a racer’s success out on the track. Many tracks will provide an official tire wash station which can include brushes and buckets of water. But sometimes this isn’t ideal if a line forms and your qualifier is coming up soon, or you are pitted far away from it, or there is a lethal cocktail of stagnant water and unknown chemicals that you don’t want to touch with a 10 foot tire brush! To combat that many racers have come up with their own personal tire wash buckets that share a similar design where they glue a brush to the bottom. But finding the right brush can be difficult, and inevitably the brush will come unglued and they need to start this process over again. JConcepts set out to provide a simple solution to all of these dilemmas by developing the Wash Brush.
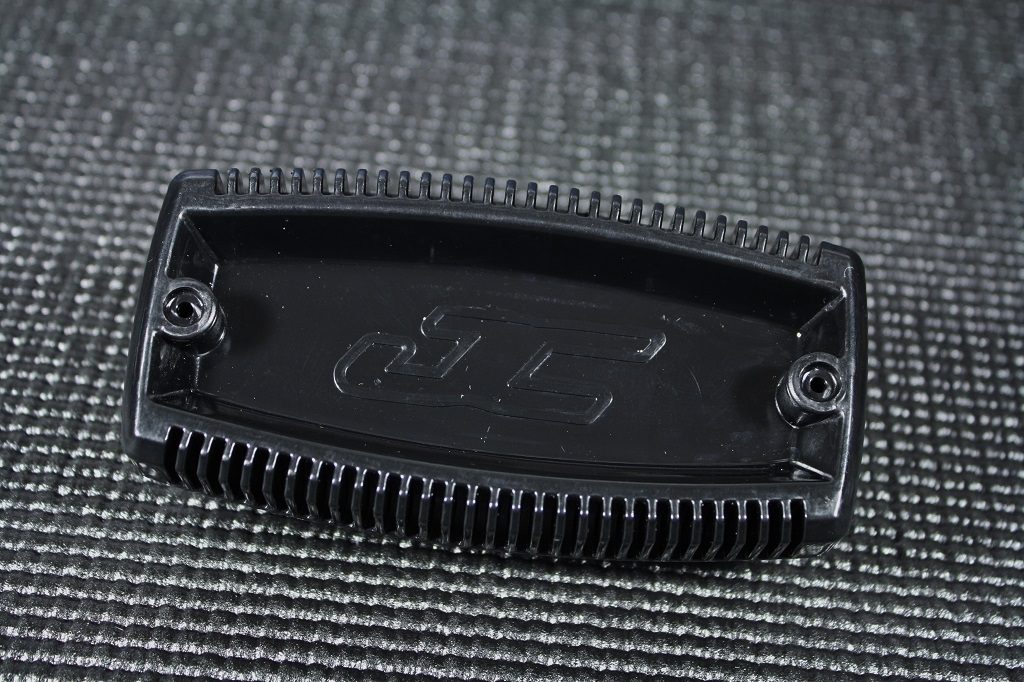
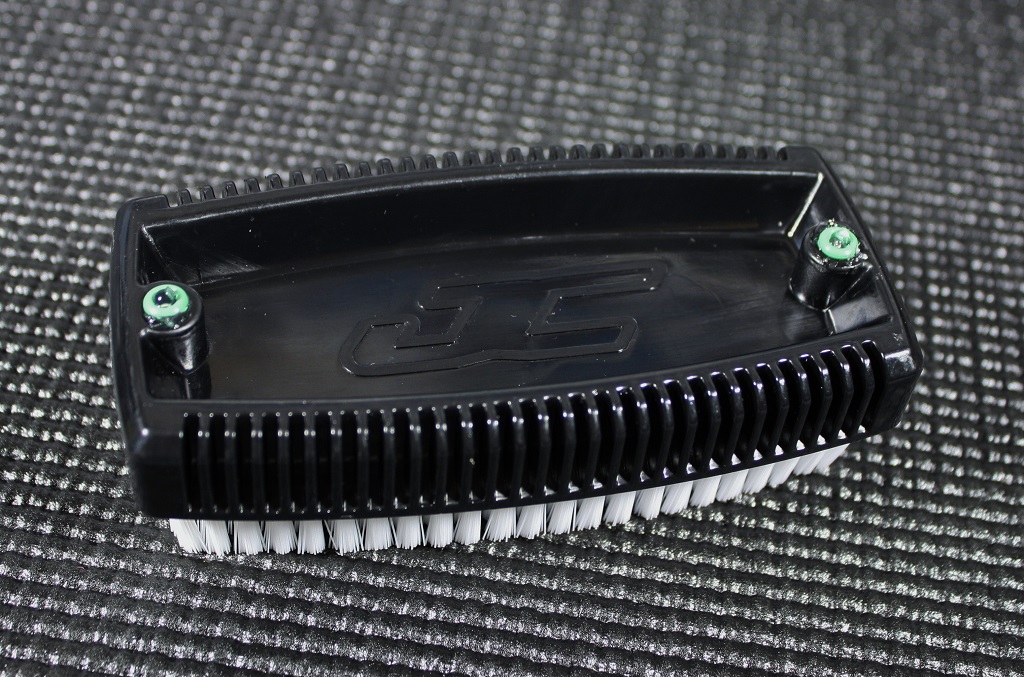
Available in black this brush is engraved with an authentic JC logo and includes vertical ribs on each side to increase your grip when used by itself in slippery conditions.
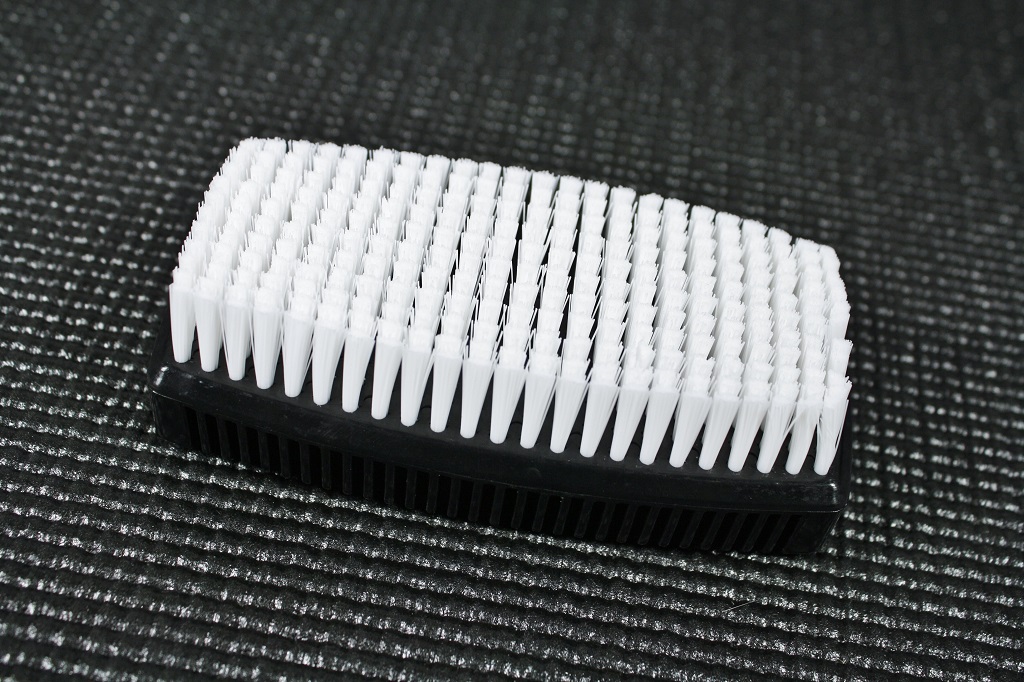
The white bristles provide just the right mix to stay firm after repeated applications, but yet provide enough flexibility when used to clean your tires. The brush is very small and measures only at 123mm x 63mm (4.84” x 2.48”), and will fit into most tool boxes. But what truly makes the JConcepts Wash Brush unique is that it is designed to be attached to the bottom of a wash bucket.


Flip it over and you will see two recessed holes.
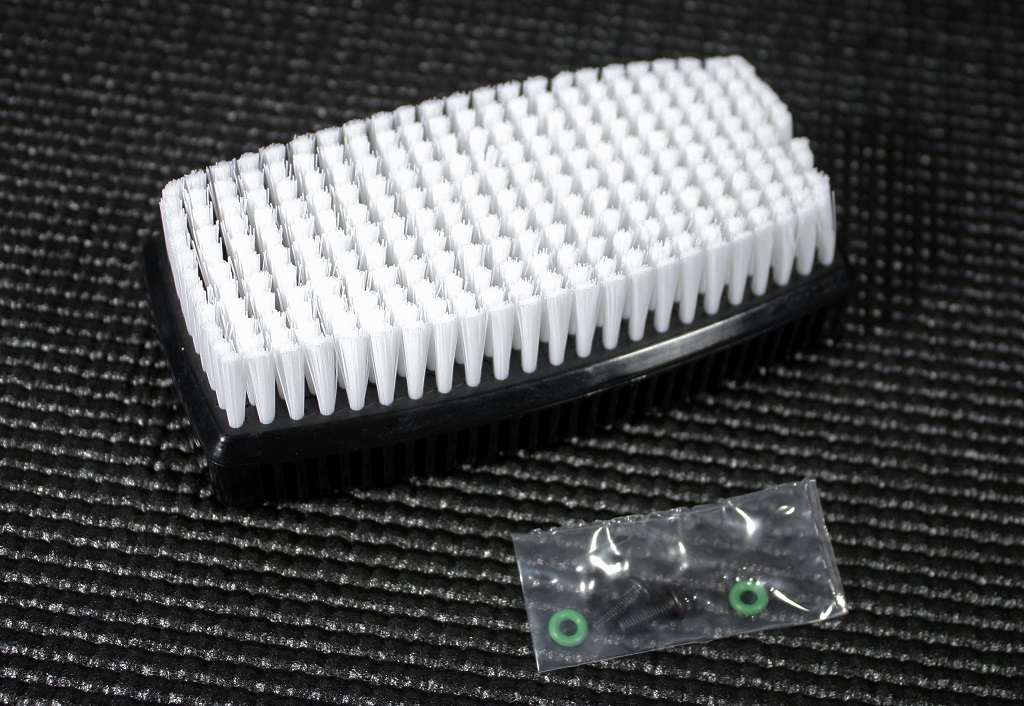
Included with the Wash Brush are two green o-rings and 3mm BHCS which are used in conjunction with those recessed holes to attach the Wash Brush securely to your wash bucket. Now let’s take an in-depth look of how this brush is installed.

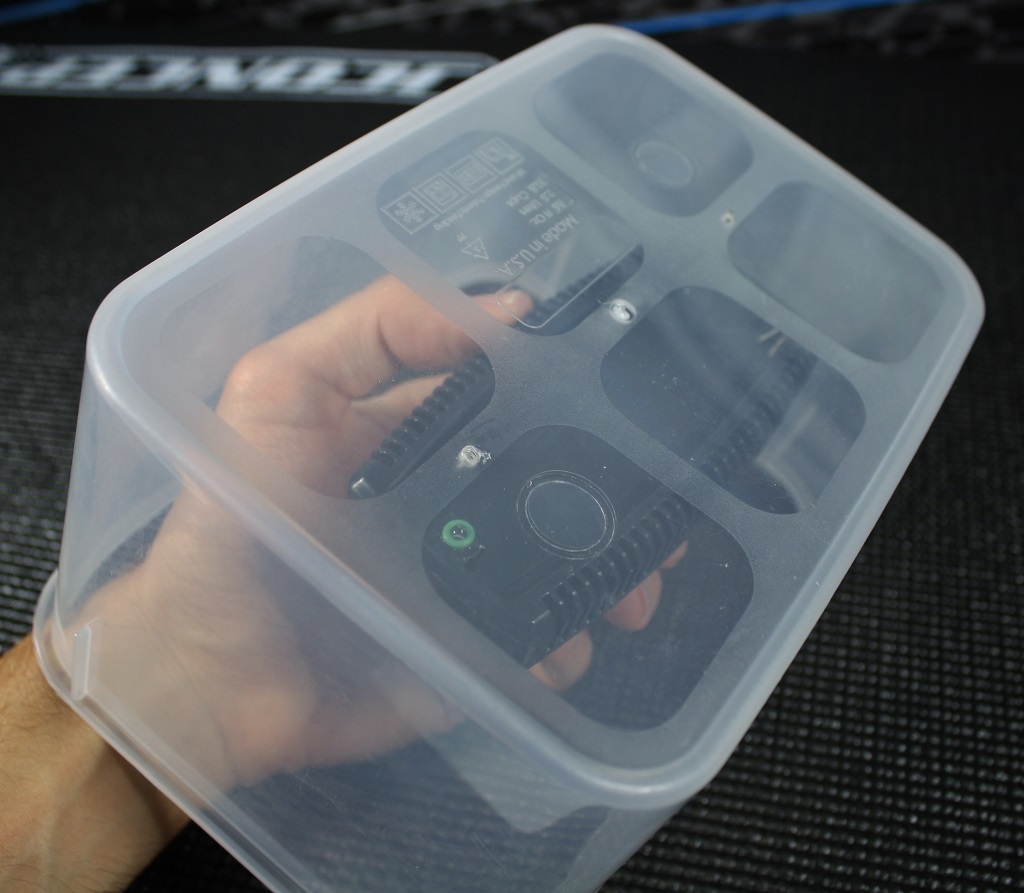
First you need to pick up a wash bucket. There are many shapes and sizes to choose from, so pick up a container that is just the right size to travel with, and provide ample depth to fill with water when washing your tires.
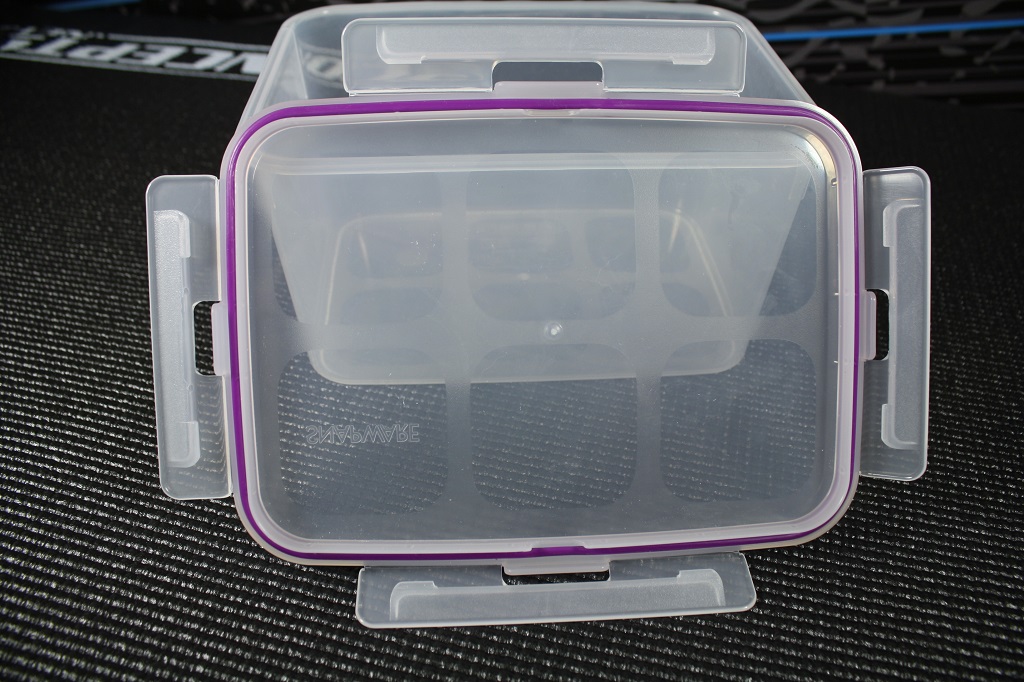
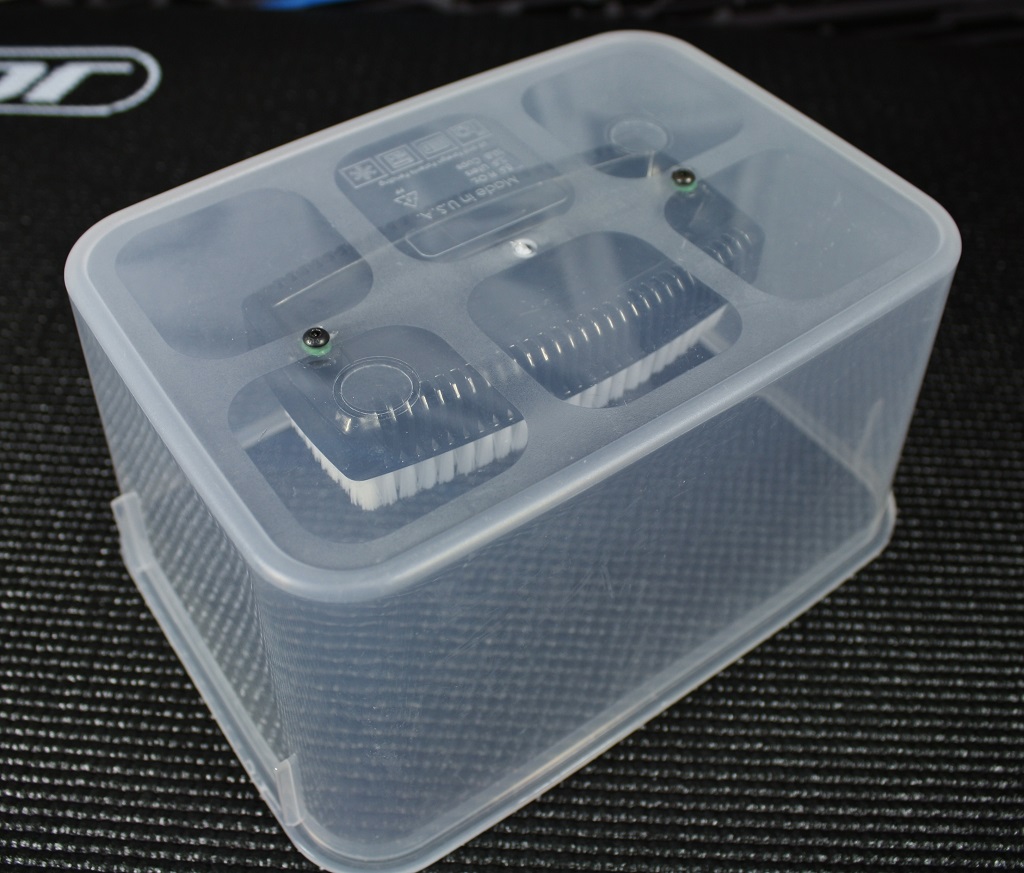
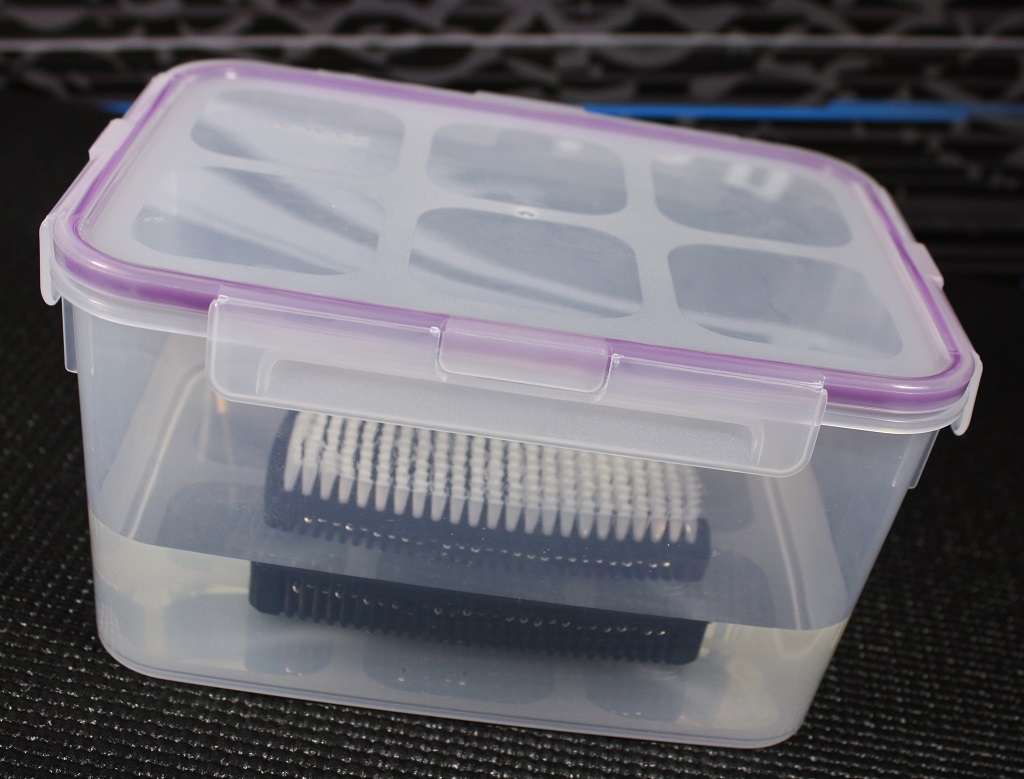
For this Product Spotlight I went with a clear resealable container that also uses a thin gasket around the lid to help hold in liquids.

Other items you will need to finish installing the Wash Brush is a permanent marker, reamer, some Shoe Goo, and a 2mm hex driver (not pictured).

First, take the brush and hold it inside the bottom of the container with the recessed holes facing out towards you.

Now take your permanent marker and make two marks to indicate where those holes are at.
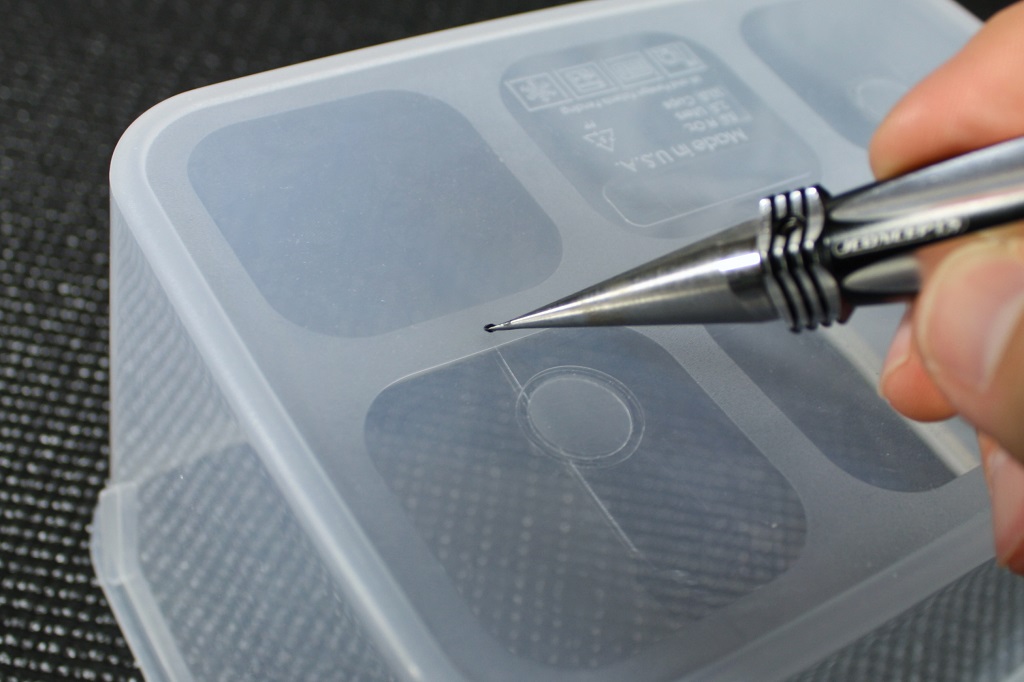
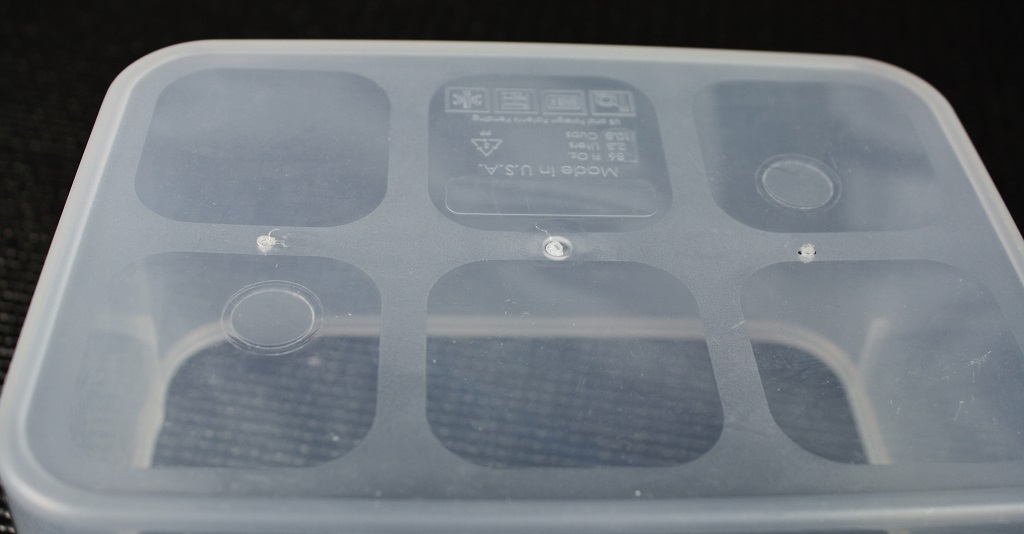
Place the brush aside and use the reamer to make two small holes just big enough for the included 3mm screws to fit inside.
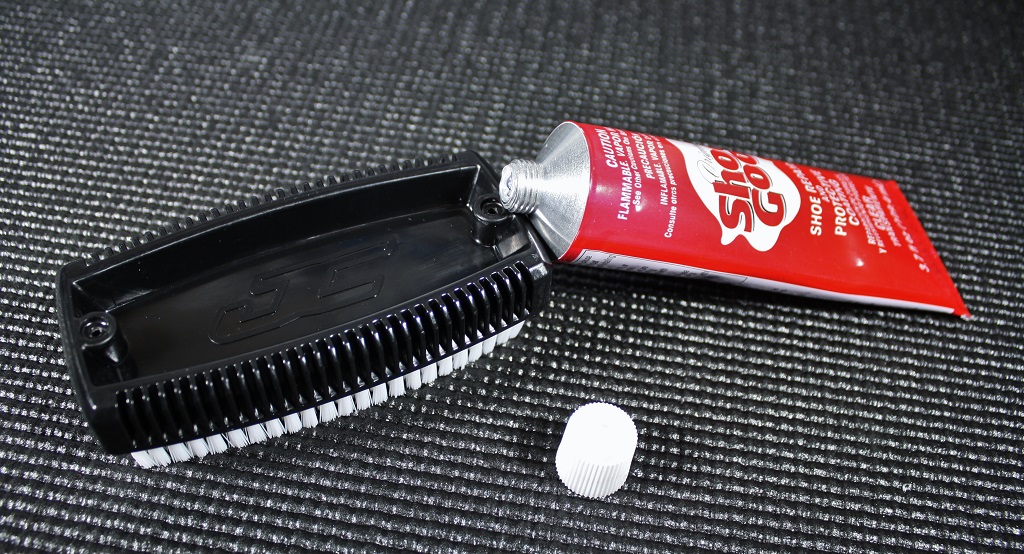
Next, take your Shoe Goo and add a small amount to each hole on the Wash Brush.


By adding the Shoe Goo it will help to secure the brush to the bottom of your bucket, create a better water seal, and also hold the green o-rings in place during the assembly of your wash bucket.

While the Shoe Goo is still fresh, carefully place the o-rings into each recessed hole on the Wash Brush.
Now line up the Wash Brush with the holes you reamed out earlier on in the bottom of you container.

Use a 2mm hex driver to install the 3mm screws into the holes.
Make sure that the screws are snug, but don’t overtighten them so that the o-ring doesn’t “balloon” out.

The next step is to let the Shoe Goo fully cure, so I would set this aside for a day or more before you add any water to it.

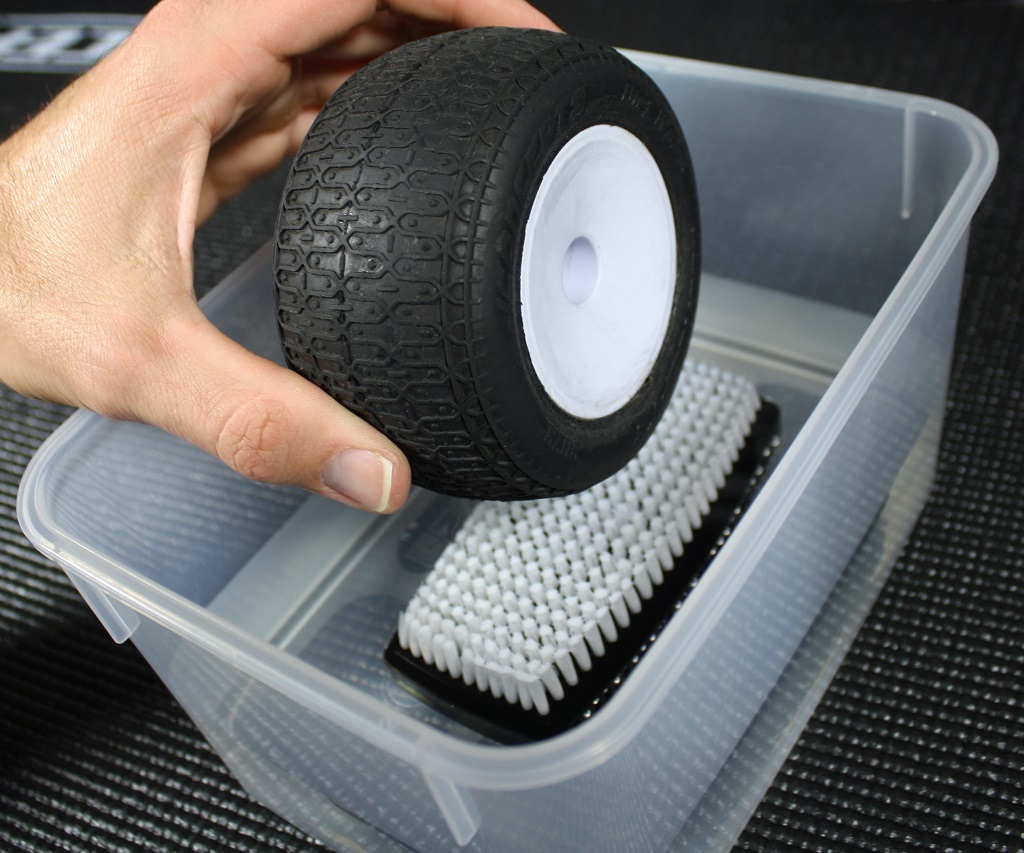
Once it fully cures you can now add your water to the desired height and start scrubbing your favorite JConcepts tires.
The winter months are the peak of indoor electric off-road racing, so pick up your Wash Brush today!
#2498-2 – Wash Brush – Black – MSRP $8.00